 | ||
| Your browser is not supported. | ||
|
Please browse our site using any of the following options:
| ||
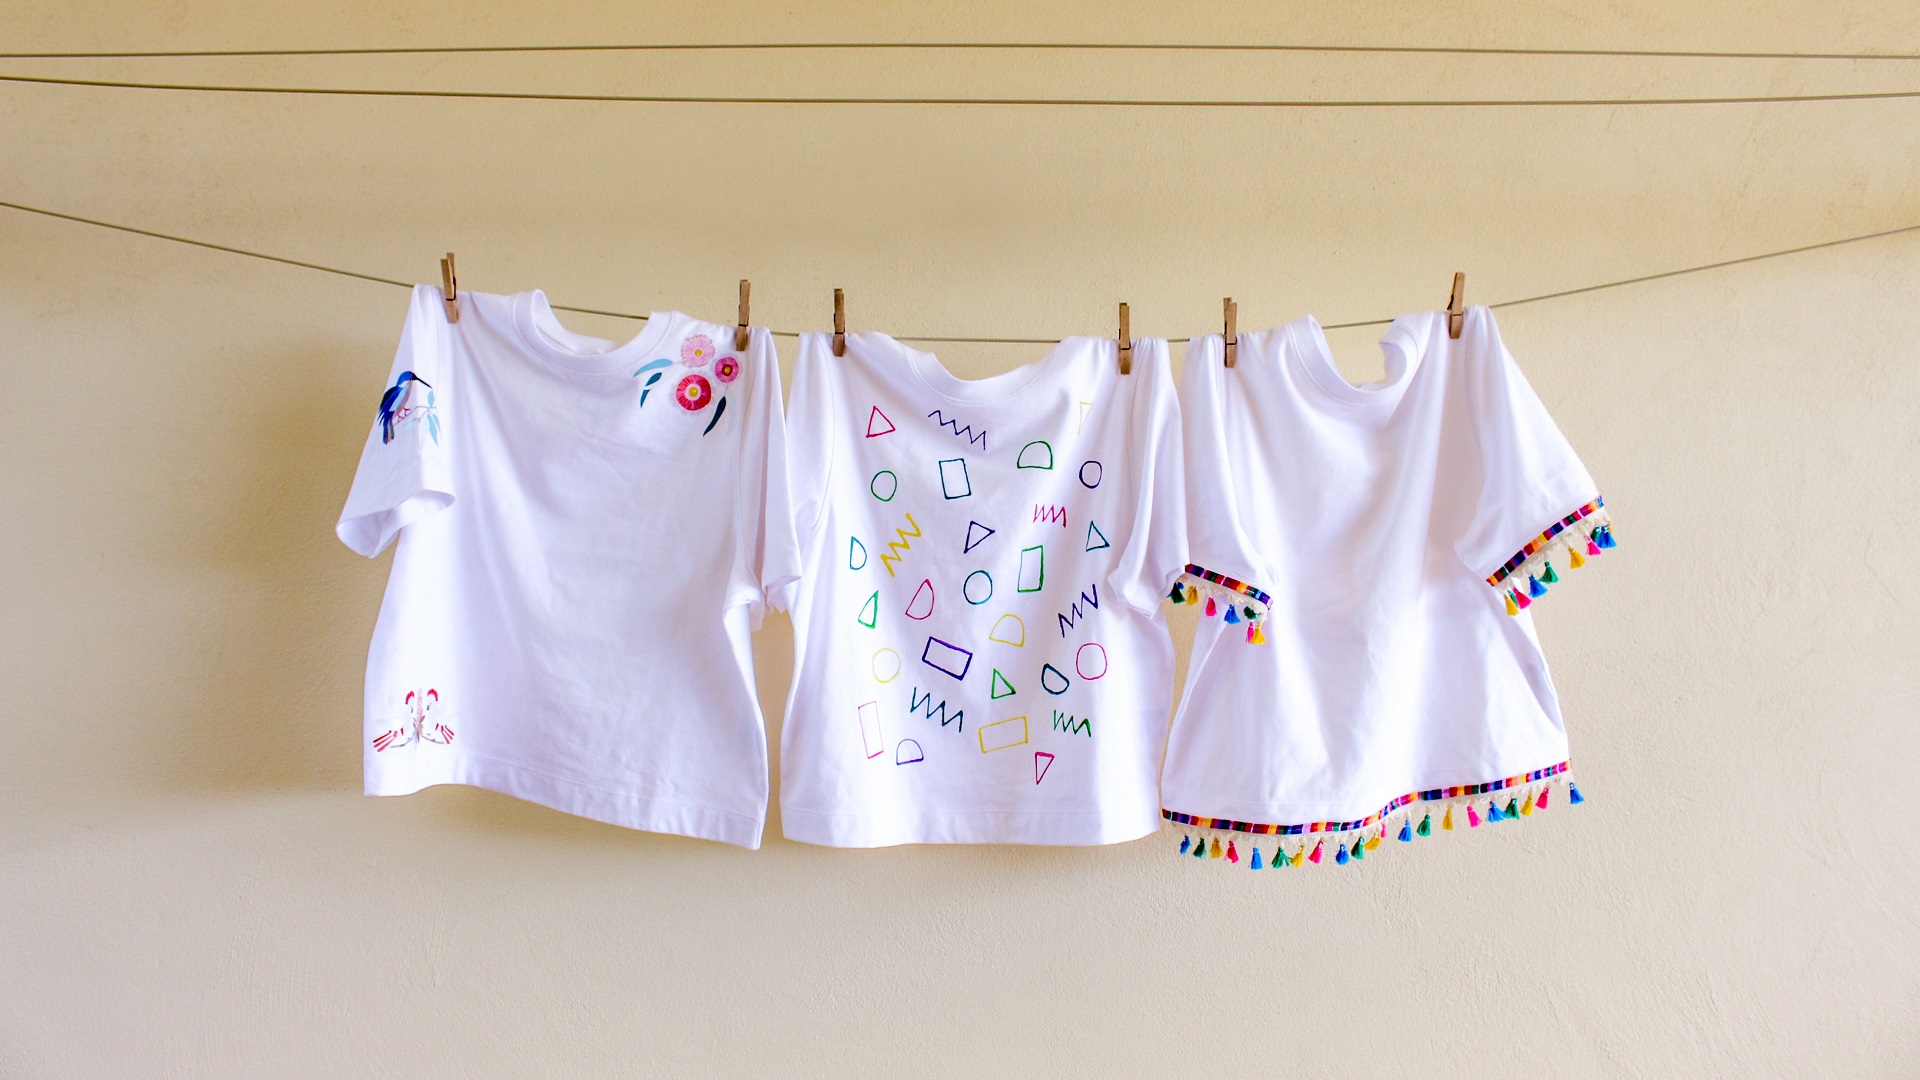
3 ways with…a white t-shirt

We've all got a white t-shirt or two tucked away in the wardrobe or at the back of a drawer. If they're not getting quite enough love as-is, it might be time to customise them into something more special.
Here are three super-easy ideas for snazzing up a plain shirt into something that suits your style to a tee!
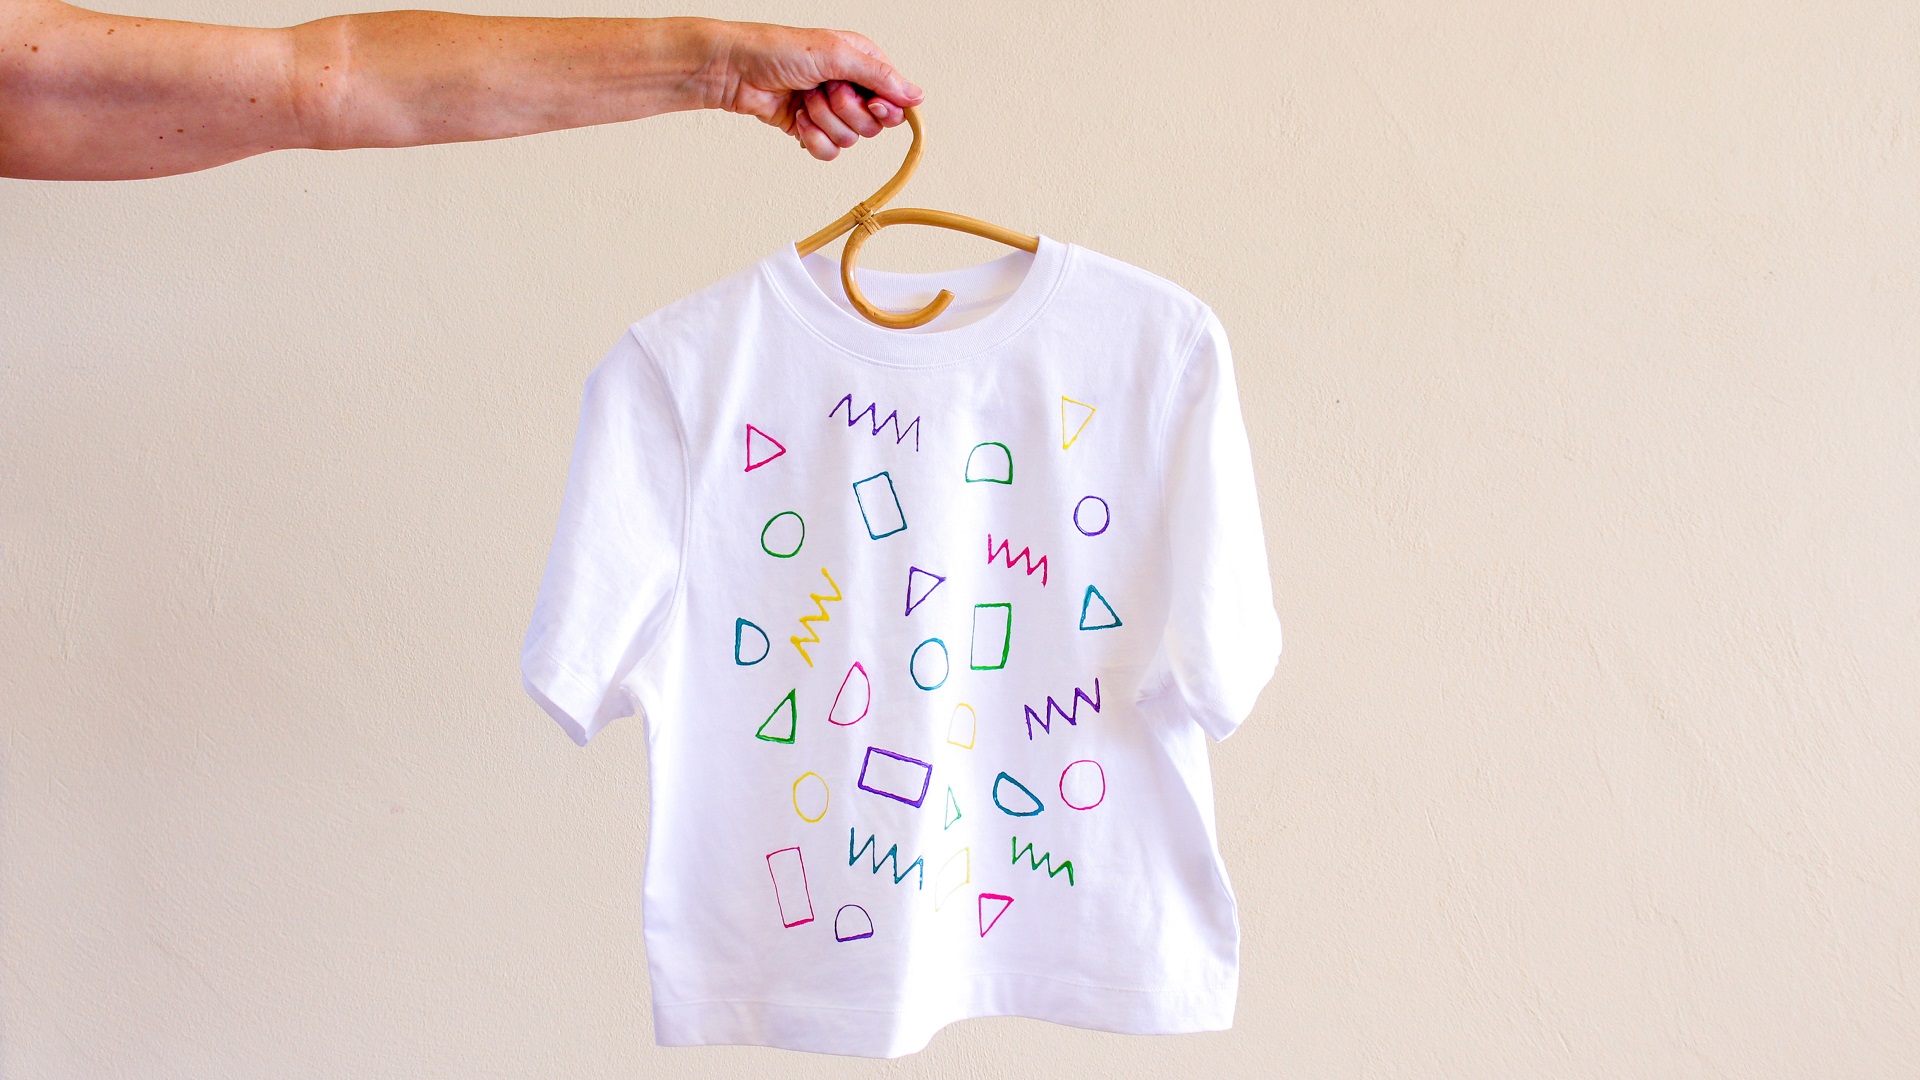
White T-shirt + Puffy Paint

What you'll need:
- plain white t-shirt (pre-wash with no fabric softener)
- puffy fabric paint - we used Tulip Puffy Dimensional Fabric Paint Multicoloured
- paper towel
- hair dryer or iron
Instructions:
- Clear a space on the dining table and lay the shirt flat to make it easier to draw on. Stuff a newspaper or flat sheet of cardboard or plastic inside to prevent your designs showing through on the back as well!
- Get yourself a scrap piece of fabric to practise on so you can get a feel for the paint before committing to your t-shirt. Shake bottles well before using.
- Once you've got the hang of it, get to work on your masterpiece! We recommend using paper towel or tissue to wipe the tip of each tube after using - you don't want any big globs of paint coming out.
- Once you're happy with your design, let it dry flat for 4 hours.
- To activate the puffiness, focus a hair dryer on the paint or use an iron on the hottest setting to hover just above the paint (careful you don't let the iron touch it).
- Your shirt can be washed inside out after 72 hours and be ready to wear!
White T-shirt + Iron-On Transfer

What you'll need:
- plain white t-shirt (pre-wash with no fabric softener)
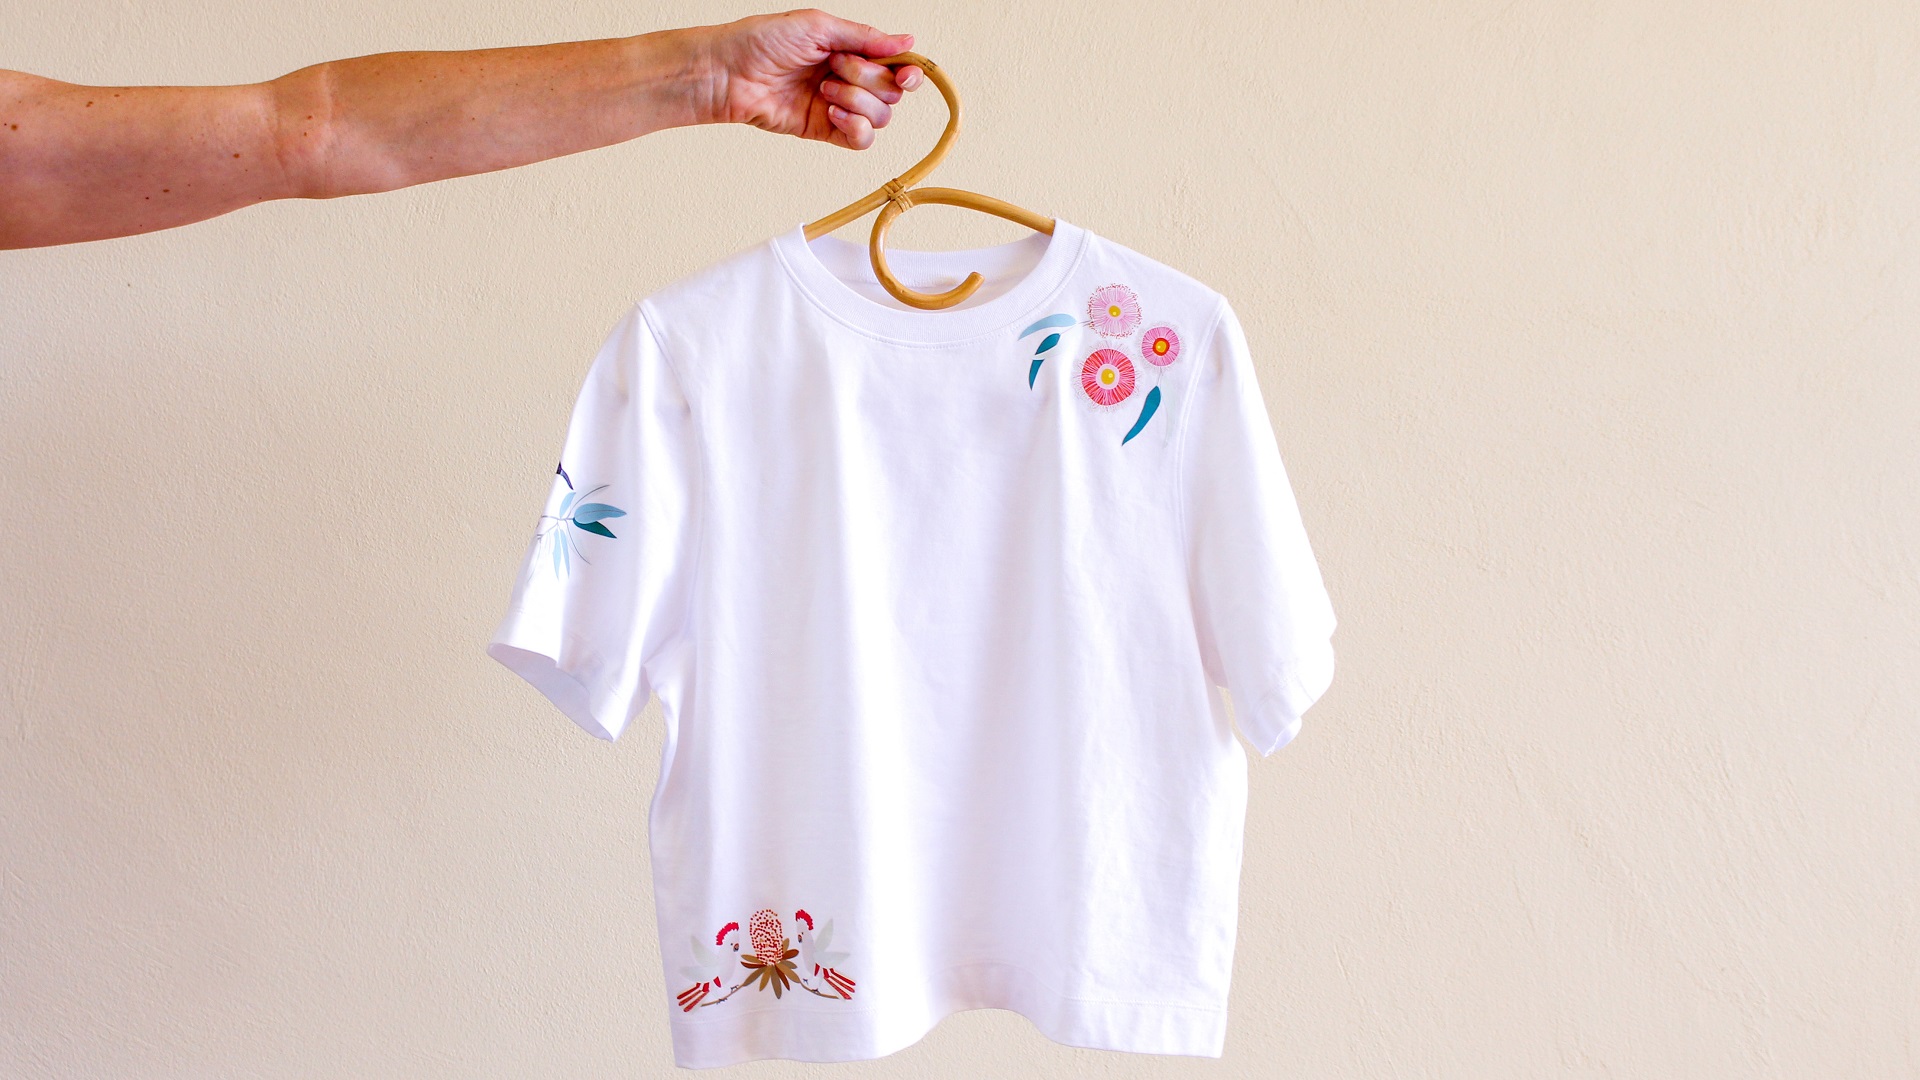
- selection of iron-on transfers - we used Jocelyn Proust Kingfisher Iron On Transfer, Jocelyn Proust Eucalyptus Floral Iron On Transfer and Jocelyn Proust Major Mitchell Cockatoo Iron On Transfer
- iron and ironing board
Instructions:
- There are many styles to choose from these days when it comes to iron-on motifs and patches. Find the one that suits you best and pick a variety of different transfers that work well together. We decided to go with an Australiana motif for this project.
- Lay the shirt out flat and play around with the different transfers you've chosen. Front and centre is the most common spot for transfers, but you could also consider the sleeves, near the bottom hem and even the back of the tee.
- Once you're happy with your placement, grab a tea towel to cover the transfers and press down your iron on high heat for around 10 seconds.
- Gently peel one of the corners to see if the transfer worked. If it hasn't fully adhered yet, place the towel back and press down again with your iron until everything is properly attached.
- Peel off the backing, let it cool down and you're done!
White T-Shirt + Trims

What you'll need:
- plain white t-shirt (pre-wash with no fabric softener)
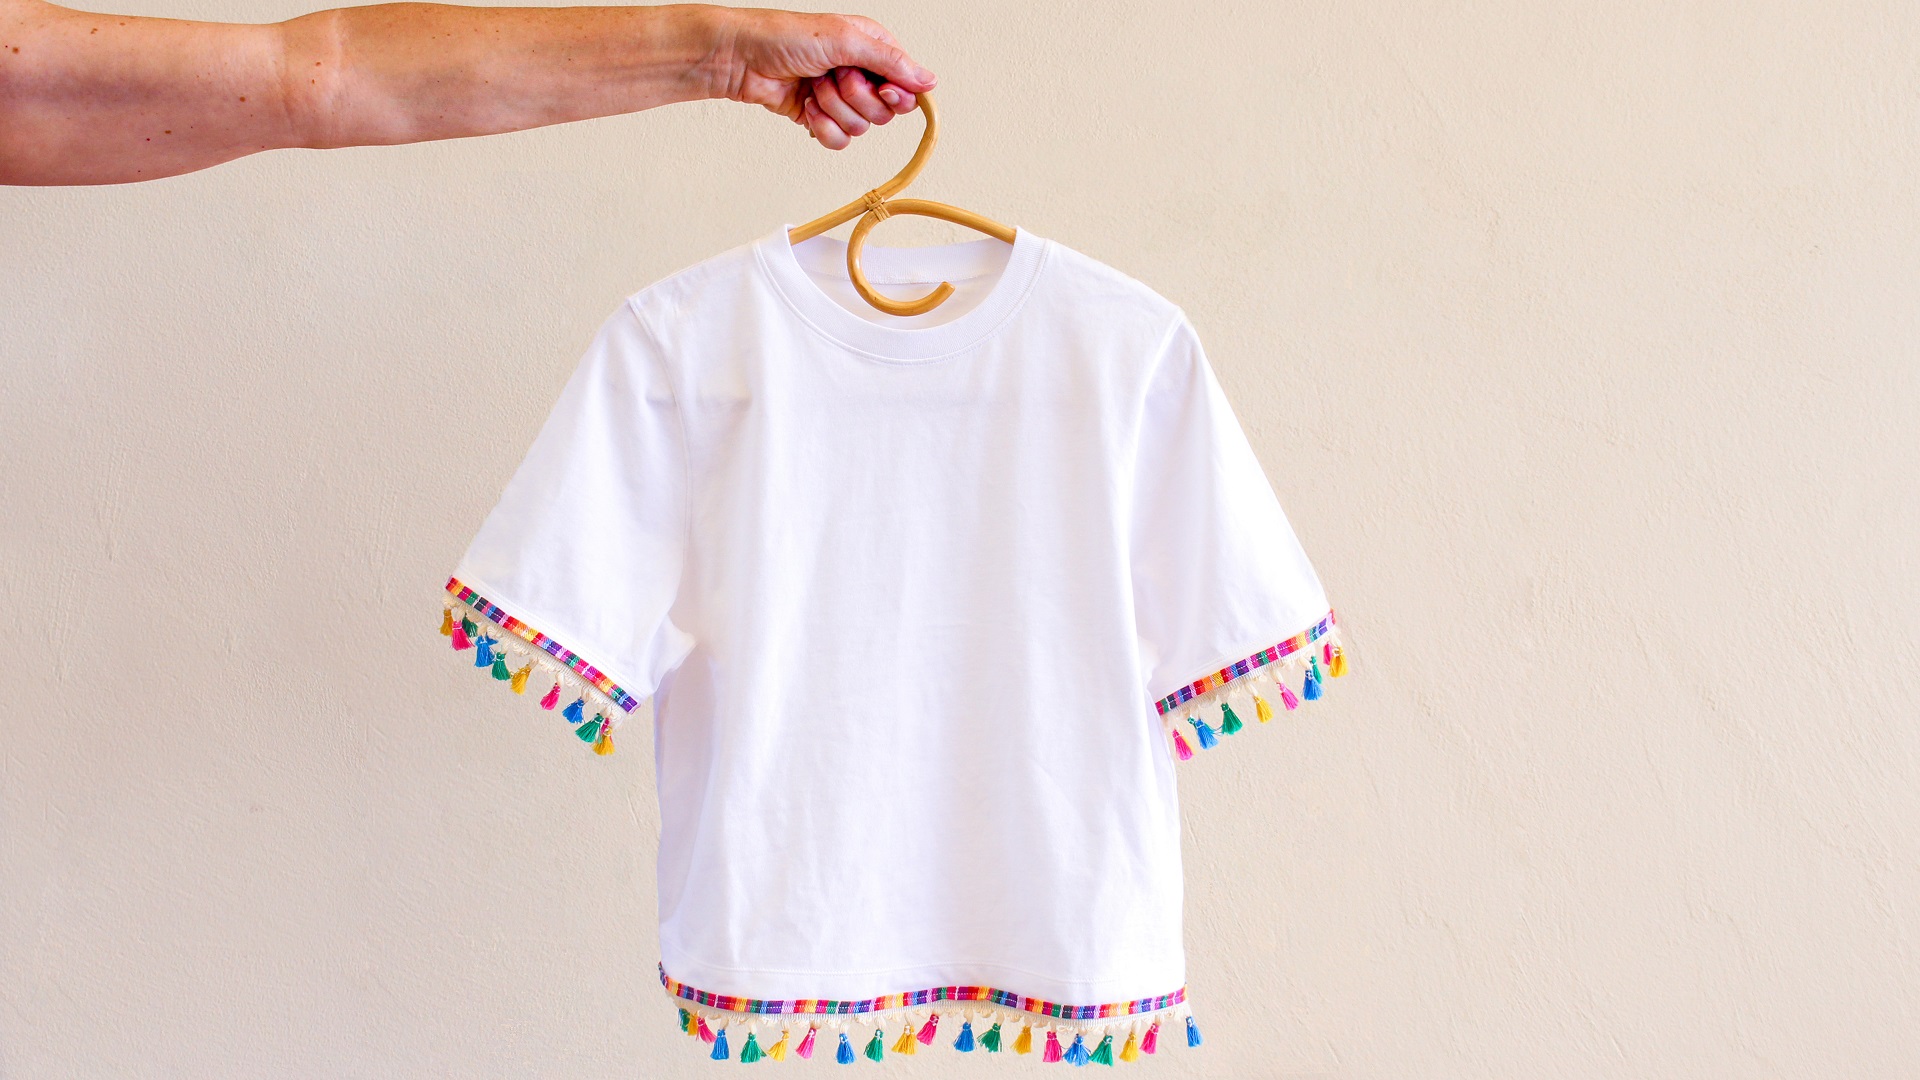
- complementary trims in one or two different styles - we used European Holiday Rainbow Flat Braid and Tassel Trim Multicoloured
- pins
- scissors
- sewing machine
Instructions:
- Play around with the different trims until you've decided on the perfect placement. You can have them going around the bottom hem or across the front in different patterns. Just be sure to pin it all down once you've got everything where you want it.
- Set up your sewing machine with complementary threads and stitch in a straight line the whole length. Some of the trims may be wider, so to keep them in place, stitch down either side close to the edge.
- Cut off any loose threads and voila! You've got yourself a fancy trimmed t-shirt!


