 | ||
| Your browser is not supported. | ||
|
Please browse our site using any of the following options:
| ||
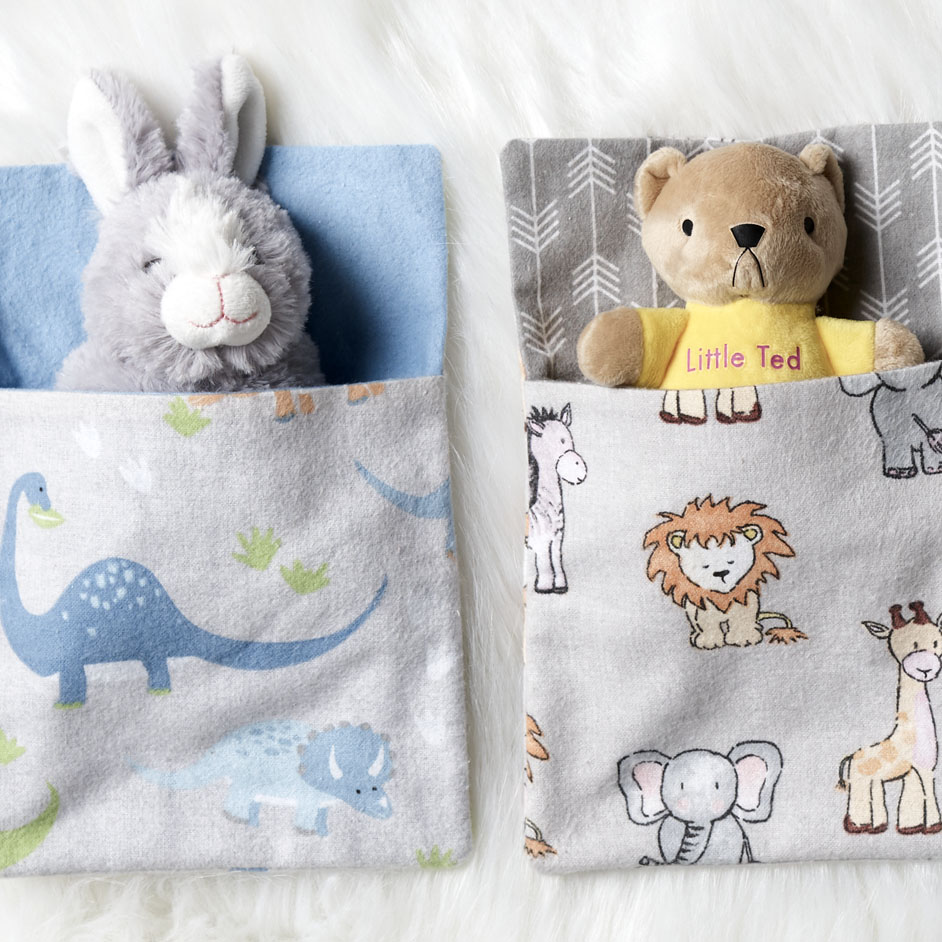
TOY SLEEPING BAGS

LEVEL: EASY
WHAT YOU'LL NEED:
- Printed flannelette
- Solid colour flannelette
- Coordinating cotton thread
- Quilting ruler
- Cutting mat
- Rotary cutter
- Pins
- Sewing needle
- Iron & ironing board
- Sewing machine
INSTRUCTIONS
Note: that all seams are 1/4 inch.
Step 1. Cut one 10.5 x 8.5 inch piece and one 7.5 x 8.5 inch piece from each of your fabrics.
Step 2. Take the two 7.5 inch pieces, place them right sides together, and sew along one edge.
Step 3. Unfold along the sewn edge, and press wrong sides together.
Step 4. Take one of your 10.5 inch pieces (the solid coloured) and lay it right side up on your workspace.
Step 5. Lay your sewn and pressed piece on top, aligning it with the bottom of the larger piece. (Make sure the patterned fabric, or the one you want to show on the outside is facing up)
Step 6. Lay your other 10.5 inch piece right side down on the two other pieces, aligning all edges.
Step 7. Pin all pieces together.
Step 8. Sew around the edges, leaving a 1.5 inch turning hole.
Step 9. Turn inside out, and press.
Step 10. Using a ladder stitch, sew up the turning hole.


