 | ||
| Your browser is not supported. | ||
|
Please browse our site using any of the following options:
| ||
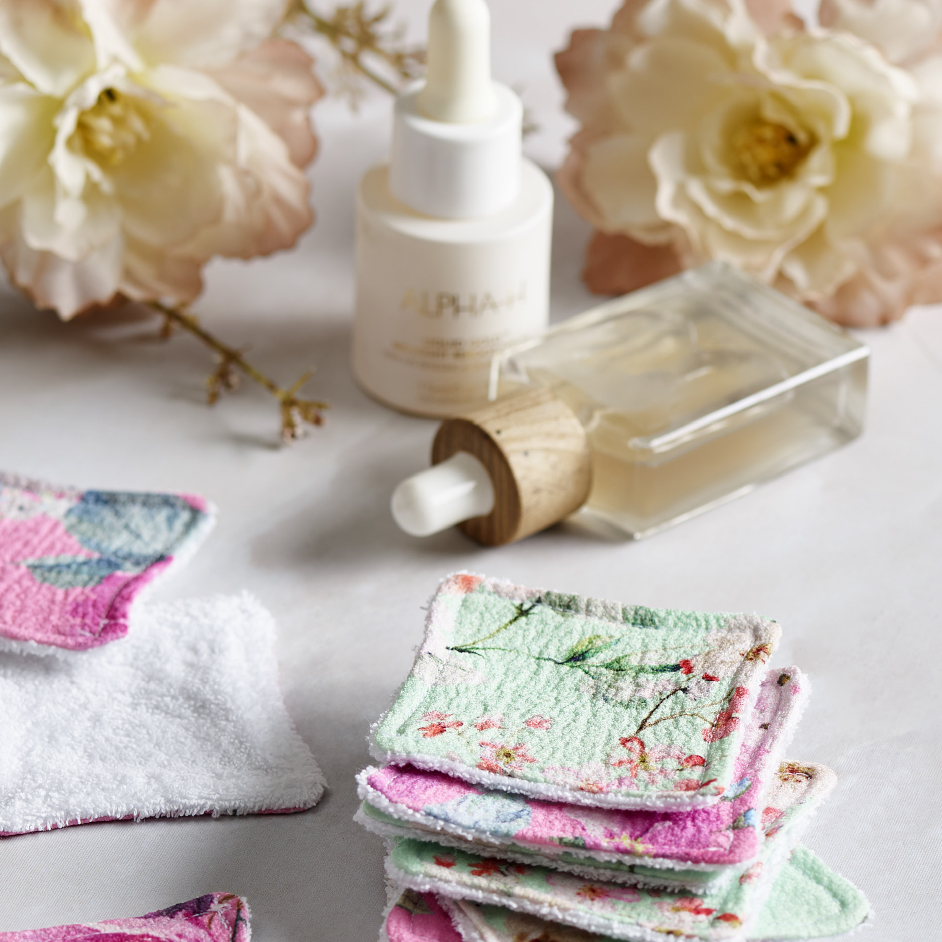
REUSABLE MAKE UP WIPES

LEVEL: EASY
What you'll need:
- 5m softy cotton terry toweling
- 5m torino luxe crepe reverse fabric
- Scissors or rotary cutter
- Cutting mat
- Sewing machine
- Thread
- Pins
INSTRUCTIONS
Step 1 - Wash, dry, and press fabrics.
Step 2 - Cut chosen fabrics into 8cm x 8cm squares. This will be faster with a rotary cutter and mat! Cut as many squares as you would like to have finished pads.
Step 3 - Place a patterned square, pattern face down, on top of a white flannel square. Pin once in the middle of the square to hold the fabric in place.
Step 4 - Stitch around an individual square with ¼" seam allowance. Be sure to leave a 2.5cm opening in the middle of one side. Be sure to backstitch on either side of your opening!
Step 5 - Snip the corners off to reduce bulk inside the squares.
Step 6 - Through the 2.5cm opening, turn the squares right side out. Because they are small, this may be tricky! Don't pull too hard or too fast or you will rip your fresh stitches. Gently use a turning tool to push out the corners and sides of each square.
Step 7 - Fold the opening in (it will already be tucked in slightly) and press with iron. Pressing the whole square will also help it to lay flat.
Step 8 - Top stitch around the edge of the whole square close to the edge. This can be measured to 0.5cm if desired, but just be sure you're stitching your opening closed.
Step 9 - Use your remover pads with your favourite makeup remover.
Step 10 - To wash simply use a bar of soap and water to wash away any make up on the pads. Making sure to rinse thoroughly.


