 | ||
| Your browser is not supported. | ||
|
Please browse our site using any of the following options:
| ||
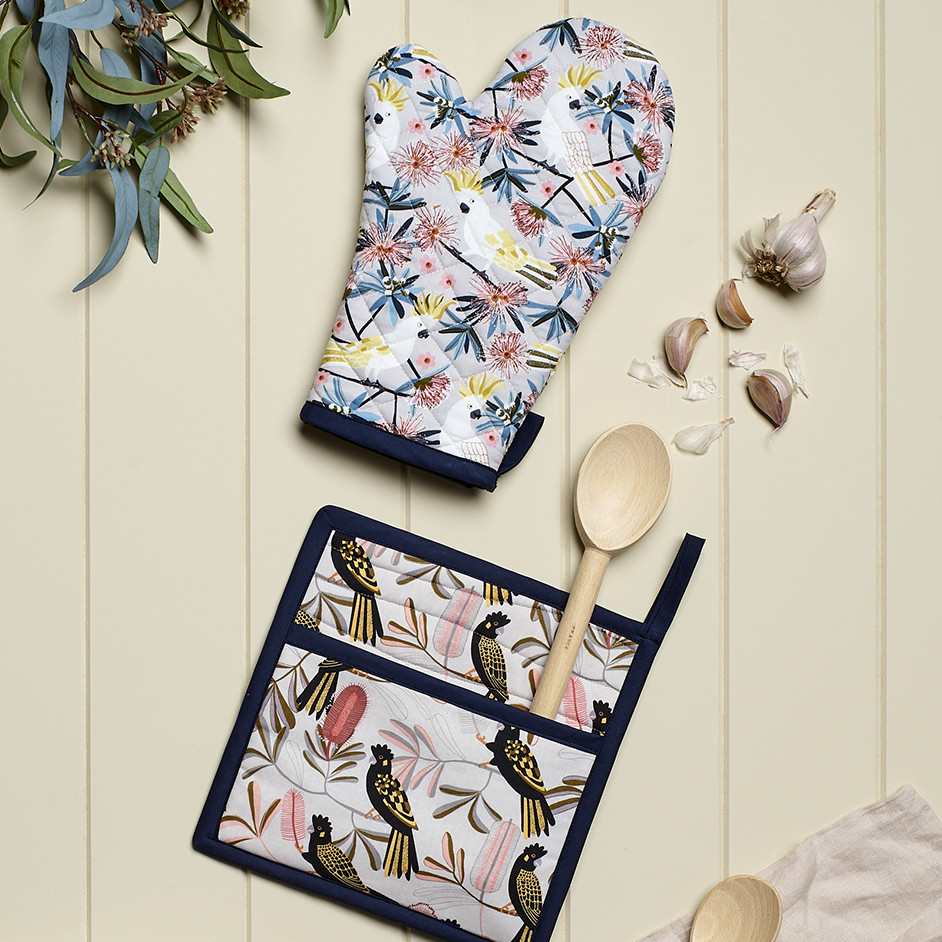
JOCELYN PROUST OVEN MITT AND POT HOLDER

LEVEL: EASY
WHAT YOU'LL NEED:
Fabrics are from 'Jocelyn Proust' Quilting Range:
- 40cm Fabric A for oven mitt
- 40cm Fabric B for pot holder
- 30cm 'Prima' Homespun for lining
- 40cm Insul-Bight
- 40cm cotton batting
- 2m x 25mm bias binding
- Matching 'Gutermann' 100% cotton thread
- Rotary cutter, mat & quilters rulers
- Quilting pins, tape measure
- Scissors, seam ripper
- Hand needle
- Sewing machine with 1/4" foot & walking foot
All fabrics should be 100% cotton, washed & pressed.
1/4" seam allowance used throughout unless otherwise indicated.
Note - Read all instructions carefully before commencing the projects.
INSTRUCTIONS
Oven Mitt
Step 1 - Cut two 131/2" x 11" (35cm x 28cm) rectangles from each of the following - Fabric A, homespun lining, insul-bright and cotton batting.
Step 2 - Layer one of each as follows - lining, cotton batting, insul-bright then Fabric A on top right side up. Pin layers together and quilt using diagonal or wavy lines.
Step 3 - Repeat step 2 to create a second quilted sandwich.
Step 4 - Place quilted sandwiches side by side right side up ensuring fabric design is facing towards the top on each piece. Flip pieces over so lining is facing. Position template provided on left piece with straight edge towards the bottom and thumb to the right and trace. Flip template over and position on right piece with straight edge towards the bottom and thumb to the left and trace. Cut out mitts.
Step 5 - Zigzag across bottom straight edges to neaten. Place mitts right sides facing and pin around the edge leaving bottom straight edge unpinned. Sew together around the edge. Clip into corner of thumb but not through stitching. Zigzag around stitched edges to neaten. Leave mitt wrong side out.
Step 6 - Cut a 50cm length of bias binding. Open up the long raw edge of the binding and starting at outer seam (away from thumb) align with raw edge of mitt. Sew binding around top edge but do not cut off excess binding.
Step 7 - Turn mitt right side out pushing out thumb. Fold binding over raw edge of mitt and topstitch. Use excess binding to create a hanging loop.
Pot Holder
Step 8 - From Fabric B cut two 10" x 10" (25cm x 25cm) squares and two 9" x 6" (23cm x 15cm) rectangles. Cut one 10" x 10" (25cm x 25cm) square from insul-bright. From cotton batting cut one 10" x 10" (25cm x 25cm) square and one 9" x 6" (23cm x 15cm) rectangle.
Step 9 - Layer 10" x 10" (25cm x 25cm) squares as follows - Fabric B right side down, insul-bright, cotton batting, then Fabric B on top right side up. Pin layers together. Quilt using diagonal or wavy lines then trim to 9" x 9" (23cm x 23cm) square.
Step 10 - Layer 9" x 6" (23cm x 15cm) rectangles as follows - Fabric B right side down, cotton batting, then Fabric B on top right side up and pin together. Cut a 9" length of bias binding and bind top edge. This will form the pocket.
Step 11 - Place quilted sandwich from step 9 down on table with insul-bright layer closest to the bottom. Pin step 10 on top, aligning raw edge of pocket with bottom raw edge of quilted sandwich. Zigzag together around outside edge.
Step 12 - Starting in one corner bind together around the outside edge using excess bias binding to create a hanging loop.
Note - This template has been scaled. You will need to blow it up by 250% to make it full size.


