 | ||
| Your browser is not supported. | ||
|
Please browse our site using any of the following options:
| ||
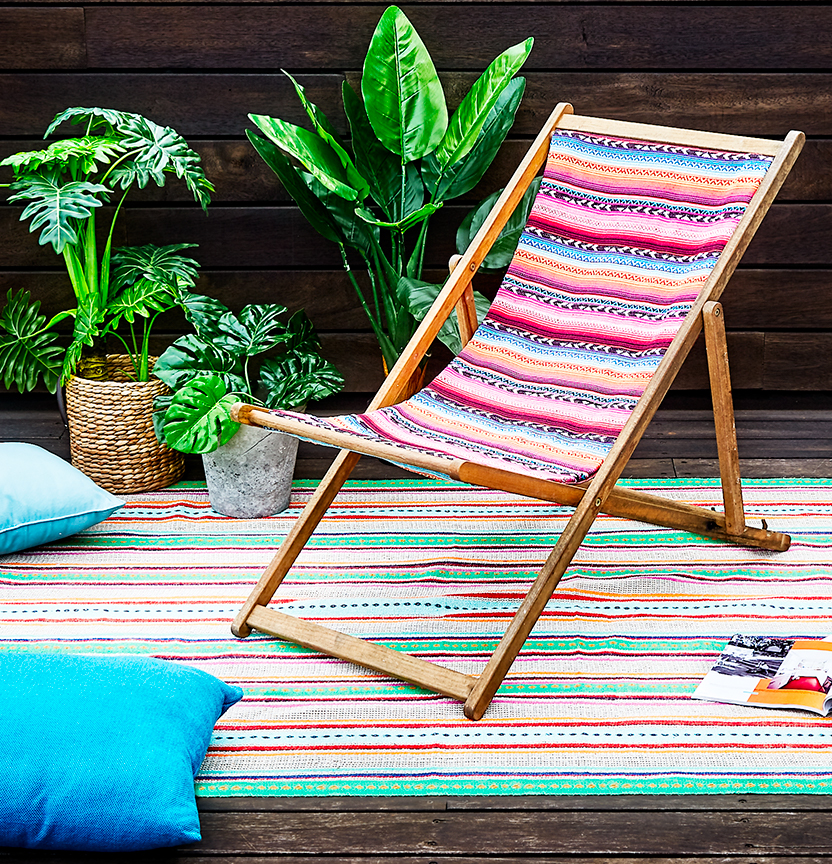
DIY DECK CHAIR & RUG

LEVEL: EASY
WHAT YOU'LL NEED:
Deck Chair:
- A deck chair
- 2m x ICA HASINA, RASPBERRY, 150CM
- Tribeca 25 Pack Upholstery Tacks
- Measuring tape
- Hammer
- Scissors
- Iron
Rug:
- 2m x FERNANDO JUTE HASINA, GREEN, 150 CM
- Sewing machine
- Pins
- Iron
- Scissors
- Measuring tape
INSTRUCTIONS
Deck Chair:
Step 1 - Remove existing fabric from deck chair if there is any and use this to create a pattern from. Measure the length and width of this piece and add 2cm to each measurement to allow for seam allowance when sewing.
Step 2 - Cut 2 pieces from the Hasina fabric to the size you measured in step 1.place fabrics right sides together and sew down both the long sides with a 1cm seam allowance. Do not sew the short ends. Turn the fabric right sides out through one of the short ends and press with an iron. Then top stitch down the long side seams about 1cm in from the edge to finish.
Step 3 - Lay the Hasina fabric down on a flat surface/table. Place the chair frame upside down on top of the fabric and position the ridges of the chair so they are underneath.
Step 4 - Start at the top end of the chair, there should be 3 bars. Move both the lower bars out of the way (like the deckchair is erected but upside down) and feed the fabric underneath the top bar.
Step 5 - Fold over the edge of the fabric 2-3cms and roll the fabric over the top bar to cover it completely.
Step 6 - You can now attach the fabric to the top bar using the upholstery tacks. Start at one edge and insert the tack on the underside of bar. Hold the tack between 2 fingers and gently hammer to secure in place. Then remove your hands and hit the tack hard until it is flush with the fabric.
Step 7- Repeat this process with a tack in the centre and another at the other end then fill in the remaining space with more tacks (roughly 9 or 10) until fabric is attached evenly across the entire bar.
Step 8 - Now feed the rest of the fabric underneath the bar at the narrow end. Turn the fabric in so that it fits inside the frame. Then fold over the end of fabric (cut off any excess at this point) and fold over the bottom bar and secure in the same way as before in steps 5 and 6.
Rug:
Step 1 - Decide on finished size of rug. Add an extra 5cm to the width and length of both those measurements for hemming.
Step 2 - Cut out fabric to the measurements from Step 1.
Step 3 - Using an iron to press under 1cm seam allowance then fold under 1.5 again to create a neat hem. Cut any excess fabric from the corners if they are too bulky. Pin in place.
Step 4 - Top stitch the hem 1cm in from the edge to finish!


