 | ||
| Your browser is not supported. | ||
|
Please browse our site using any of the following options:
| ||
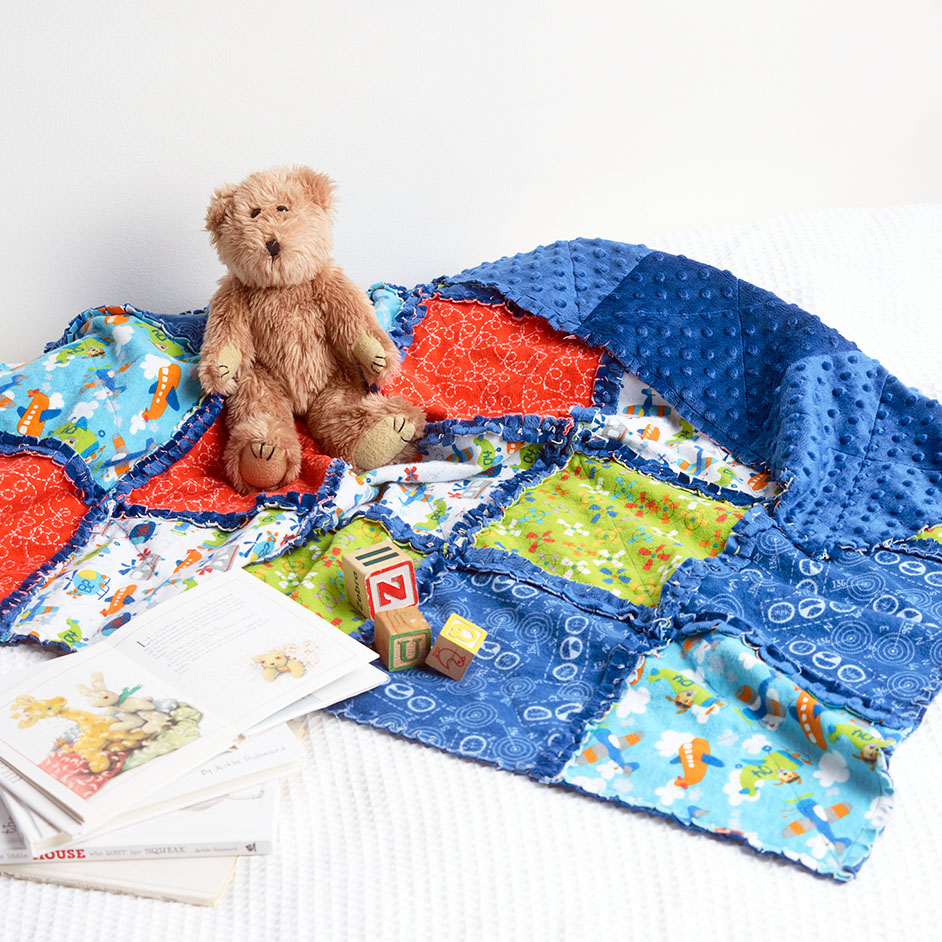
HIGH FLYER PLUSH BLANKET

LEVEL: EASY
WHAT YOU'LL NEED
- 1 Fabric Palette High Flyer Flannel Bundle (5-50.8cm x 53.3cm)
- 1 meter Royal Blue Minky Dot
- Coordinating thread
- Rotary cutter, mat, and acrylic ruler
- Basic sewing supplies
- Sewing machine
- Iron
- Removable marker
- Spring-loaded scissors (optional)
INSTRUCTIONS
Read all instructions before beginning project. Do not prewash fabrics. Use a 1.27cm seam allowance. Press flannel fabrics (ONLY) on cotton setting before cutting. Do not iron Minky Dot fabric or it will melt. This blanket does not require any pressing during construction.
CUTTING (Dia. A)
- Bundle Fabrics A-E: Cut 4- 22.9cm x 22.9cm squares from each fabric (blanket front)
- Minky Dot Fabric F: Cut 20- 22.9cm x 22.9 cm squares (blanket back)
SEWING
Step 1. Mark a diagonal line in both directions on the right side of the 20 flannel squares using a removable marker (Dia. B).
Step 2. Layer 1 flannel square and 1 Minky Dot square wrong sides together. Align edges and pin generously since Minky Dot tends to slide while sewing (Dia. C). Repeat to pin a total of 20 pairs of flannel/Minky Dot.
Step 3. With Minky Dot side facing down, sew through both layers following the "X" marked on the flannel. Repeat to sew a total of 20 squares. With flannel side up, trim any excess Minky Dot showing beyond the flannel (Dia. D).
Step 4. Arrange the squares in five rows of 4 each following (Dia. E). Start with Row 1 and pin the first two squares with Minky Dot sides together sew. In the same manner, sew the next two squares to complete Row 1. Repeat for Rows 2-5. Pin Rows 1 and 2 with Minky Dot sides together. Match the seams with the seam allowances open and sew with a backstitch at the beginning and end of the seam.
Step 5. Topstitch 1.27cm around the outside edge. Sew with the flannel side up and open the seams as you sew over them (Dia. F).
Step 6. Carefully clip all seams up to but not through the stitching line, approximately 1.27cm apart, including the outside edge.
Note: Clip through both layers at the same time being careful not to clip into the seam. (Tip: Any sharp scissors will work, but spring-loaded scissors reduce hand fatigue.)
FINISHING
To fray and soften the cut fringe, machine wash with a mild soap in cold water regular cycle, then machine dry.
Tip: Put a filter on the washer drain to prevent loose threads from causing a problem. Clean your dryer lint filter frequently.


