 | ||
| Your browser is not supported. | ||
|
Please browse our site using any of the following options:
| ||
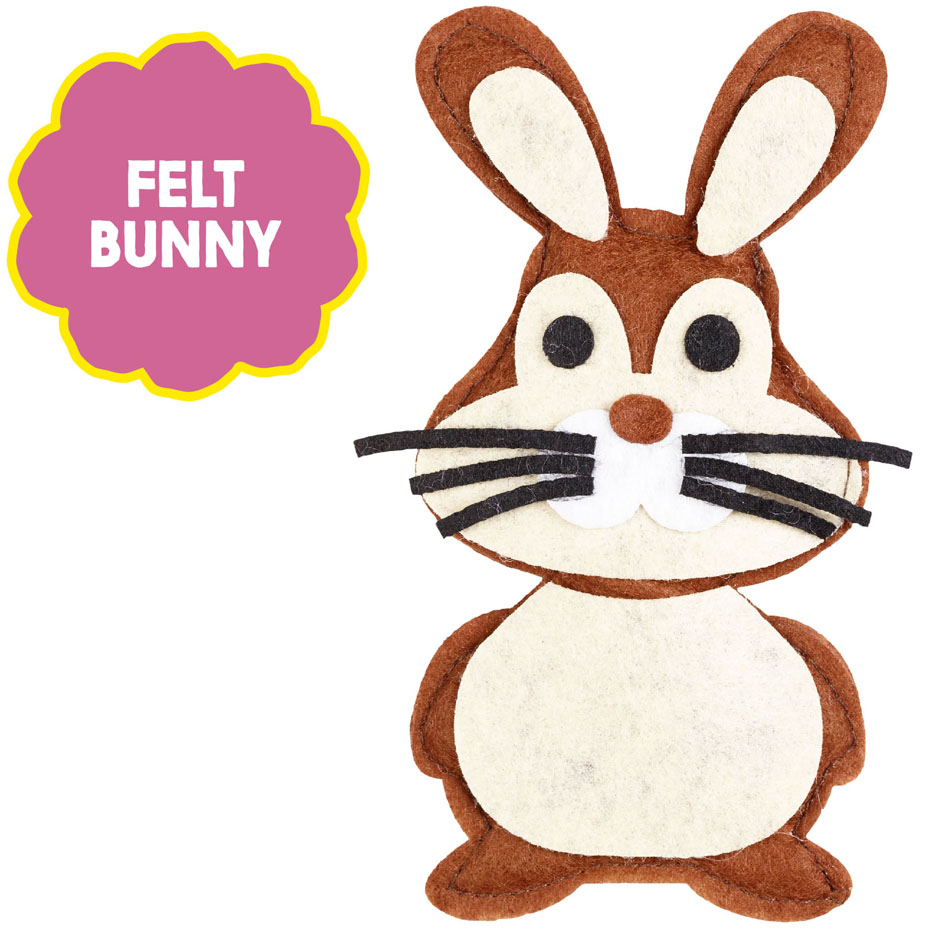
FELT BUNNY

WHAT YOU'LL NEED
- 4 pieces of felt in colours of choice
- Pencil & paper
- Tape measure or ruler
- Pins
- Scissors
- Small amount of Hobby fill
- Craft glue
- Wooden chopstick for stuffing tool
- Hand sewing needle & thread or sewing machine
INSTRUCTIONS
1. Using the template sheet make templates for body/head, belly, face, eyes, snout, nose and inner ears.
2. Cut out the following pieces - 2 x body, 2 x inner ear, 1 x face, 1 x belly, 1 x snout, 2 x eyes and 1 x nose using the templates. Cut 6 straight strips for whiskers.
3. Place the two body pieces together one on top of the other and pin in the centre to hold. Sew together around the outside edge using a small backstitch or sewing machine leaving a small opening at the bottom between the legs.
4. Stuff the bunny with hobby fill making sure to put some up into the ears. Use the wooden chopstick to push the hobby fill out to the edges.
5. Hand sew opening closed.
6. Glue on the cut pieces starting with the belly, then the face, inner ears, snout, nose, whiskers and eyes.
TIPS
- Place a small strip of velcro on the back of the bunny to create a 3D character that can be attached to a wall plaque, grow chart or wall picture.
- Be creative by using different coloured felt- try blue for the body with pink belly, face and inner ears. Let you imagination go wild.


