 | ||
| Your browser is not supported. | ||
|
Please browse our site using any of the following options:
| ||
CARDBOARD CREATURES

Level: Easy
WHAT YOU'LL NEED
- Cardboard boxes (large and small)
- Packing and masking tape
- Pen or pencil
- Scissors
- Stanley knife
- Paint and paint brushes
- Texta or markers
- Washi Tape
- Decorative paper
- Any craft materials to decorate your costume with
INSTRUCTIONS
Step 1 - Start by laying out all your materials on a clean workspace so you can see everything you have to work with.
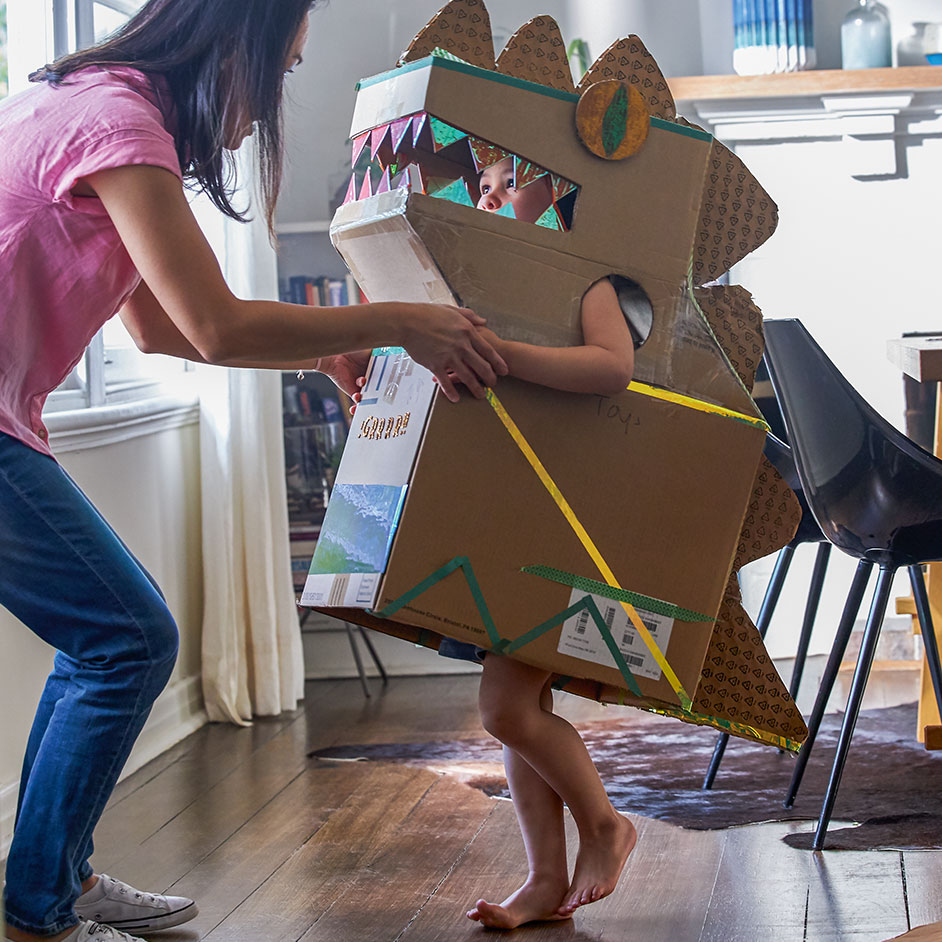
Step 2 - Then begin opening 2 ends of each box and playing with the different sized boxes to create the shape you need for your creature. For the dinosaur we used 1 large box for the body and a smaller box for the head.
Step 3 - Position the boxes with the openings together so you can easily get through the centre of your costume and secure with tape. Tape is your best friend with this project, from the inside use as much tape as you need and extra pieces of cardboard to create stronger joins between the boxes.
Step 4 - Once you have the main body of your creature made, use a pencil to start drawing on its features. For the dinosaurs head we drew a section for where the mouth would go and carefully cut away that section of cardboard with the Stanley knife. Keep the excess cardboard to create the teeth. At this point you can also cut the holes for where you want the arms to be. Trace around a cup or something circular and again use the Stanley knife to carefully cut out the circle shape. Hint - Keep these circle pieces and use for the eyes.
Step 5 - Use any off cuts of cardboard to create eyes, spikes, wings, ears, whatever you need to bring your creature to life. Use a pencil to draw the different shapes and cut them out with scissors.
Step 6 - Decorate these pieces using decorative card to create shiny teeth and texters to add detail like the pupils on the eyes. Then use the tape to stick each piece onto the main body.
Step 7 - Once all your pieces are attached its time to decorate! Use any of the craft supplies you have, washi tape, pens, paper to bring your creature to life!
Step 8 - To finish put your costume on and enjoy letting your imagination take you away while you play.


