 | ||
| Your browser is not supported. | ||
|
Please browse our site using any of the following options:
| ||
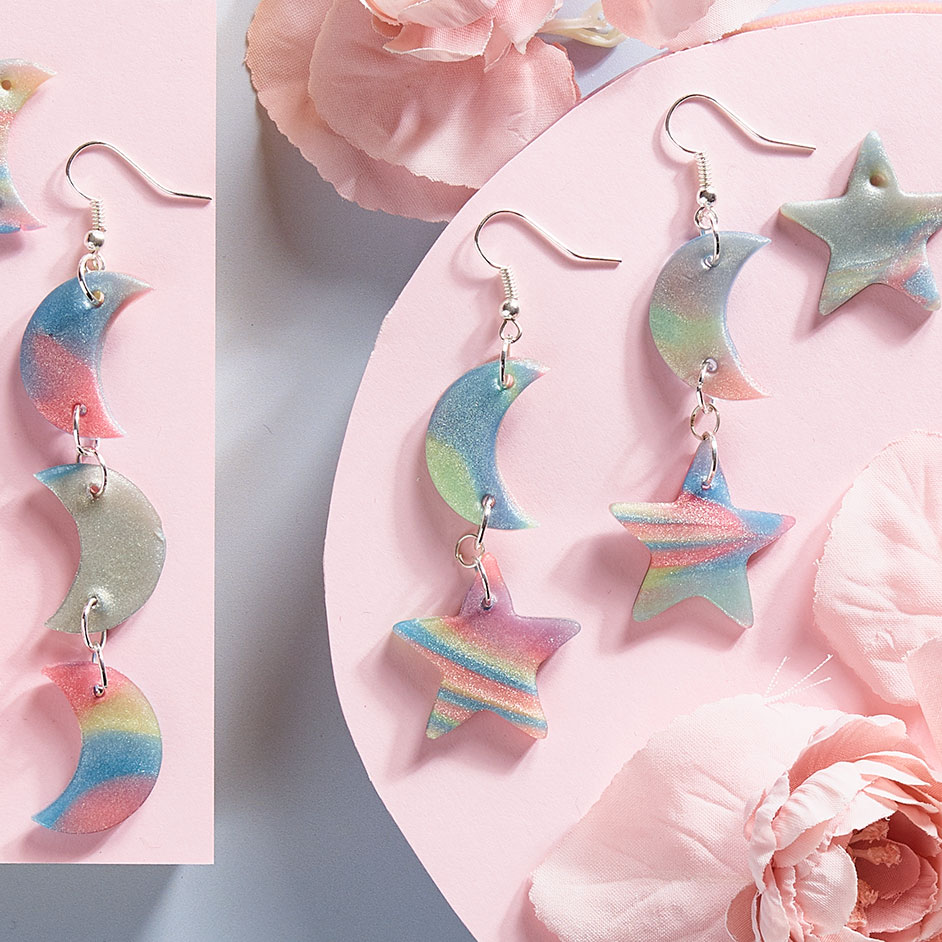
SCULPEY IRIDESCENT EARRINGS

LEVEL: EASY
WHAT YOU'LL NEED:
- Sculpey Premo Iridescent Multipack
- Sculpey Clay Tool Starter Kit
- Sculpey Mini Cutters
- Baking Paper
- Oven
- Jewellery Pliers
- Ribtex Earring Hooks
- Ribtex Jump rings in 4mm & 7mm
INSTRUCTIONS
Step 1 - Preparation is key. Draw up a rough sketch of your idea or reference our simple drop style earrings. If you're creating earrings with separate pieces like we did, make sure there is space for the jump rings to be placed later.
Step 2 - The new iridescent sculpey has a high concentration of mica, so when mixed together the sculpey creates a colour shifting oil slick effect. The set comes with three iridescent colours in Pink, Yellow and Blue. The magic happens when you mix them together! They swirl together to create holographic hues which colour shift and have immense depth in different lighting. The look will be totally different depending on how much or little you mix them together and the amounts of each shade you use.
Step 3 - For this project we rolled out each colour of sculpey into very thin pieces and then layered the colours together and rolled them again to blend the colours and create an oil slick effect. Continue doing this until it is roughly 5mm thick and enough to cut out all the pieces for your earring design.
Step 4 - You can cut the clay free hand using the sculpey cutting tools or for precision, use shaped cutter tools. Don't forget to create holes for the jump rings, we used the blunt point tool from the Sculpey Tool Set kit. Once you bake the clay, it will be very hard to create holes into the pieces.
Step 5 - Once you're done with your pieces, you're ready to bake your sculpey in the oven. For best results, preheat your oven for at least 15 minutes. We recommend baking a test piece first to ensure you know the optimal time for curing your clay as every oven will heat differently. A good rule of thumb for curing Sculpey Premo clay is to bake at 130C for 30 minutes for every 6mm thickness. For our 5mm thickness, it will be about 23-25 minutes - do not leave longer than 25 minutes. If it's under cured, you can always return it to the oven whereas over baking it means it can brown the edges which may require you to restart again.
Step 6 - Place the pieces between 2 sheets of baking paper and put in the oven. Keep a sharp eye on the pieces to ensure they're not overbaked as this will cause yellowing on the surface. They will harden as they cool so don't be alarmed if they appear soft.
Step 7 - Now using the pliers and jewellery accessories you can assemble your earrings. The possibilities are endless so let your creativity go wild and see what creations you come up with.


