 | ||
| Your browser is not supported. | ||
|
Please browse our site using any of the following options:
| ||
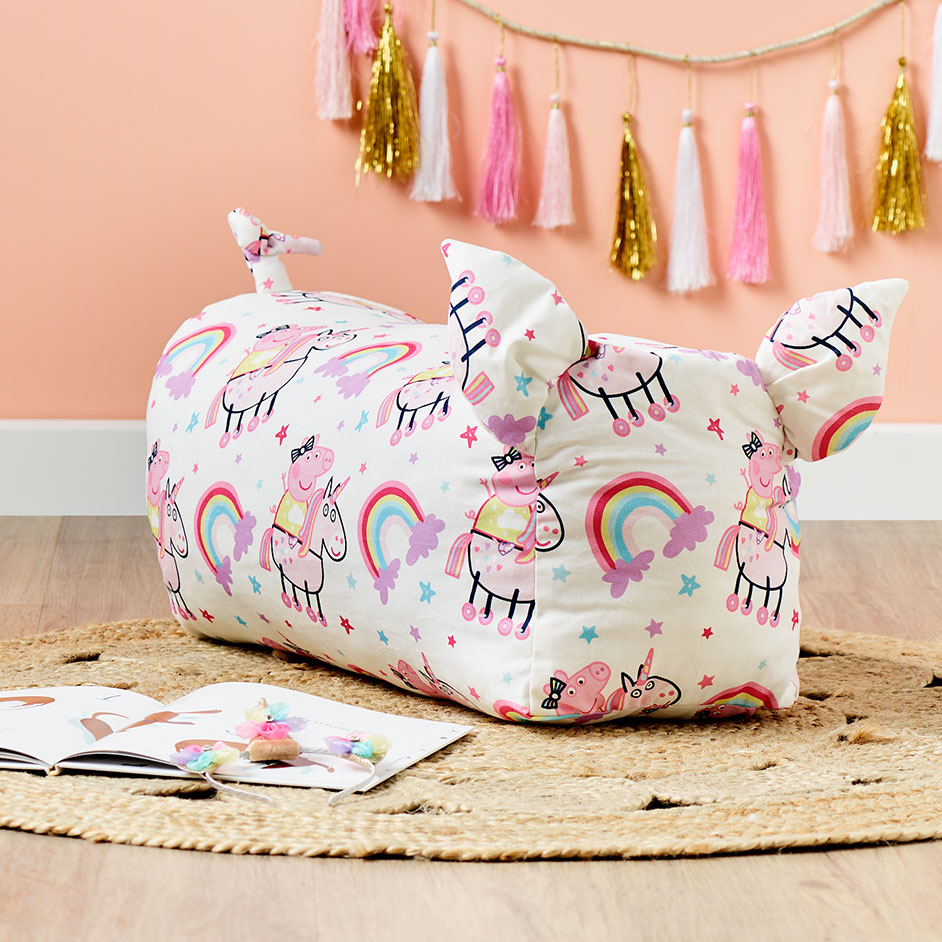
PEPPA PIG OTTOMAN

Level: Intermediate
WHAT YOU'LL NEED:
- Peppa Pig fabric
- Sewing machine and matching thread
- Scissors
- Pins
- Measuring tape
- Hobby Fill
- Hand sewing needle and thread
INSTRUCTIONS
Note - At least 1cm seam allowance used throughout unless otherwise indicated.
Step 1 - Cut out your pieces from the fabric:
- 2 x Ears 15cmx11cm
- 1 x Body 102cmx72cm
- 2 x Back/Front of body 42cm wide
- 1 x Base 42cm x 72cm
- 2 x Tail 20X5cm
Be sure to cut the two notches for fixing position of ears on body piece.
Step 2 - Turn right sides of earpieces and stitch together but leave an open at the end, turn right side out then fill with poly fill.
Step 3 - Repeat the same process with the tail pieces. Sew together, leaving an opening for turning through and fill with poly fill.
Step 4 - Take the front and back body pieces and align right sides together with the main body piece, pin together. Sandwich the earpieces between the two layers at one end, matching the notches and again pin in place. Repeat at the other end with the tail, positioning it in place. Stitch the panels together with a 1cm seam allowance to create the curved front and end of Peppa Pig. The ears and tail will be secured in the seams at either end.
Step 5 - Now take the base piece and place it together with the body pieces, right sides facing in. Pin around the entire piece and then sew together with a 1cm seam allowance but be sure to leave an opening roughly 10cm wide.
Step 6 - Turn the fabric right side out through the opening. Use hobby fill to fill the pig until nice and full. To finish, sew the opening shut with a needle and thread.


