 | ||
| Your browser is not supported. | ||
|
Please browse our site using any of the following options:
| ||
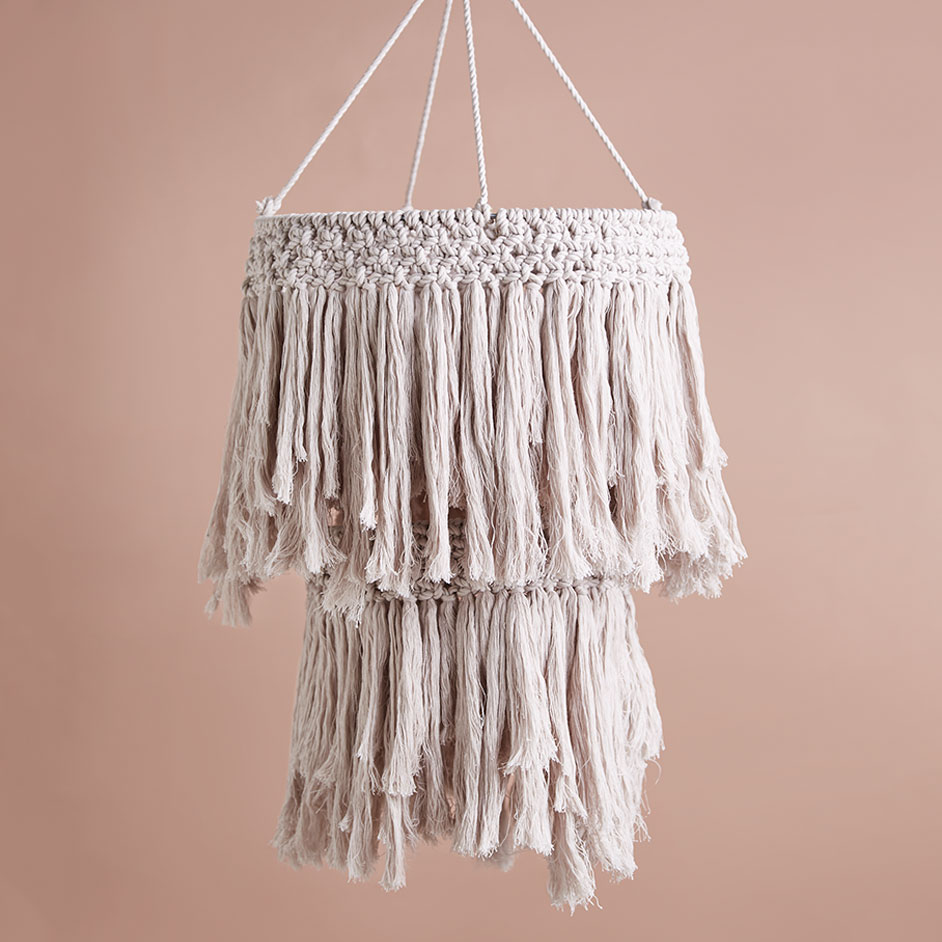
MACRAME CHANDELIER

Level: Easy
WHAT YOU'LL NEED
- 2 x Macrame Twist Cotton Cord, Natural 6mm x 50m
- 2 x Galvanised rings
- Measuring tape
- Scissors
Read all instructions carefully before commencing the project.
INSTRUCTIONS
Step 1 - Cut your macrame cord into the below lengths.
Larger circle = 76 lengths x 70cm
Small circle = 56 lengths x 70cm
Step 2 - Start by attaching each length onto the galvanised rings using a lark's head knot. Continue until the whole ring is covered. Ensure that the knots are all facing the same ways.
Step 3 - Repeat this process with thesmaller ring.
Step 4 - The process for both rings are the same. Start by tying a row of square knots the entire way around.
Step 5 - Tie 2 more rows of square knots that alternate with the one above. You should end up with 3 rows of square knots. Repeat this on the other ring.
Step 6 - To create the fringe use a comb or fork to separate the threads in the cord. Then use an iron or straightener to create a straight fringe. You can also cut the fringe into a shape if you like or leave it uneven. Repeat on second ring.
Step 7 - To finish cut 4 x pieces of cord. Cut them long so you can play with them depending on how long you want your chandelier to hang. Place the small ring inside the larger ring on a flat surface, tie one end of each cord to the smaller ring so that they are evenly spaced. Then carefully loop the excess cord around the larger ring ensuring its evenly spaced like the smaller ring.
Step 8 - Hold the long cords up and see how your chandelier is coming together. Play with the cords and distance between the 2 rings until you are happy with how it hangs and then tie a knot on the larger ring to secure the cords.
Step 9 - To finish pull the cords together and tie off so the chandelier can hang.


