 | ||
| Your browser is not supported. | ||
|
Please browse our site using any of the following options:
| ||
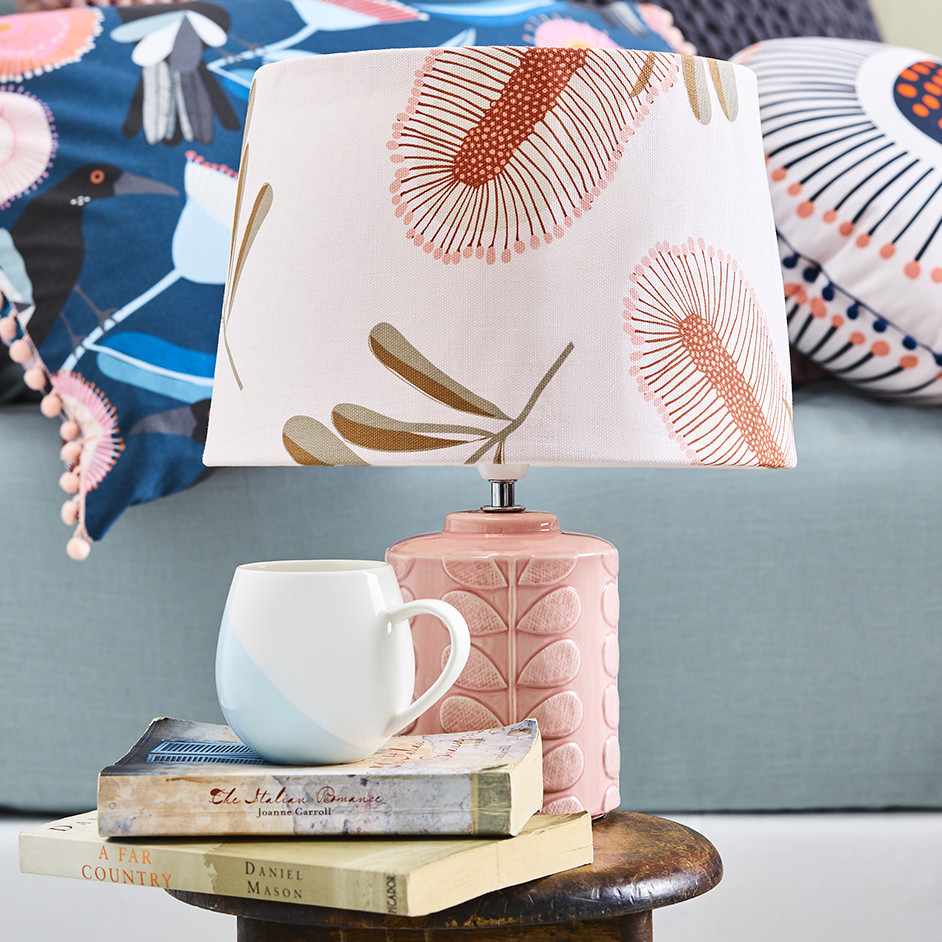
JOCELYN PROUST DIY LAMPSHADE

LEVEL: EASY
WHAT YOU'LL NEED:
- Plain lamp shade
- 'Jocelyn Proust' Australian Flora Collection Decorator Fabric
- Pencil/pen/ruler
- Large sheet of paper (kraft or butchers paper) - please make sure the paper size is larger than the dimension of plain lamp
- Scissors
- Adhesive spray
- Fabric glue
- Pegs
INSTRUCTIONS
Step 1 - To make the pattern for your lampshade lay your paper down on a flat surface. Place lampshade seam side down and slowly roll across the paper, tracing both the top and the bottom with a pen or pencil as you continue rolling to the seam again. Use a ruler to connect the 2 lines with a straight line.
Step 2 - Once you have traced off your pattern, cut out and pin onto fabric.
Step 3 - Add about an inch around the pattern for seam allowance and carefully cut out of fabric.
Step 4 - Lay your fabric right side down on the table. Spray the adhesive spray across one of the straight edges and fold under fabric about 1cm to create a clean finished edge.
Step 5 - Then spray the rest of the fabric with a good amount of adhesive spray. Starting with the raw straight edge, slowly roll the fabric onto the lampshade until the fabric overlaps. Make sure to smooth down the fabric as you go to ensure it is going on smoothly and sticks to the lampshade.
Step 6 - Once the shade is covered with fabric, draw a line of glue around the top inside edge of the lampshade and turn the extra fabric down to adhere to the glue. Use pegs to hold in place while it dries.
Step 7 - Repeat this process with the bottom inside edge and allow to completely dry with the pegs in place.
Step 8 - Once dry, remove the pegs and place back on lampshade to finish!


