 | ||
| Your browser is not supported. | ||
|
Please browse our site using any of the following options:
| ||
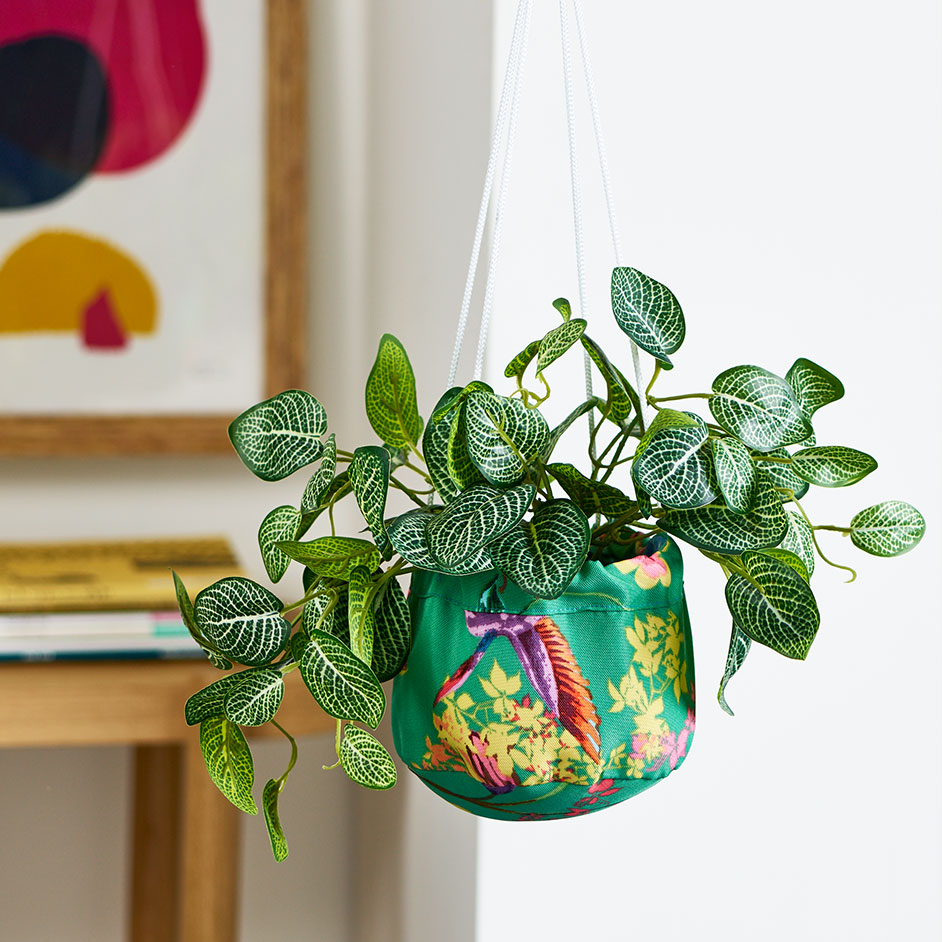
FABRIC PLANT HOLDERS

Level: Easy
WHAT YOU'LL NEED:
- Outdoor canvas fabric
- Pins
- Scissors
- Pencil, ruler and paper to make a pattern
- Sewing machine and matching thread
- Cord
- A plant
INSTRUCTIONS
Step 1 - Make the pattern. Trace around a circle shape that is a little bigger than the size of the pot of the plant you are creating the holder for. Ours was 12cm in diameter. Add a 1cm seam allowance to this circle. Then use a calculator to figure out the circumference of the circle pattern. Use this measurement to create a rectangle that is the circle circumference long by the height of your pot plant. Ours was 37.7cm long by 10cm high. Add a 1cm seam allowance to the short sides and 1 of the long sides of the rectangle. Then add 4cm to the other long side of the rectangle, this side will be the hem at the top of the planter pot.
Step 2 - Once you have finished your pattern pieces, pin onto your canvas fabric and cut out 1 of each piece. Then over lock or zig zag stitch around the edges of the fabric.
Step 3 - Fold the rectangle piece so right sides are facing in. Pin and sew the shorter ends together with a 1cm seam allowance, this will create the wall of your plant holder.
Step 4 - Pin the wall to the base circle piece, you can baste stitch this seam first if you aren't confident in sewing round edges. Otherwise pin and sew with right sides together, using a 1cm seam allowance. Use scissor to snip into the seam allowance to create a neat edge when turned right side out.
Step 5 - Fold and press over the top 4cm seam allowance twice to create a 2cm hem. Pin and sew with a 0.5cm seam allowance from the edge.
Step 6 - Now cut 4 pieces of cord to your desired length. Using a needle and thread sew these cords onto the inside wall of the plant holder.
Step 7 - Tie the loose ends of the rope together in a knot. Place pot plant inside fabric holder and hang!


