 | ||
| Your browser is not supported. | ||
|
Please browse our site using any of the following options:
| ||
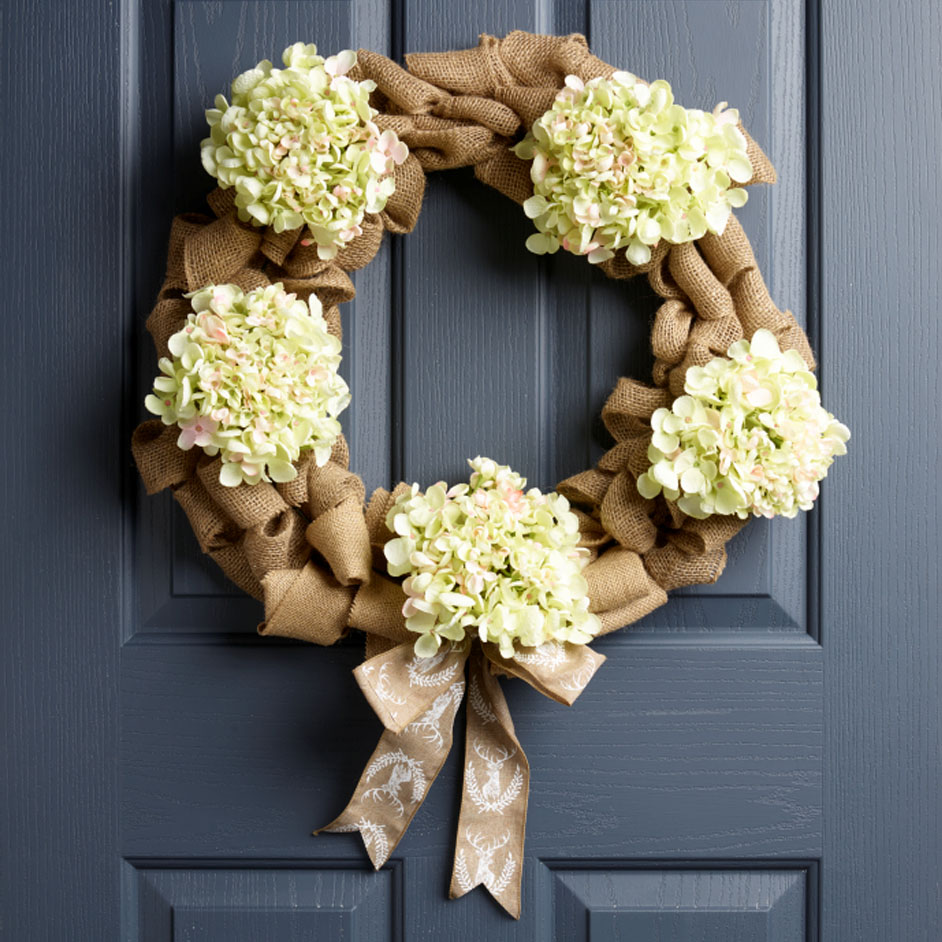
BURLAP WREATH

LEVEL: INTERMEDIATE
WHAT YOU'LL NEED
- 2 x Rolls of 6 in wide Burlap Jute Ribbon
- Scissors
- 12 inch Wire Wreath Frame Form:
- 6 Black Pipe Cleaners cut into 6 in pieces
- Wired Ribbon, 2-1/2-Inch Natural Color
- Leaves and flowers to decorate if you would like to add after the wreath is completed (we used Hydrangea stems)
- Hot Glue Gun with Glue Sticks - to attach leaves and flowers
INSTRUCTIONS
Step 1. Use one end of the burlap ribbon to make a knot around the wire wreath. You can also secure the burlap with a piece of string or pipe cleaner.
Step 2. Push the burlap into one of the sections of the form. Be sure to twist it so that the loop is sideways (this ensures that the wire wreath form is covered).
Step 3. Continue making loops but make sure that the next "bubble" in the wreath is next to the one you just did. This helps hold the previous loop in place. Keep the loops even in size as you push the burlap through the form.
Step 4. Continue making loops until the wreath is as full as you want. You can make all your "bubble" the same size or vary the size for a more asymmetrical finished
burlap wreath.
BURLAP WREATH
Step 5. Cut off the burlap if you have extra.
Step 6. Make another knot to complete the wreath or tuck the end into the bubbles.
Step 7. Use pipe cleaners to keep the burlap in place on the back of the wreath.
Step 8. Use wire cutters to remove the stems from the hydrangea heads. Place each head at evenly spaced intervals around the wreath form. Use a small piece of wire to secure in place to the wire form. Add glue if required.
Step 9. Tie a large bow out of the decorative ribbon. Secure at the bottom of the wreath by wiring to the wreath form.


