 | ||
| Your browser is not supported. | ||
|
Please browse our site using any of the following options:
| ||
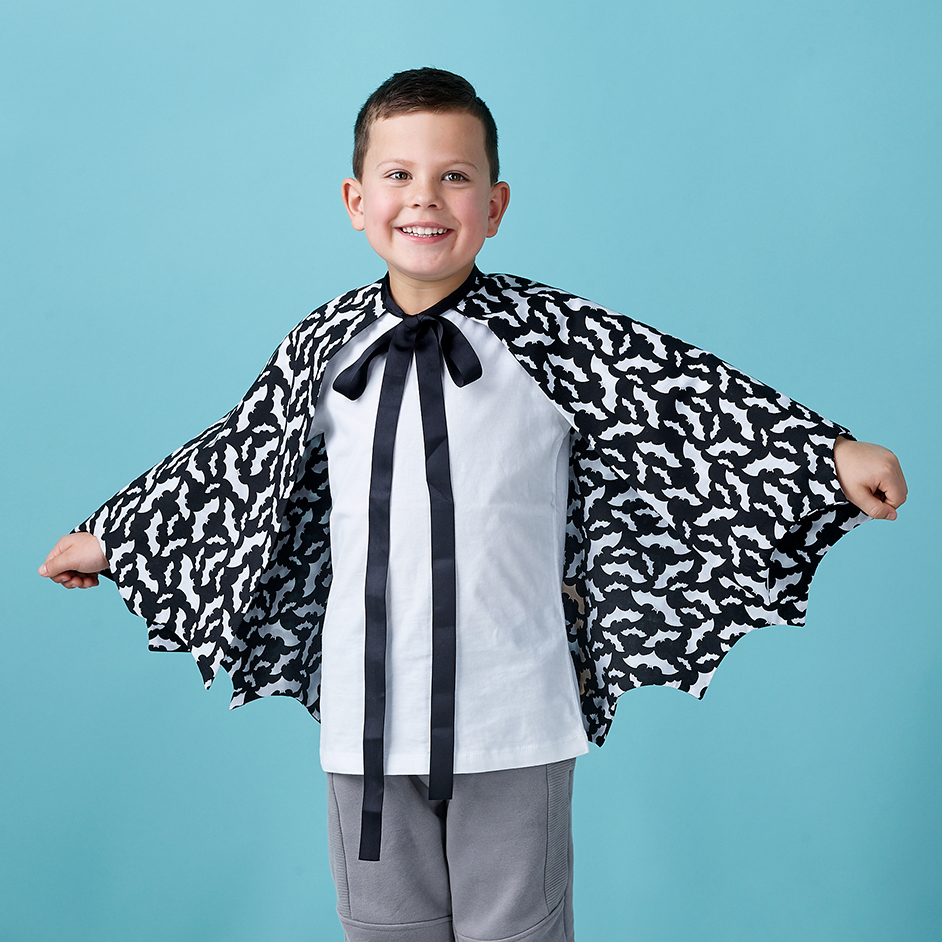
HALLOWEEN BAT CAPE

LEVEL: EASY
WHAT YOU'LL NEED:
- 2 x 1m sections of Quilting Fabric
- Halloween Prints - Bats Blk/Wht 112cm
- 2m of black grosgrain ribbon
- Card or Paper to create pattern
- Sewing machine
- Scissors
- Thread
- Pins
INSTRUCTIONS
Step 1 - Start by cutting your cape shape. To do this fold the fabric in half and cut a quarter circle shape with a radius of 10cm for the neck of the cape. Then decide how long you want your finished cape to be and add 1cm to that number. Measure that number from the top curve and cut the bottom curve out.
Step 2 - Fold the cape in half again and iron along the fold, then fold in half once more and iron the fold. To create the curved web edges of the cape use a bowl or plate as a template and trace around with a pen. Then pin all your layers of fabric together and cut out the curve along the bottom edge of the cape. Unfold your cape to see all the curved edges you've created along the bottom edge of your cape.
Step 3 - Repeat steps 1 and 2 to cut your lining piece. Then place the cape and lining right sides together and pin around all edges except the neck line, this is where you will turn through later. Sew down the sides and around the bottom curves, leaving the neck curve open with a 1cm seam allowance.
Step 4 - Once you have finished sewing, clip the corners and notch the curves of the bottom edge of cape. Turn the cape right side out through the neckline and iron around all the edge, leaving the creases in the middle of the cape. If you wish to you can topstitch along the creases on the cape to define the bats wing shape.
Step 5 - Pin the opening of the neckline together and sew shut with a 1cm seam allowance. Then fold and pin the grosgrain ribbon over the edge of the neckline to conceal the neck seam underneath. To finish top stitch the ribbon in place with a 0.5cm seam allowance. Your cape is now ready to be worn.


