 | ||
| Your browser is not supported. | ||
|
Please browse our site using any of the following options:
| ||
The complete guide to watercolour painting for beginners

Watercolour painting is very different from its acrylic and oil painting cousins. Whether you are a new artist looking to learn how to paint or an experienced acrylic painter wanting to switch mediums, this guide will help you learn watercolour painting, as well as what you need to get started.
What you'll need for watercolour painting
There are a few basic essentials you'll need to get started with water painting, besides the watercolour paints themselves!
Canvas or paper for watercolour art
Watercolour painting must be done on special paper or treated canvas - normal craft or printer paper is often too thin to support the amount of water needed on paper for this medium. Look for watercolour paper with at least 200GSM - this paper is thick and strong enough to support your colours. You can buy individual sheets, but it is more common to find watercolour paper in pads that can be removed by pulling the paper from the tape binding.
Watercolour canvas is specially made to withstand the strongest of watercolour techniques (which often involve scrubbing and scraping at the paper) and has been primed to absorb and showcase watercolour paints.
Paintbrushes for watercolour painting
The main thing you want when buying an artist's paintbrush for water painting is whether it can hold a point and if it can hold a large capacity of paint. The most common types of paintbrushes used in watercolour are mop brushes (for laying down washes of colour), flat brushes (for painting flat, straight lines) and round brushes (for painting curved lines and details). You want to ensure your paintbrush keeps its shape after use, otherwise you may struggle to paint the details you want.
As for their capacity, how much paint a brush can hold and how it releases it onto the paper is important. Synthetic bristle brushes keep their shape very well, but because the fibres are smooth they can struggle to hold onto lots of paint and can 'dump' it onto your paper. Natural hair brushes are much better at gripping paint and releasing it, but they have a lot of other characteristics that can vary depending on the type of hair that is used.
Try to buy a few sizes of natural hair round brushes for your detail work, and synthetic brushes for tougher techniques that their bristles can stand.
Watercolour painting palette
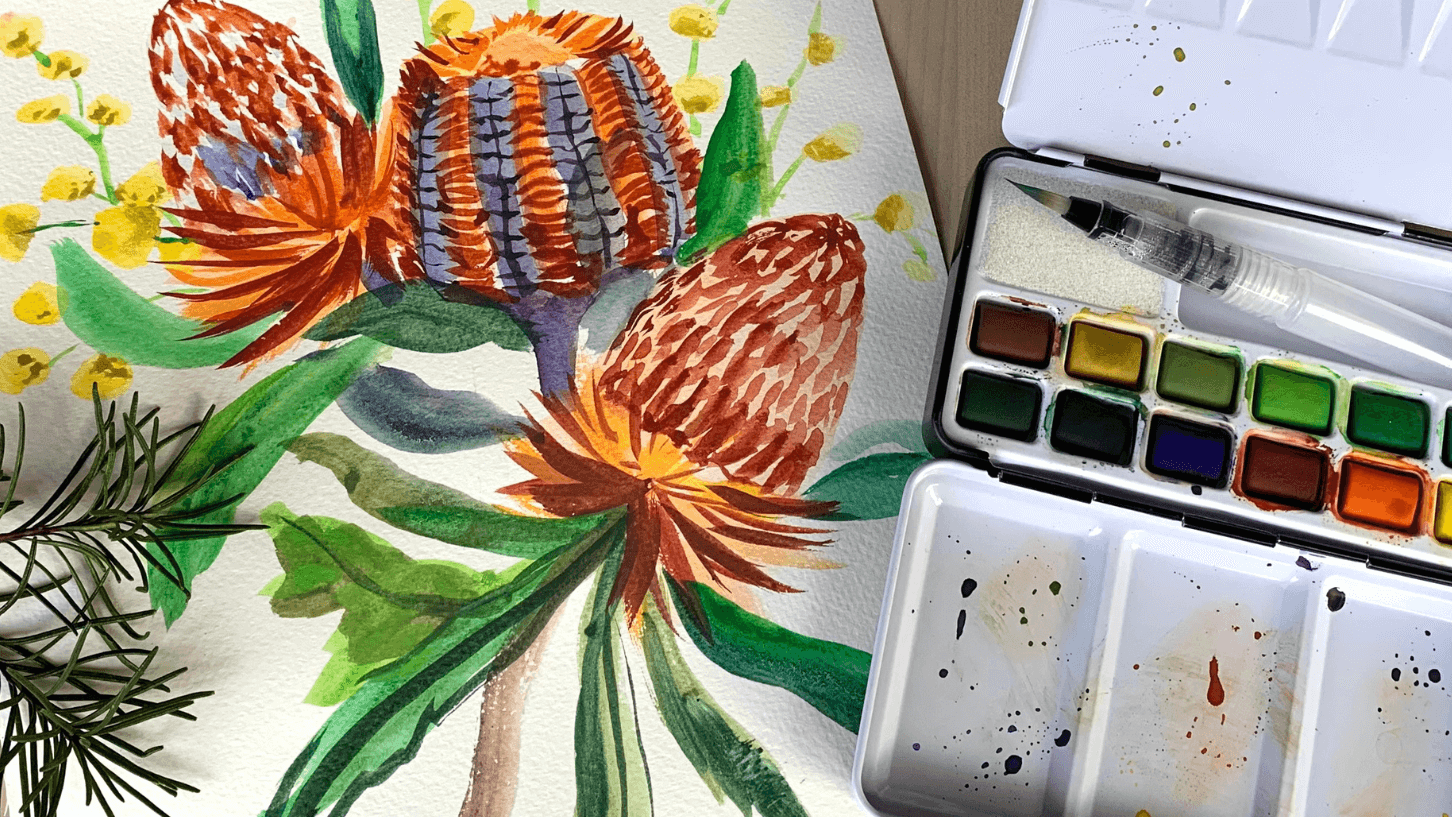
A watercolour palette is indispensable for painting, as it has handy compartments that will let you keep your colours separate, as well as sections for mixing colours into new hues. Choose palettes made of non-porous material like plastic or ceramic, as these will keep your colours pliable and within easy reach.
A watercolour palette can be easily cleaned after each session with a little warm water and soap if needed.
Watercolour painting accessories
While all you really need for watercolour art is paint, paper and a brush, there are a few other accessories that will make your life a lot easier and open new opportunities for exciting techniques!
- Paper towels will be your best friend when it comes to cleaning brushes and fixing mistakes. Because there is so much water involved with this medium, they are great to have on hand for general tidying up as well.
- An aqua pen (also known as a water brush or aquarelle pen) is a fun alternative to a paintbrush. It has synthetic bristles like a brush, but instead of a wooden handle, it has a clear barrel that is filled with water. This water keeps the bristles wet and allows you to lift colour straight from the palette onto paper. They are also great for wetting the colours made with watercolour pencils.
- There are many kinds of artists' sponges you can use with watercolour art. Sea sponges, circular sponges on sticks and special artists' sponges all create different effects on paper that can simulate foliage, clouds, grass and more.
- Grey lead pencils can be used to lightly sketch the composition of the piece you plan to paint. Look for pencils sized 7H and above, as you only want to create very faint, thin lines - the transparency of watercolour paint means thicker lines will be visible underneath the colour.

Mixing watercolours & creating gradients
One of the great things about water painting is how easy it is to mix colours together. Because watercolours are transparent, colours are easy to layer and shine through each other like tiny stained glass windows. Make sure to mix your colours on a palette before applying them to paper to ensure you have the colour you want.
To mix watercolours, add a small blob of each colour to the palette with about five centimetres between them. Gradually bring the edges of the two colours together and mix, adding more of each colour until you have achieved the hue you desire.
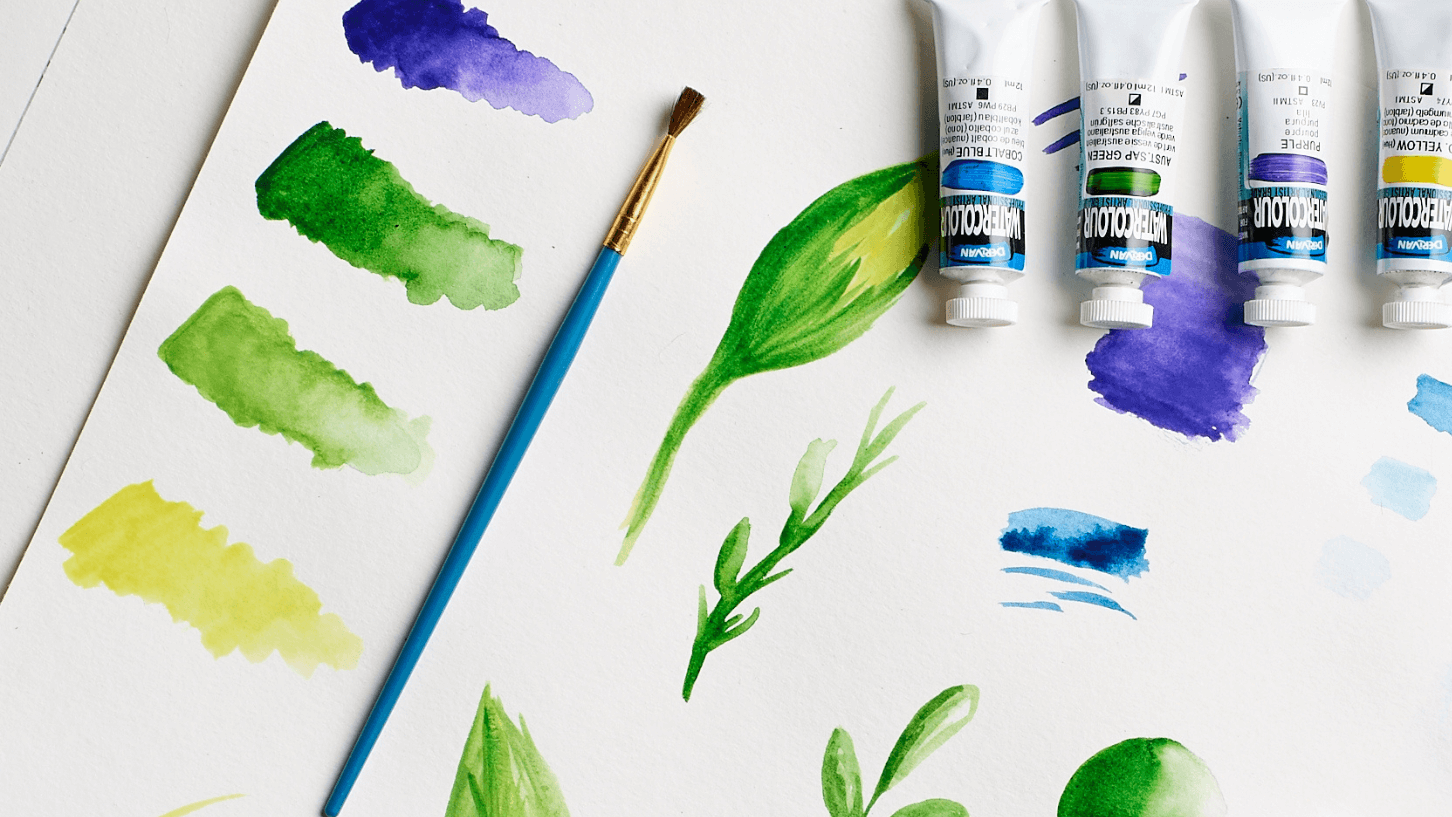
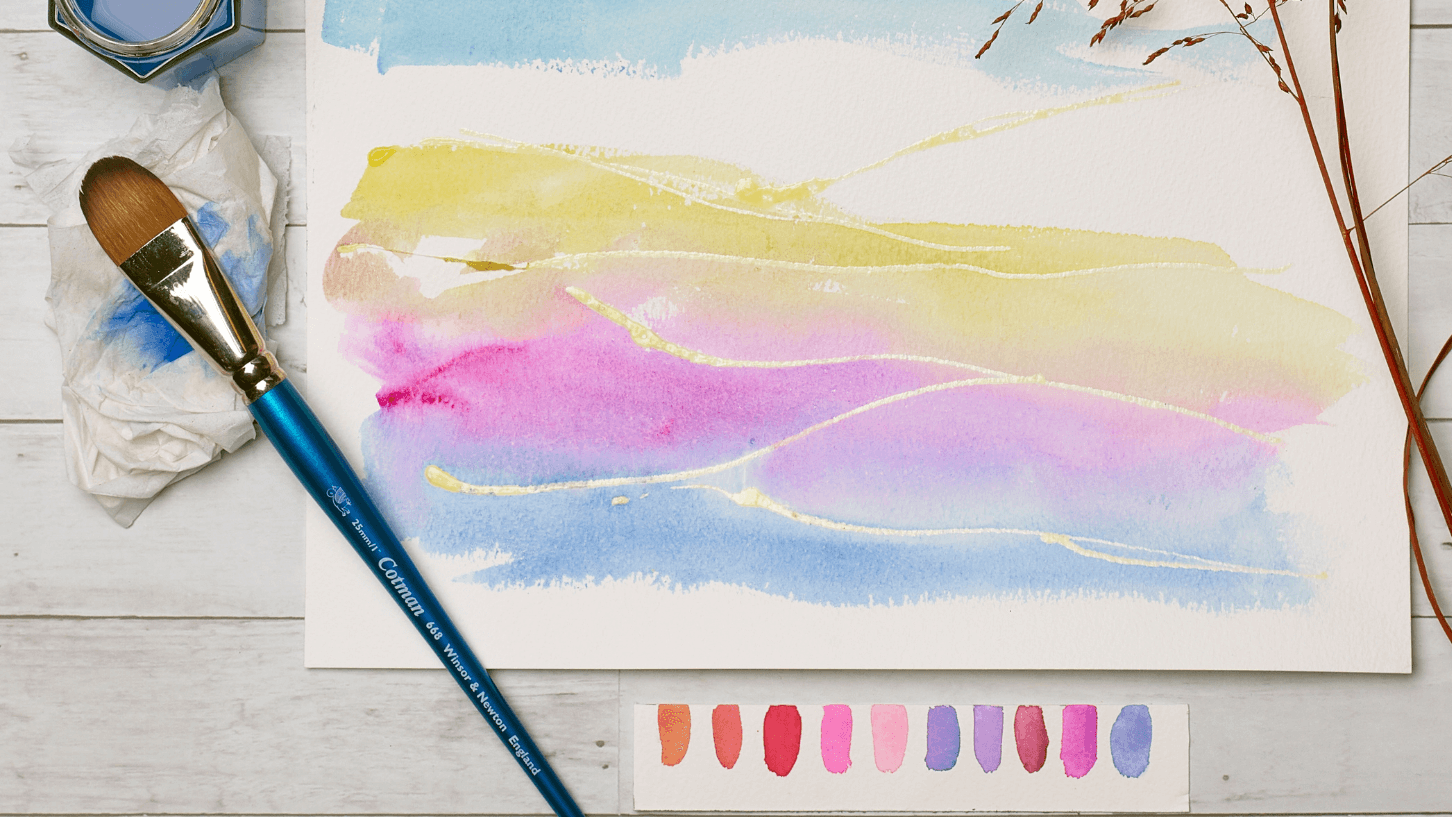
To make a colour gradient (great for painting sunsets or oceans) choose colours that are near each other on the colour wheel (like yellow and green or blue and purple) and have them ready to go on your palette. For example, start by painting a small strip of pure blue paint onto paper. Clean your brush, then pick up a little bit of purple paint on your brush and mix it into the blue paint on the palette. Continue painting next to your blue line with the new colour and blend it smoothly. Keep adding small amounts of purple to your blue paint and adding to the gradient, until the end of the gradient is pure purple.

Watercolour painting techniques for beginners
Watercolour techniques often revolve around how much water you are using and where you apply it. Here are four easy techniques for beginners to try:
- Wet on wet - this technique will give you beautiful, softly flowing colours that are perfect for dreamy landscapes. You'll need to start by adding some water to the surface you are painting on. Simply dip your brush in water and paint invisible lines over the area you want to use until it has been covered in a thin layer of water. Pick up some wet watercolour paint from your palette and paint it onto the wet area. Depending on if you paint lines or just dab your brush, you will see colours bloom in different ways.
- Wet on dry - you will be able to create more defined lines and shapes using this technique than the wet on wet one above. Instead of wetting the paper, simply apply paint directly onto the dry paper. Moistened paint will create a smoother line, while drier paint will give you textured results. Because the paint isn't blooming onto a watery surface, you can paint defined lines without worry!
- Plan for white - this isn't exactly a painting technique, but it's a very handy tip for anyone to know! While white watercolour paints are available, they are easy to misuse and can end up clouding your other colours. If you really want to have sections of white in your artwork, it is best to leave those areas blank and let the white of the paper shine through your other colours. Either plan your artwork beforehand so you know what to leave blank, or use masking fluid to cover the areas you want to keep white - this can be peeled off when you are done to reveal the clean paper underneath.
- Salt - adding salt to your watercolour artwork can produce interesting and unexpected results! Sprinkling a little salt over wet paint on paper will cause the salt to slowly absorb the pigments, creating enchanting speckles in the painted area. Once it dries, carefully remove the salt by blowing it or gently shaking the paper. Use this technique when you want to show small wildflowers, grassy texture, snow and other similar things in your art. You may like to test this with your paints on a piece of scrap paper to see how your choice of salt and paint react.
Watercolour painting additives
Compared to other art mediums, watercolour doesn't have (or need) many other additives to create different techniques. But what is available can be used to change the sheen, body and texture of your watercolour paint. They can wreck your art if you're not careful, so only use these once you are comfortable with watercolour painting and make sure you read the instructions on the packaging carefully.
- Gum arabic - like adding linseed oil to oil paint, adding gum arabic to watercolour paint will increase its drying time, transparency and glossiness. It can also be used to help lift colours you don't want from the paper in the event of a mistake - gum arabic is one of the binders in watercolour paint, so when it is added to paper it will 'lift' the pigment, which you can then blot off with some paper towel. Add a few drops of gum arabic to water or a drop to your paint - too much can cause cracking.
- Iridescent medium - add a magical sparkle to your watercolour with this medium. You can either mix it into the paint on your palette and apply on to paper, or paint the medium straight over dried watercolour. Mixing it into the paint will lighten the colour, while painting over a dried colour will retain the original strength of the paint.
- Impasto medium - because of its low viscosity, watercolour isn't usually associated with impasto techniques. But if you really want the peaks and brushstrokes of impasto, you can add modelling paste either underneath the paint and then add watercolour over the top, or mix impasto medium with watercolour and paint it straight onto your surface. Make sure to wash your brush thoroughly after using the impasto medium.
- Varnish - most watercolour art is protected with glass, but if you don't want the glare or haze that glass can bring, protecting your art with a varnish is the next best step. Use a varnish designed for use with watercolours and read the instructions very carefully - some varnishes may require a coat of a different additive first. Spray varnishes are a safer choice, as brush-on may activate the colours on your finished piece and smudge them.
Easy watercolour painting ideas for beginners
Ready to start painting but stuck on ideas of where to start? Here are three easy beginner-level watercolour paint ideas that you can try.
- A simple landscape - blue sky, green grass and some trees or shrubs. That's all you need to paint for a landscape, as the blurry nature of a wide landscape view means small (and difficult!) details aren't necessary. Landscapes are a great opportunity to practice your wet on wet and gradient techniques, and you can easily find inspiration online, in a book or even just by looking out the window!
- Fruit and vegetables - the great thing about produce is that they have bright colours, simple shapes and are never symmetrical. This makes them a great candidate for painting, as you don't have to be super precise with your linework! Simply pick a veggie from your crisper or fruit from your bowl, position it somewhere with good light and paint away.
- Flowers - the jewel tones of watercolour make them wonderful for depicting colourful flowers, and the natural diversity of flowers means they're very forgiving for beginner artists to paint. Petals often have blemishes, tears and creases so there's no pressure to create each one perfectly. Use wet on dry for your flower details, or if you're creating a meadow of small flowers, a little salt may create natural textures for you to work off.
A common theme in these watercolour painting ideas is nature. Natural colours and shapes are all wonderful subjects for watercolour painting, so don't be afraid to choose your subjects by just looking around. Animals, trees and insects all make for interesting projects and are great fun to paint!

What about watercolour pencils?
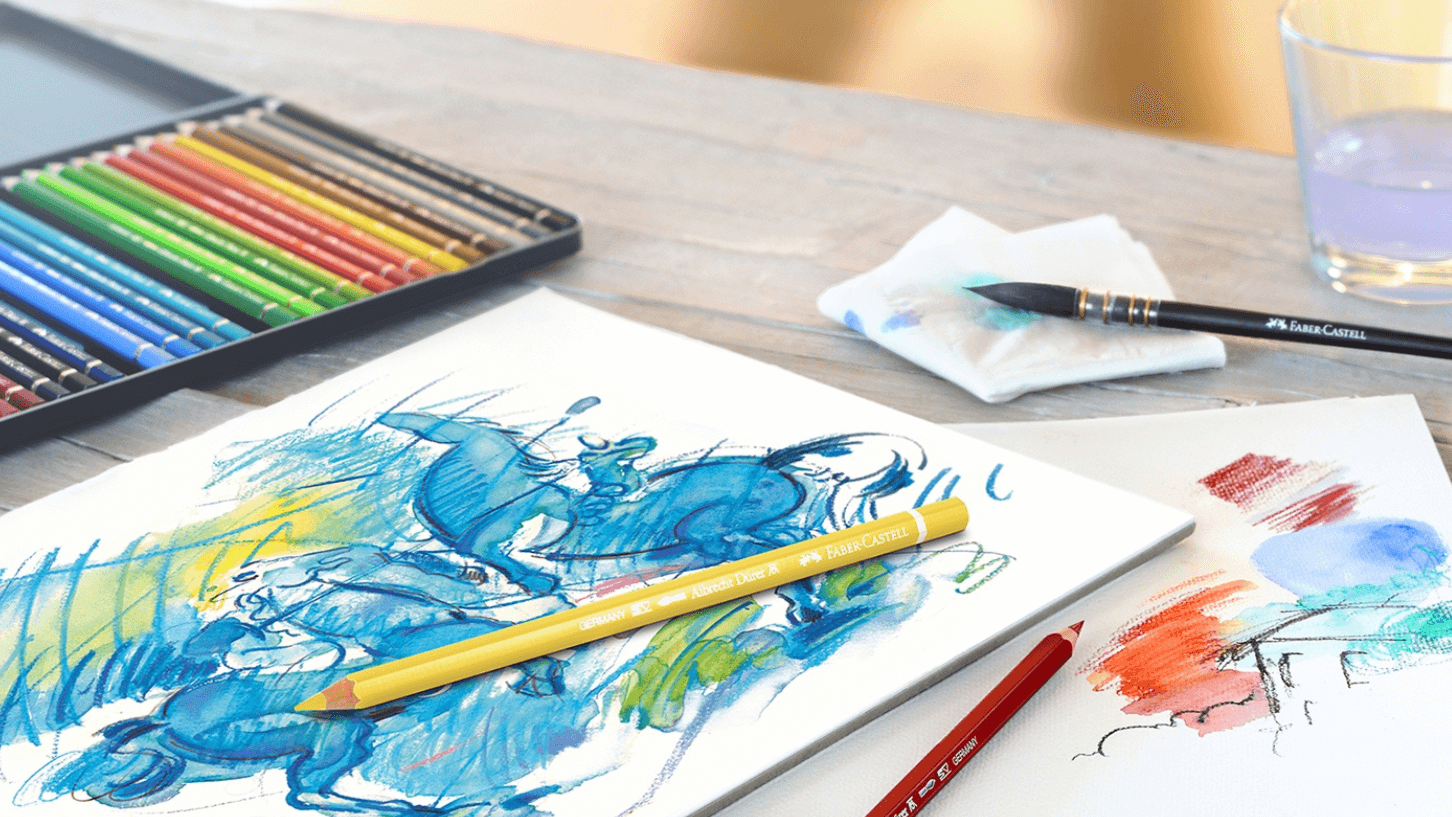
While investigating if watercolour painting is for you, you may have come across watercolour pencils. These marvellous tools are a great option for beginner watercolour artists, particularly if you have a background in drawing. They allow for greater control than watercolour paint and most of the time, you actually use less water than you would with watercolour paints.
Watercolour pencils are used like regular coloured pencils initially - simply draw and colour your artwork on watercolour paper using the pencils. Then, load your brush with a little water and start 'painting' over your artwork in small strokes, similar to your pencil marks in direction and length. The colours will blend together just like watercolour paint, and once that layer has dried you can add more pencil colour and water to build up layers of colour.
Whether you are just starting out in watercolour or are an experienced artist, watercolour pencils are a fun way to approach this medium and create gorgeous artwork!
How to care for and display your watercolour artwork
Now that you have created your watercolour art, let's make sure it stays bright and beautiful in your home. Here are a few ways you can protect your artwork:
- Frame your watercolour under glass. While we discussed varnishing before, displaying watercolour under UV-resistant glass is the traditional way to show off this medium. Glass will protect your artwork from dust, bugs and any liquids that may reactivate the colours. The UV part is very important, as UV rays will damage your artwork and cause it to fade and become brittle.
- Hang your artwork away from direct sunlight and moisture. Sunlight will destroy your artwork, and humidity from areas like a kitchen or bathroom can also mess with your painting's integrity.
- Make sure all the materials used for displaying and protecting your artwork are acid-free. Acid-free paper, backing and hinges are what is called 'archival', as this is what is used in museums and galleries to protect paintings. The acid in any of these materials can damage your watercolour painting and cause it to yellow over time.
Find everything you need for watercolour painting at Spotlight
Ready to begin your journey with watercolour paints? Spotlight has a fantastic range of watercolour paints, sets, brushes and canvas for you to choose from. See the full range online or visit your nearest Spotlight store, where our friendly staff can help you find the right materials to begin watercolour painting.
If you're ready to paint but stuck on ideas, why not check out our painting projects online? Each one comes with handy pictures and step by step instructions to help you make your next work of art.
If you need some help buying the right art supplies, check out our guides for buying paint mediums and paintbrushes as well!


