 | ||
| Your browser is not supported. | ||
|
Please browse our site using any of the following options:
| ||
The ultimate guide to epoxy resin art
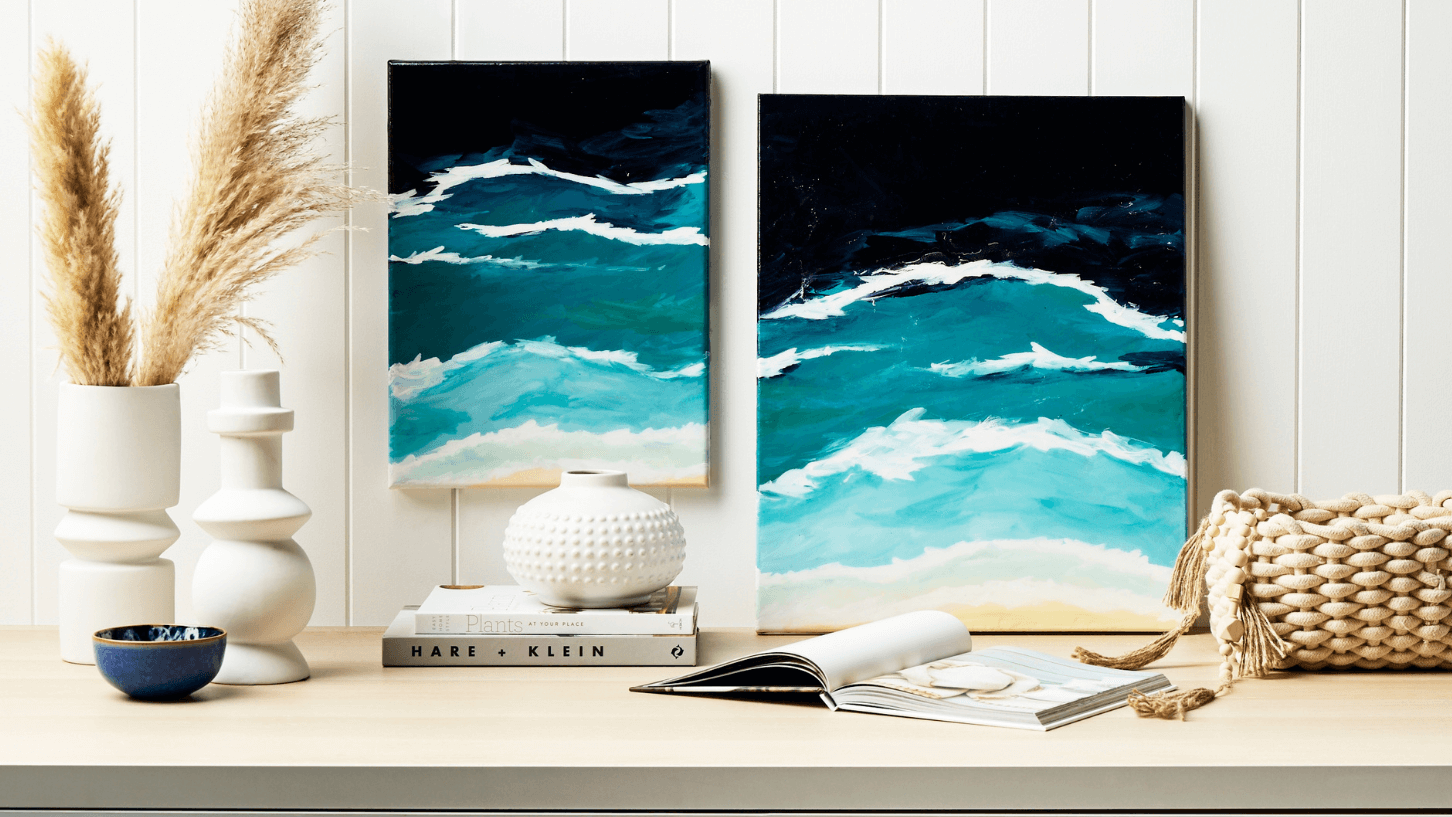
Resin art is taking the creative world by storm, and for good reason! Any art projects created with resin are hard, durable and glossy, with options for coating old paintings, creating artwork with coloured resin and even suspending objects in 3D resin moulds. It's a big world to dive into, and this guide will teach you everything you need to know about beginning epoxy resin art, including what is resin art, what you need to make it, how to do resin art and even example beginner projects you can have a go at.
Quick Links
- What is resin, and what is epoxy?
- What is UV resin?
- What resin art supplies you'll need
- How to set up your space for resin art
- How to do resin art - easy projects for beginners
- Resin mistakes to avoid & how to fix them
- Popular resin art colour combinations
- Popular resin art object preservation ideas
What is resin, and what is epoxy?
In this article and on many other resin art dedicated websites, you will see the terms 'resin', 'epoxy' and the combined phrase 'epoxy resin'.
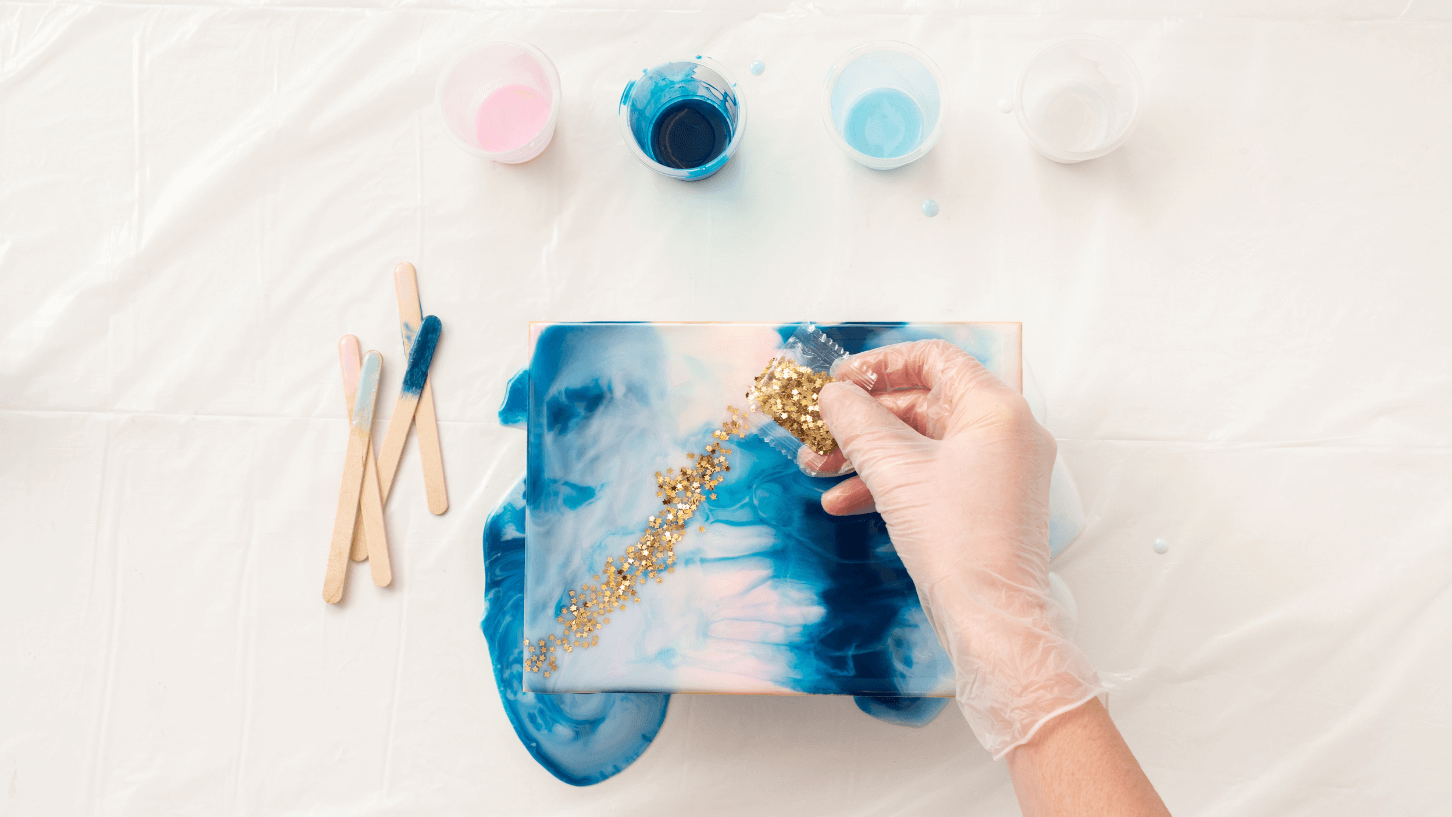
Resin is essentially a chemical that will harden under the right conditions. In our case, it is mixing it with hardener or, in the case of UV resin, letting it cure under a UV light.
Epoxy is the name given for the type of resin commonly used for creating jewellery and accessories. It is a two-part mixture of resin and hardener that, when mixed in the right ratio, will harden and cure into a solid substance. We call it 'epoxy resin'.
The art you make with epoxy resin is usually referred to as 'resin art', although 'epoxy resin art' and even 'epoxy art' are used interchangeably.
What is UV resin?
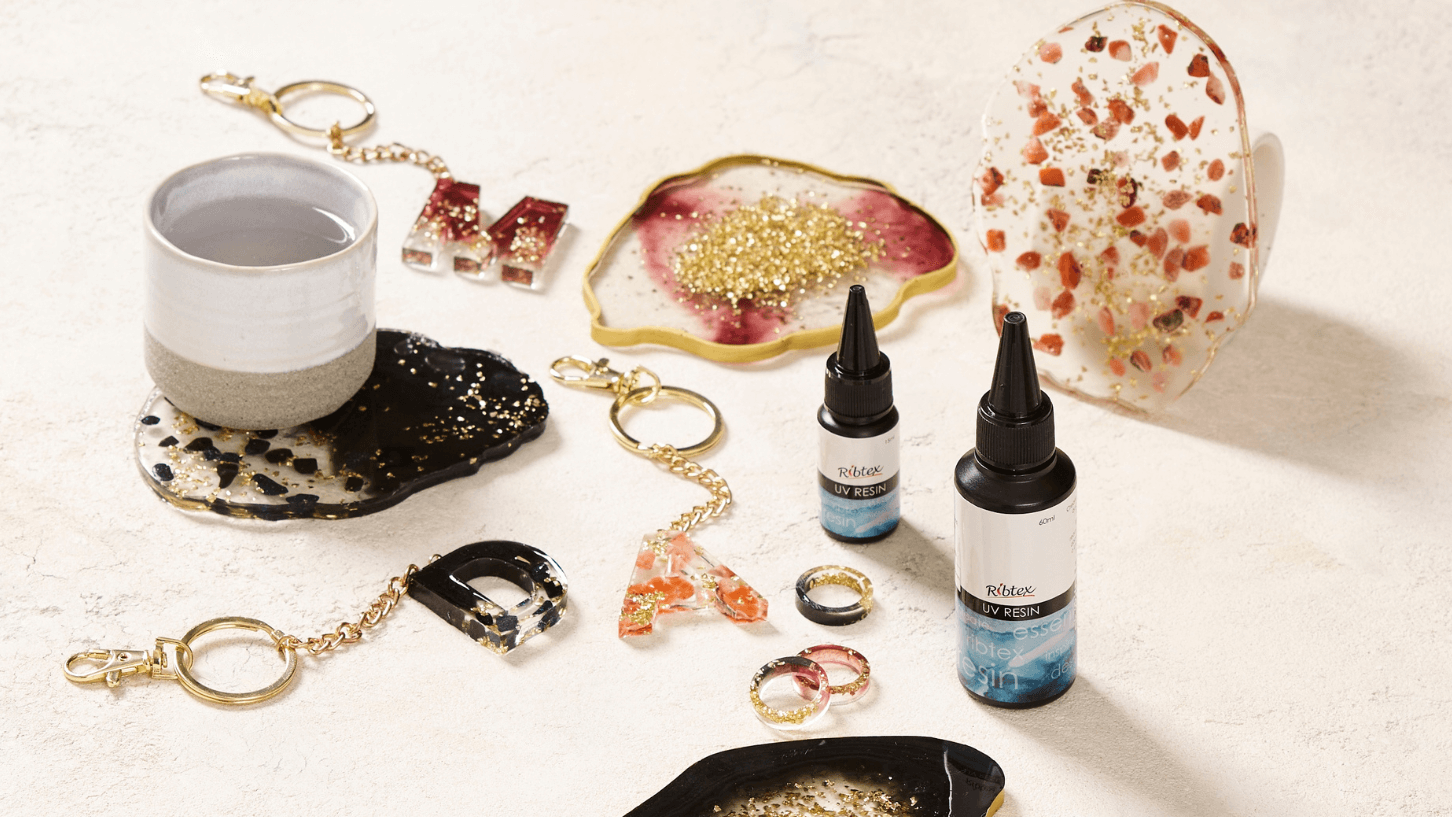
Unlike epoxy resin, UV resin doesn't need a hardener to dry. It can dry in a matter of minutes with a handy UV light fixture, which you'll often be able to buy in tandem with your UV resin.
And please, don't be tempted to cure your UV resin project in the sun! While it is technically possible, direct sunlight can cause damage and discolouration to form in your project, so it's really not worth the risk.
UV resin is not as durable as epoxy resin and doesn't always give the best results, so should be avoided for use in large or very serious art projects.
What resin art supplies do I need?
As a beginner, there are some essential epoxy resin art supplies you'll need to get started with:
- Your two-part epoxy resin - buy the best quality resin you can afford, as cheaper resins can smell terrible and yellow with time. Each brand will have different mixing ratios and curing times, so make sure to read the instructions carefully before using!
- Personal protective equipment (PPE) - we cannot overstate enough how important it is to have gloves, a mask and proper ventilation when working with resin. A respiratory mask and proper ventilation will help keep you from inhaling any toxic fumes, and strong nitrile gloves and an art apron are the best choices for keeping irritants off your skin and clothes.
- Plastic utensils - you'll want plastic containers, a plastic measuring cup, a flat plastic stirring stick and a plastic drop sheet to work with. Plastic is the best material to use with resin, as it can be cleaned off with isopropyl alcohol or, if left to cure, the dried resin can be peeled off.
- Flame torch - you can grab one of these from your local hardware store (they're similar to what you see chefs using to brown a crème brûlée). They are vital for getting rid of bubbles in your resin - they are difficult to physically pop with sharp objects and hairdryers won't get hot enough. A heat gun is acceptable, but not quite as effective as a flame. Flame torches can also be used to create 'lace' in flat resin artwork.
- Dust cover - a cardboard or clear plastic box is perfect for placing over your project while it cures. There's nothing worse than leaving a project to cure and coming back to find stray bits of dust or hair have floated down onto your resin!
- Moulds - if you are wanting to make 3D resin shapes, you will need silicone moulds. Make sure to buy moulds specially designed for use with resin, as silicone moulds designed for cooking may have rough edges that will show through once your project has cured.

How do I set up my space for resin art?
Due to the safety measures you need to take when creating epoxy resin art, there are specific precautions you need to take when setting up your work area.
First of all, make sure you are working in a well-ventilated area away from pets and children. Inhaling the fumes of epoxy resin can cause irritation in the nose, mouth and lungs and should be avoided when possible.
Make sure to lay down a plastic sheet to catch any drips of resin, as the resin is extremely hard to remove off a surface once it has sneakily dried.
In the same vein, gloves and even an apron are a solid idea to protect yourself. And if you have long hair, make sure to tie it up into a bun or high ponytail so there's no chance of it dipping into your work.
How to do resin art - easy projects for beginners
Now it's time to start working with resin! There are two main kinds of art you can create using UV or epoxy resin. You can either create more traditional-looking art on a canvas using a mixture of resin and colourants, or 3D coloured shapes with objects suspended inside. Here is an easy beginner resin project from each category you can try!
Coastal resin painting
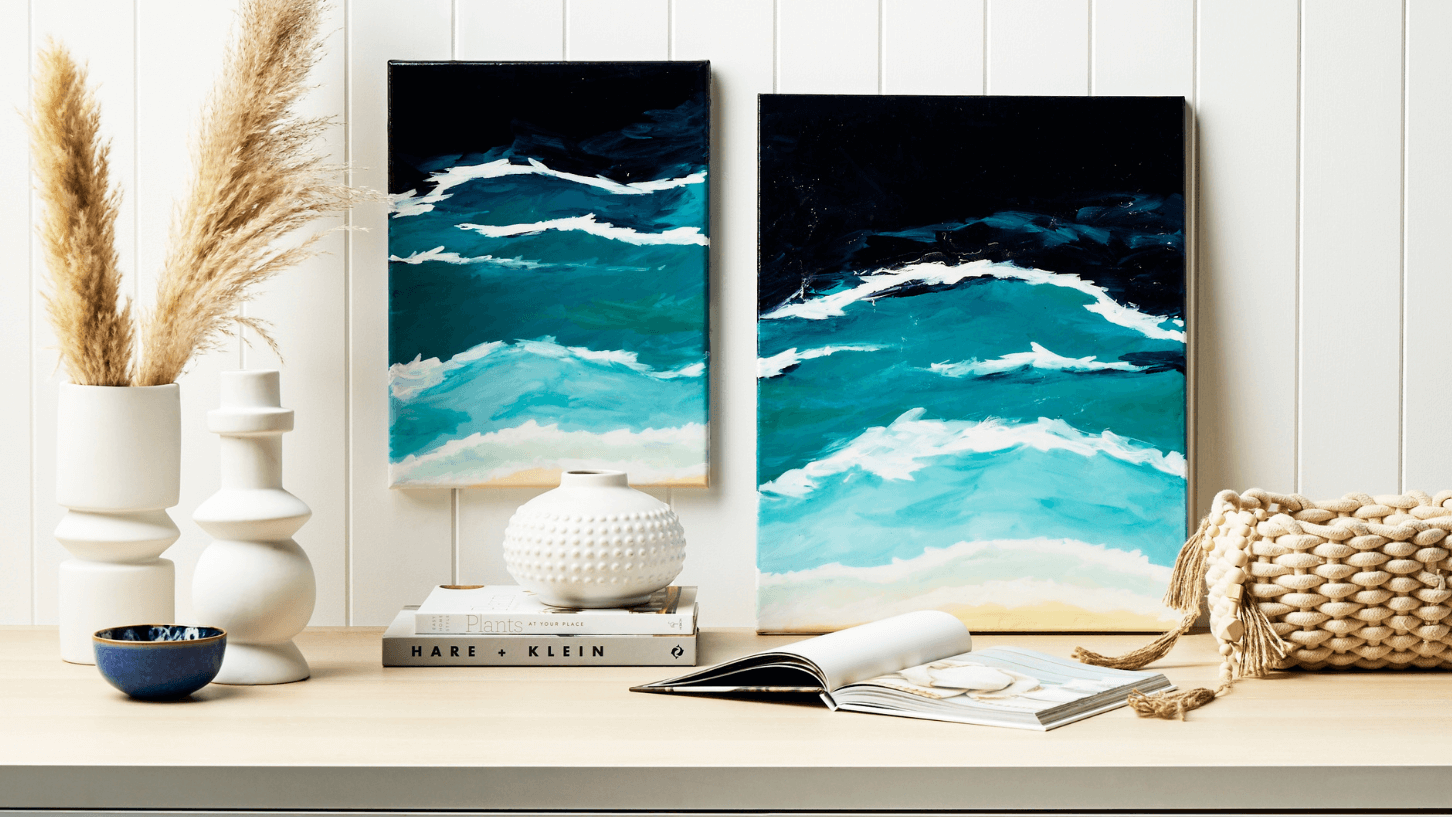
These beautiful resin paintings will have you longing for a day at the beach!
UV resin jewellery
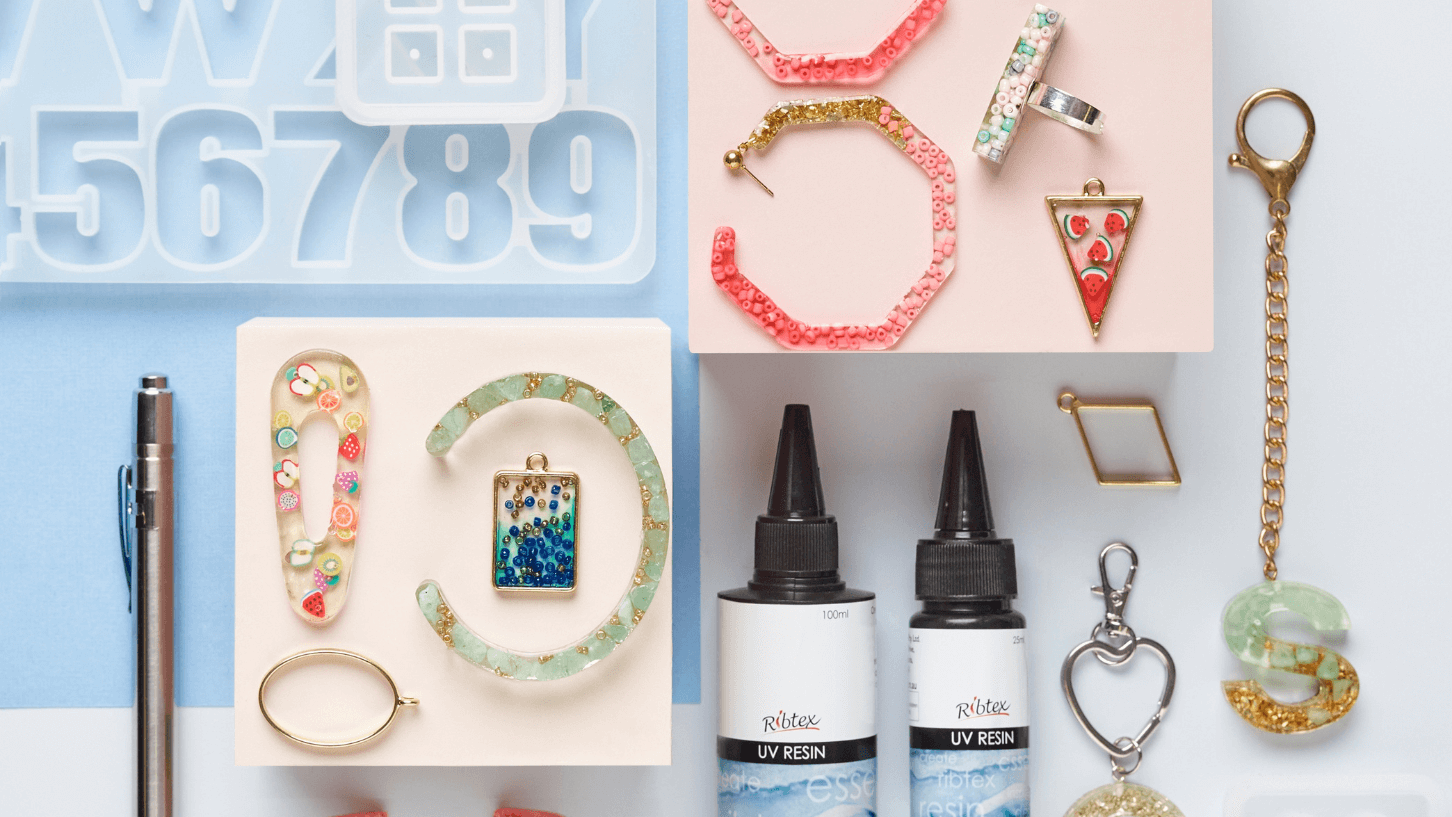
Create stunning jewellery in a matter of minutes with UV resin and some accessories!
Three common resin mistakes to avoid
While it may seem like there's not much more to resin art than 'mix, pour and cure', there are little errors that can really influence how your finished project turns out.
- Bubbles in your resin - bubbles can easily ruin your art piece, so take steps to prevent them by mixing your resin and hardener slowly and thoroughly for at least three minutes. And we mean slowly! You may even want to let your resin mixture rest, then stir it again.
If you have poured your resin and notice bubbles, don't panic! Go over them quickly with a flame torch to get rid of them. For safety reasons, if you are working with alcohol ink or have poured resin into a silicone mould, use a heat gun instead. - Uneven resin - While most resins are self-levelling, anything set at an angle will cause the resin to set unevenly or slide off altogether. To avoid this, use a spirit level to check your surface and make sure it is completely flat before you start pouring. Be sure to check your workbench as well as any canvas or wood prints you plan on covering
- Resin drying patchy - if you are noticing your cured resin has some sticky patches, there are a few reasons why this could be happening.
- If you've added too much colourant it can disrupt the chemical reaction that takes place. Always start with less colourant, as you can add more if needed - 6% of the total volume of resin and hardener is a good general rule to go by.
- If you haven't mixed the resin and hardener enough, you may have patches of one drying at a different rate to the other, or not curing at all! Make sure to scrape the sides of your mixing container to ensure your resin and hardener are all mixed properly.
- Mixing different brands of resin and hardener together can be tricky, as each brand will have its own mixing ratio of resin to hardener. Combining one brand that recommends 1:1 with another that recommends 1:2 will have predictably poor results.
Popular resin art colour combinations
When it comes to epoxy resin art there are heaps of wonderful colours you can choose from to create your piece. Resin can be coloured with liquid dyes and powders, but make sure to choose dyes specifically created for colouring resin - otherwise, they may react with your mixture adversely.
Stuck on what colours to try first? Here are some of our favourite colour combinations!
Ocean
Beachscapes are probably the most popular subject in resin art, and for good reason! The natural glossiness of resin makes it perfect for capturing the ocean and its waves, and you can create 'lace' using white colourant and a blowtorch to mimic seafoam.
You will want a sandy yellow or cream for your beach, then choose various blue colours like turquoise, cerulean, azure and navy for the sea and its depths. Finally, choose a crisp titanium white for the edges of your waves.
Space
If you ever need some out-of-this-world inspiration, check out images of galaxies taken with high-powered telescopes! The cloudy, ethereal forms lend themselves perfectly to resin art and you can use almost any colour.
Our favourites are a mixture of warm pinks and purples, contrasted with bright gold, crisp white and, of course, deep black. Additives like glitter and metal leaf are great ways to simulate the enchanting lights of space.
Volcano
The dramatic tones of an active volcano look stunning when replicated in resin art.
Choose warm browns and blacks to simulate the obsidian of the volcano, then showcase lava flow with crimson, orange and warm yellow. You may like to have your lava colours contained in a single streak across your canvas, representing lava pouring down the side of a volcano, or have it streaking out from the centre like an explosion!
Jungle
Bring the tropics into your home by creating a jungle-inspired resin piece.
Choose deep greens like emerald, moss and fern to replicate the greenery, and add a few pops of colour with a bright yellow, fuchsia or vermillion. You may even like to have a bit of black, representing the darkest corners of the jungle.
Popular resin art object preservation ideas
If you're looking to create gorgeous resin shapes with mementos suspended inside, you've got so many great options to choose from! Resin is a great way to safely store and display many things, but please note you should never suspend objects with liquid inside in resin. Because resin heats up as it cures, whatever is inside will get quite warm, causing objects with any liquid to effectively 'cook' inside the resin. Avoid fresh fruit and veggies or animal products at all costs!
Beach shells
Staying with the ever-popular beach theme, seashells look wonderful in resin and, because there are so many varieties, a unique piece of art can always be created! You can attach shells to resin beachscape art, or they can be suspended in resin to show off every facet of the shell.
If you are wanting to add extras like starfish or sea sponges, make sure they are completely dried out before adding them to any resin.
Dried flowers and leaves
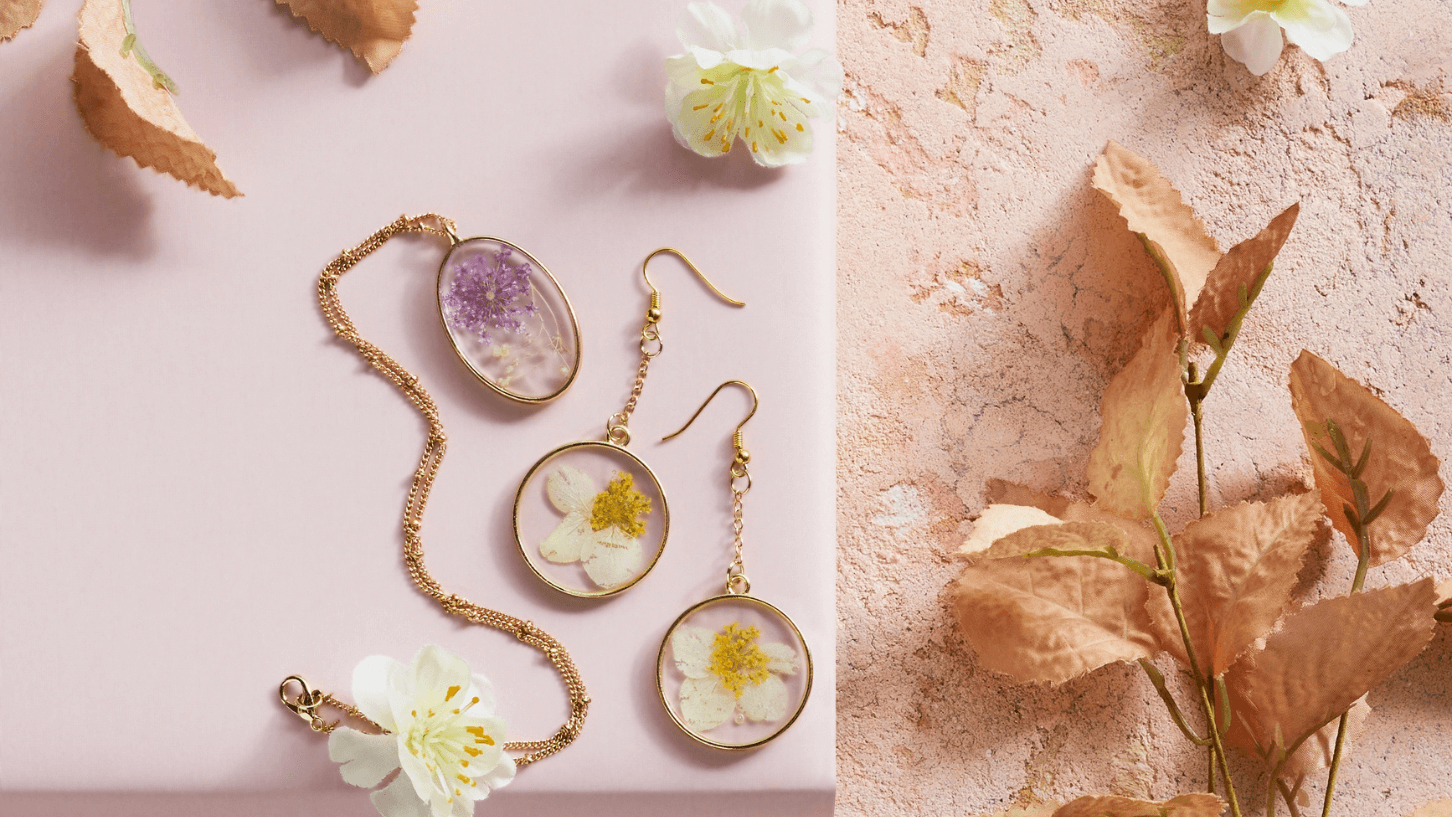
Beautifully coloured and delicate, dried leaves and flowers are a great choice for displaying in resin, and are quite popular for use in resin jewellery. Use a flower press to achieve perfectly dried and flat flowers, or you can hang longer-stemmed flowers upside down to dry. Both of these techniques will take three to four weeks, so make sure to plan your resin project ahead. You should also start drying these flowers immediately after they have been picked to help them keep their colour.
For a faster result, you can use silica sand or gel to dry your flowers. This will only take a few days and doesn't leave the flower as fragile as the methods mentioned above.
Don't want the hassle of drying real flowers? Use faux plants and artificial flowers for the same effect with much less effort!
Buttons
Buttons are cute, colourful and come in many different styles - plus they don't need any special drying or preparation! You can buy craft buttons in large packs or just use spares around your home - try to sort them by colour and layer them in a lovely colour gradient in your art.
Bi-sected dried fruit
The cross-section of colourful fruits like blood oranges, strawberries and kiwifruit look stunning in resin, but the trick is you need to dry them out first without losing their colour and shape. A food dehydrator is your best bet for this - cut your fruit slices to 2-3mm and leave the skin on at this stage, as it will help the fruit keep its shape. (you can always cut it off later!) Avoid floury fruits like apples and peaches.
Start your resin art journey at Spotlight
Ready to begin your resin art journey with Spotlight? Check out our full range of resin art supplies online in our painting supplies section, or head into your nearest Spotlight store and one of our team members will help you find the resin supplies you need.
If you need a little more help finding the right painting supplies, our buying guide will point you in the right direction. Or if you want to sink your teeth into more projects, check out our handy painting project guides here!


