 | ||
| Your browser is not supported. | ||
|
Please browse our site using any of the following options:
| ||
The Complete Guide to Flow Painting & Pouring Techniques
Intro to Flow Painting
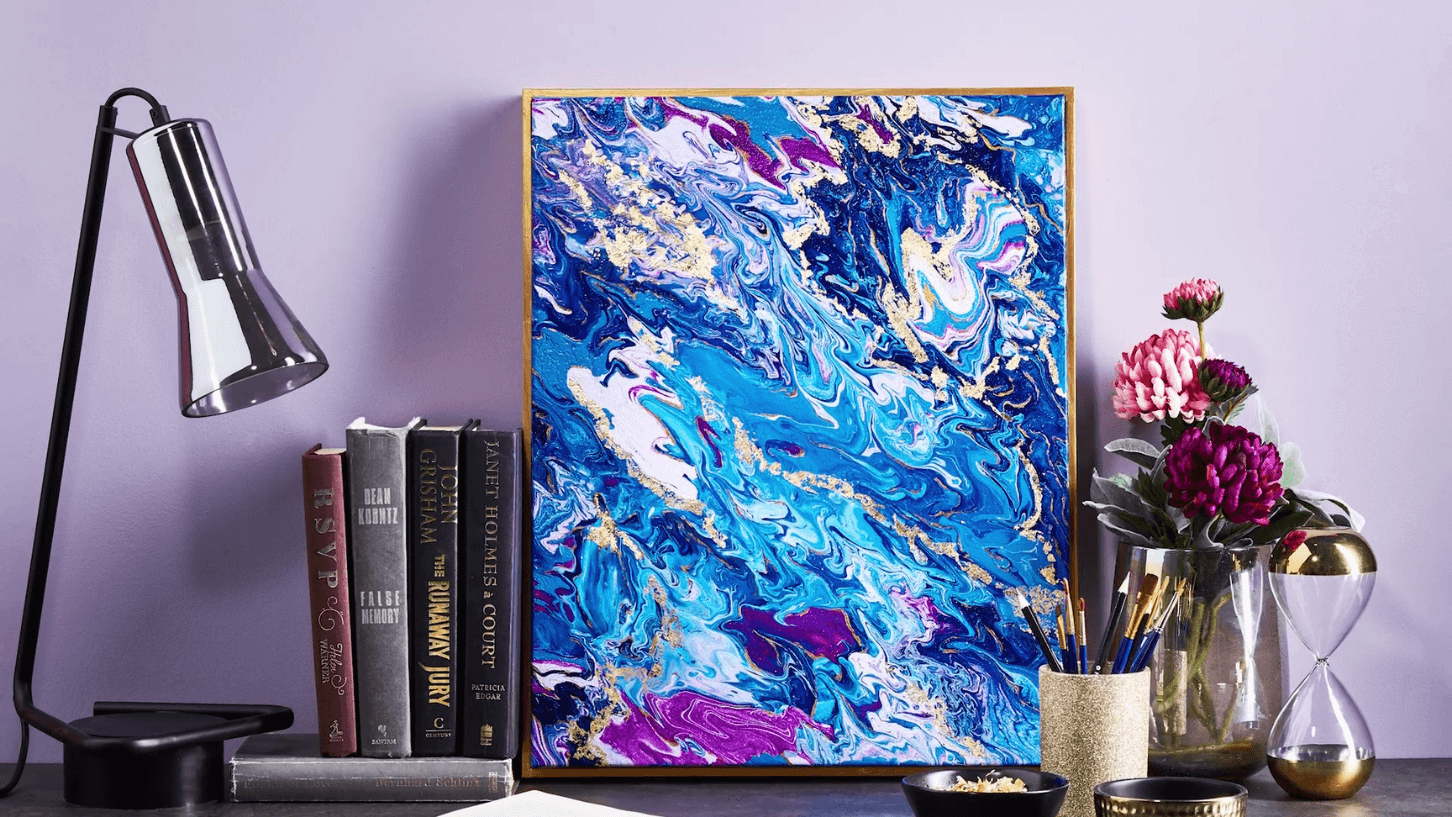
Looking for a fun, easy and effective way to create beautiful pieces of art? Fluid art, also known as flow art or flow painting, involves pouring prepared colours onto canvas and then letting the paint do the rest of the work for you - resulting in a unique piece of art each time!
If you love browsing the internet, chances are you will have seen fluid artwork online already - think dreamy beachscapes, stunning galaxies and gorgeous marble-inspired pieces. And it requires no fancy paint brushes. You can use as little or as many tools as you like to accentuate your artwork, but all you really need is a canvas, a cup and your paints, plus a few household items if you want to try some advanced techniques.
Have we intrigued you yet? Read on to find out everything you need to know about flow painting.
Quick Links
- What You Need for Fluid Painting
- How to Prep Your Area
- How to Mix Your Acrylic Pouring Paints
- Beginner Fluid Paint Techniques
- Advanced Fluid Paint Techniques
- Acrylic Paint Pouring Tips & Tricks
- Common Mistakes & How to Avoid Them
How to Get Started with Acrylic Pour Painting
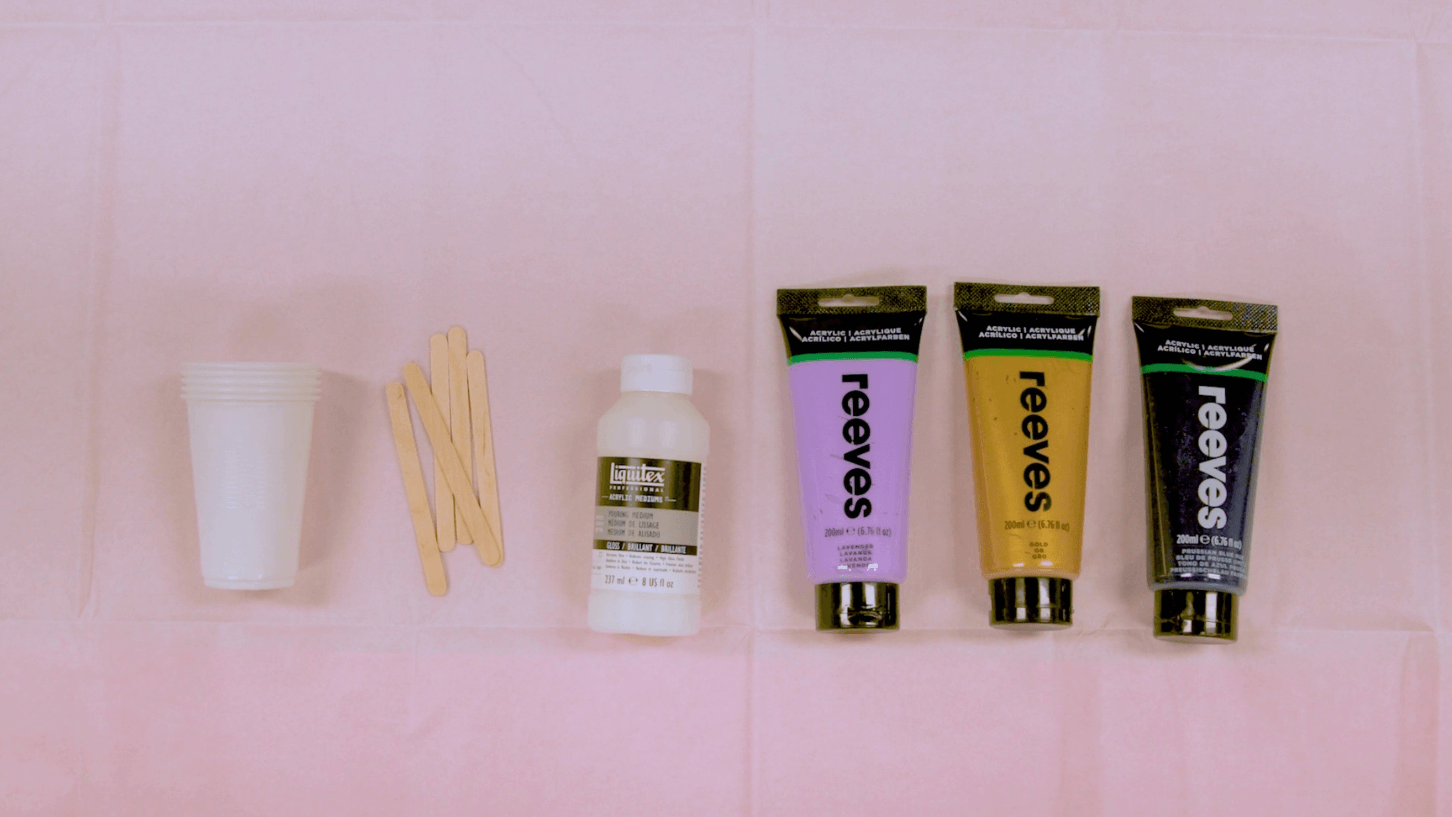
Before you jump into the amazing medium of acrylic paint pouring, there's a bit of prep work that needs to be done. Because trust us, you don't want to get halfway through pouring paint and realise you're missing some tools!
What You Need for Fluid Painting
- Acrylic paints - the bread of flow painting
- Flow medium - the butter of flow painting
- Disposable cups - keep your paints separate and ready to pour
- Large plastic sheet - protect your workspace from spills
- Canvas or canvas board - square or circular canvases both look great for flow painting
- Gloves - keep your hands from being stained
That's all you'll need to get started! However, if you want to try some more interesting techniques with acrylic pour art you might also want to have:
- Silicone oil - create cells in your acrylic flow paint
- Thin sticks - drag through poured art to create patterns
- Straw or hairdryer - move the paint around the canvas
- Blowtorch - pop bubbles and help cells form
How to Prep Your Area
Flow painting is heaps of fun, but because it relies on free-flowing paint it can also get messy! Make sure you are working in a ventilated area and lay down a protective plastic sheet underneath your canvas. You may wish to elevate your canvas off the work area so it doesn't stick - blocks or steel tins are great for this. Wear gloves when handling acrylic flow paint and ensure your workstation is clean before you start painting.
Because fluid paint moves so easily, make sure your canvas is perfectly flat before you start by checking it with a spirit level. If you are making pour art on a stretched canvas and planning on using lots of paint, you will also need to ensure the canvas doesn't sag in the middle - tighten it with canvas keys or place something under the canvas to support it.
Looking ahead, once your painting is finished and drying you may want to cover it with a box or elevated sheet, as this will prevent dust and dirt from' landing' on your art overnight.
How to Mix Your Acrylic Pouring Paints
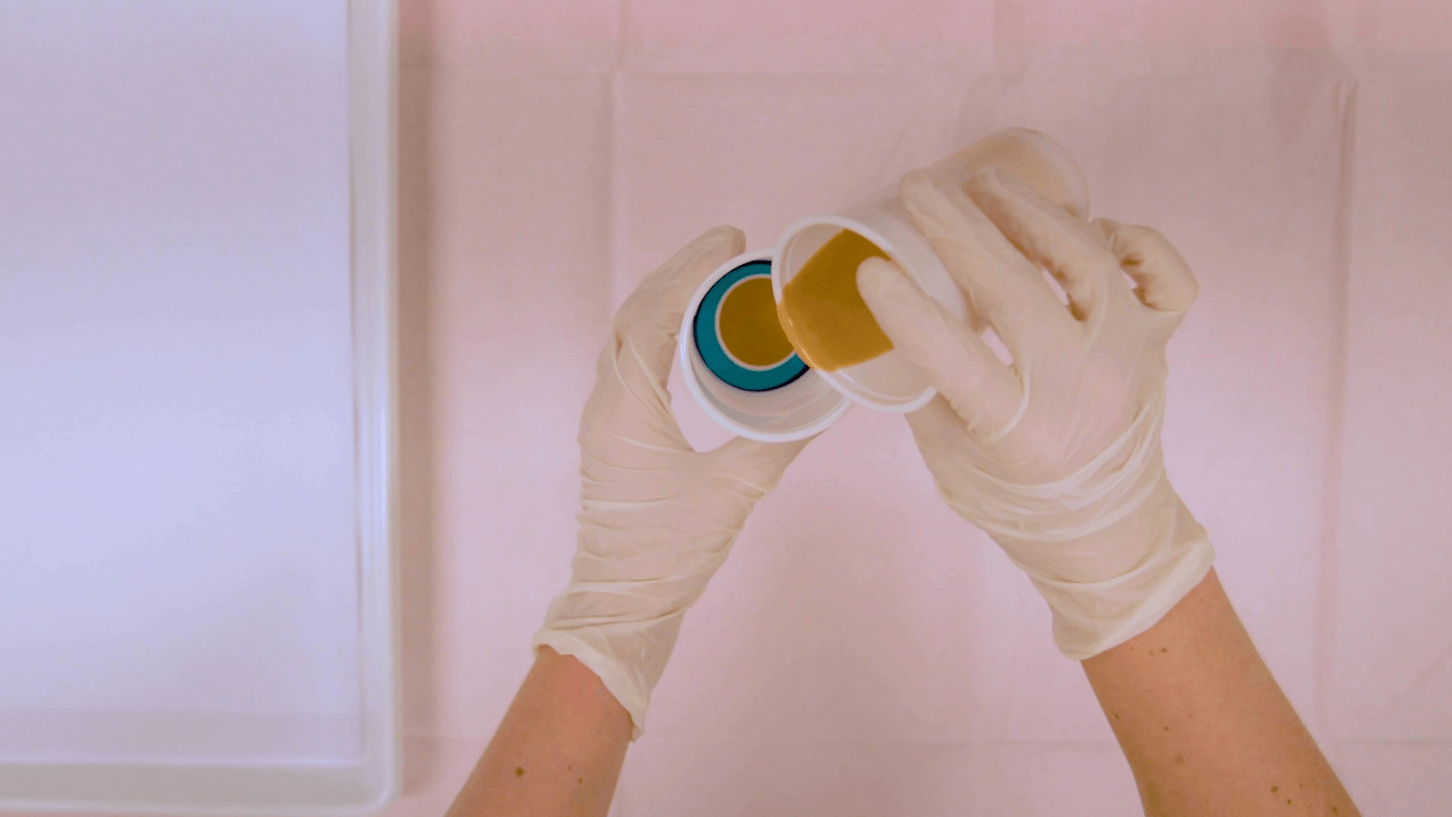
Unfortunately you can't start pouring with just straight acrylic paint, as most will be too thick or thin for this purpose. That's why mixing your colours with a specially-designed flow medium is a must, in order to get the right consistency without sacrificing the vibrancy of your paints.
Liquitex
The most reliable and quality medium for fluid art is Liquitex, which is an artist quality medium that can be mixed with any acrylic paints. Generally, the thicker the paint the more medium you will need to add. Thinner student-level paints can be mixed with Liquitex in a 1:1 ratio, while thicker artist paints should be mixed with 2 parts Liquitex to 1 part acrylic. While heavy body acrylics can be used, they require a lot of Liquitex to be thinned and can cost you a lot of money on medium. Thin them in a 6 part Liquitex, 1 part heavy acrylic ratio if you have to.
Liquitex reduces the chances of cracking and bubbles forming, plus it dries to a lovely glossy finish that looks fabulous with fluid painting.
Water
While it is technically possible to mix your acrylics with water to thin them, it isn't recommended unless you are experimenting or starting out. Because acrylics are water-soluble, adding water to them, particularly enough to make them thin for pouring, will dilute the colours and break down the binder in the paint.
As an added warning, because water evaporates quickly it can cause your finished artwork to crack as it dries. So overall, water is pretty detrimental to fluid art both in the short and long term.
However you choose to mix your paints, it is best to mix colours and mediums in their own cups. Stir your acrylic and medium together slowly with a solid mixing tool like a jumbo popsicle stick or spatula, as this will combine the two without creating bubbles. Once it has combined, let your acrylic pour painting mixture sit for at least ten minutes before using.
Beginner Fluid Paint Techniques
Now that you have your work area set up, your tools at the ready and your paints prepared, it's time to get painting! For all you shiny-eyed beginner artists, here are some simple paint pouring techniques you can get started with.
Basic Pour
This simple technique is a fast way to get your colours onto canvas. Just prepare each colour you want to use in its own cup using the preferred ratio above. Once the mixture has settled, pour the colours over your canvas. You can pour them into separate spots, cross them over in streams or pour 'dollops' of colour. Once you have all your paint on the canvas, pick it up and tilt the surface so the colours move together and flow organically.
Dirty Pour
This paint pouring technique is super popular, as it is easy to do and creates amazing designs. All you need to do is pour the colours you want to use into one cup, instead of separate ones. Layer the colours by slowly pouring each paint down the side of the cup or straight into the middle - the key here is to work slow, as quick pours can cause the colours to mix. Keep in mind that very dense colours, like metallics and metal-based pigments, will sink to the bottom and so should be poured first.
Once you have your cup of colours, pour it over your canvas. You can pour in a straight line, in circles or in wiggles, but once your paint is all out, tilt away and watch as the colours meld together in beautiful patterns.
Flip Cup
This one is less about the colours and more about how to get them onto the canvas. Create a classic 'dirty pour' cup of colours, but then hold off on pouring them. Instead, there are three ways you can go about the flip cup technique:
- If you are using a small canvas or board, place it working side down over the top of the cup, then hold on firmly and flip them both so the cup is now face down on your canvas. The pressure will keep the paint from spilling out of the cup, so you can either slowly lift it and release the colours, or poke a few holes in the top to alleviate the pressure and let the paints come out that way.
- If you can't flip your canvas because it is too big, place a thin piece of plastic (like a laminated sheet or glossy card) across the cup and flip it, before placing it onto your canvas. Slide the plastic sheet out quickly from under the cup and then carefully lift it up to release the paints.
- Skip the careful stuff and dump your colours straight onto the canvas! It can be messy if you're not quick, but it's good fun to quickly flip your cup and release the paint.
Swipe Technique
Start off with a classic basic or dirty pour but hold off on tilting your canvas. Instead, use a long, flat implement like a large popsicle stick, frosting knife or palette knife to gently spread the colours around on your canvas. Don't use too much pressure as you don't want to expose the canvas itself or muddy the colours. This is a great way to expose other colour layers and gives you (some) control over how the paint flows.
Advanced Fluid Paint Techniques
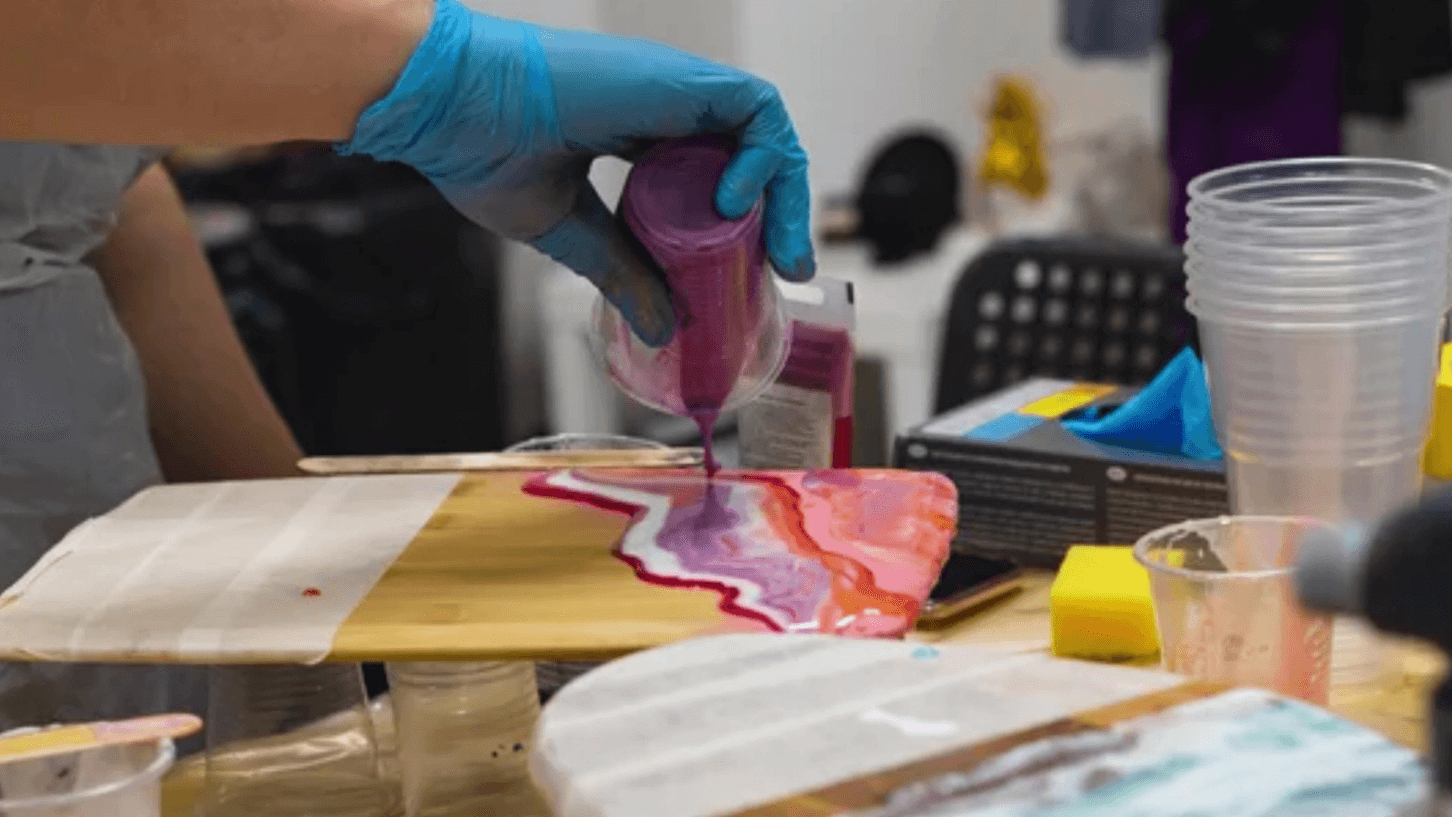
Now that you've learned the basics, it's time to try some more advanced paint pour techniques. These acrylic pouring techniques require some good colour theory, so make sure you brush up on what colours work together well before continuing on.
Puddle Pour
Create multiple basic pour cups with colours that won't muddy when mixed, as the colours naturally blend in this technique. You want to pour a little of the same colour in multiple spots across your canvas, like you are creating little 'puddles'. Then pour another colour over the top of these puddles, and continue creating colour layers until you think you have enough to cover the canvas when titled. Move the canvas around until all space is covered and your puddles have intermingled.
Tree Ring
This fluid art technique looks best on a round canvas. Start with a normal dirty pour cup, but make sure you are using a 'flexible' cup - one that you can squeeze and manipulate - or a container with a spout. Layer your colours from lighter on the bottom to darker on the top, as this will give you the tree ring effect you want. Start slowly pouring in tight, circular motions until all the paint has come out and you can see your lighter colours in the middle. Tilt your canvas in circular motions to spread the paint and try to keep your light colours in the middle - make sure to spread the paint out so you can see the 'rings' between colours.
String Technique
A humble string can be used to create beautifully delicate flowers - no, we mean it! First, spread a 'background' colour onto your canvas with the normal mixture of acrylic and flow medium, but keep it thinner than usual - you don't want your string art colours being swallowed up by the background paint. Choose your colours (two complementary ones are a good place to start) and create a stripy line of colours on a long piece of foil or plastic - like a colourful zebra crossing.
Choose a thin piece of string (around two or three millimetres thick) and lay it down in your colours, making sure it is fully coated with flow paint. Leave the end poking out for you to grab. You will need to layer it back in forth in the colour a few times (unless you have a really long piece of foil!) and that's fine, but don't let the pieces touch.
Coil your string on your canvas in deep, side to side swirls, leaving the bare end pointed towards you. Let it sit for a minute, then gently pull the string towards you, allowing it to uncoil and drag across the canvas.
You can manipulate the paint a little if you want to, but be careful not to fiddle too much with your design.
Resin Pour
This pour is a little different - rather than mixing with a fluid medium, we will be mixing our acrylics with resin instead. Resin is great for creating 'cells' in your art and is a favourite for making beachscape art pieces. Resin mixing ratios will differ by brand so make sure you follow the instructions on the pack of whatever resin you are using - you can also add pigment powder, metallic leaf and inks into resin for different colour effects.
Like with a fluid medium, make sure to mix your resin colours in their own separate cups, then pour them on separately to your prepared canvas. Move the colour around either by tilting, using a stick or your gloved hands. Use a blowtorch to quickly pop the bubbles that are created and watch as your cells take shape!
When using resin, be extra careful with your protective gear. Resin is very hard to get out of clothes and off surfaces, and is painful when it comes into contact with your skin. We also recommend wearing a mask, as the fumes can be quite unpleasant to breathe in.
Resin can take a whole day to cure, but it will dry to a hard and glossy finish that is resistant to water.
Acrylic Paint Pouring Tips & Tricks
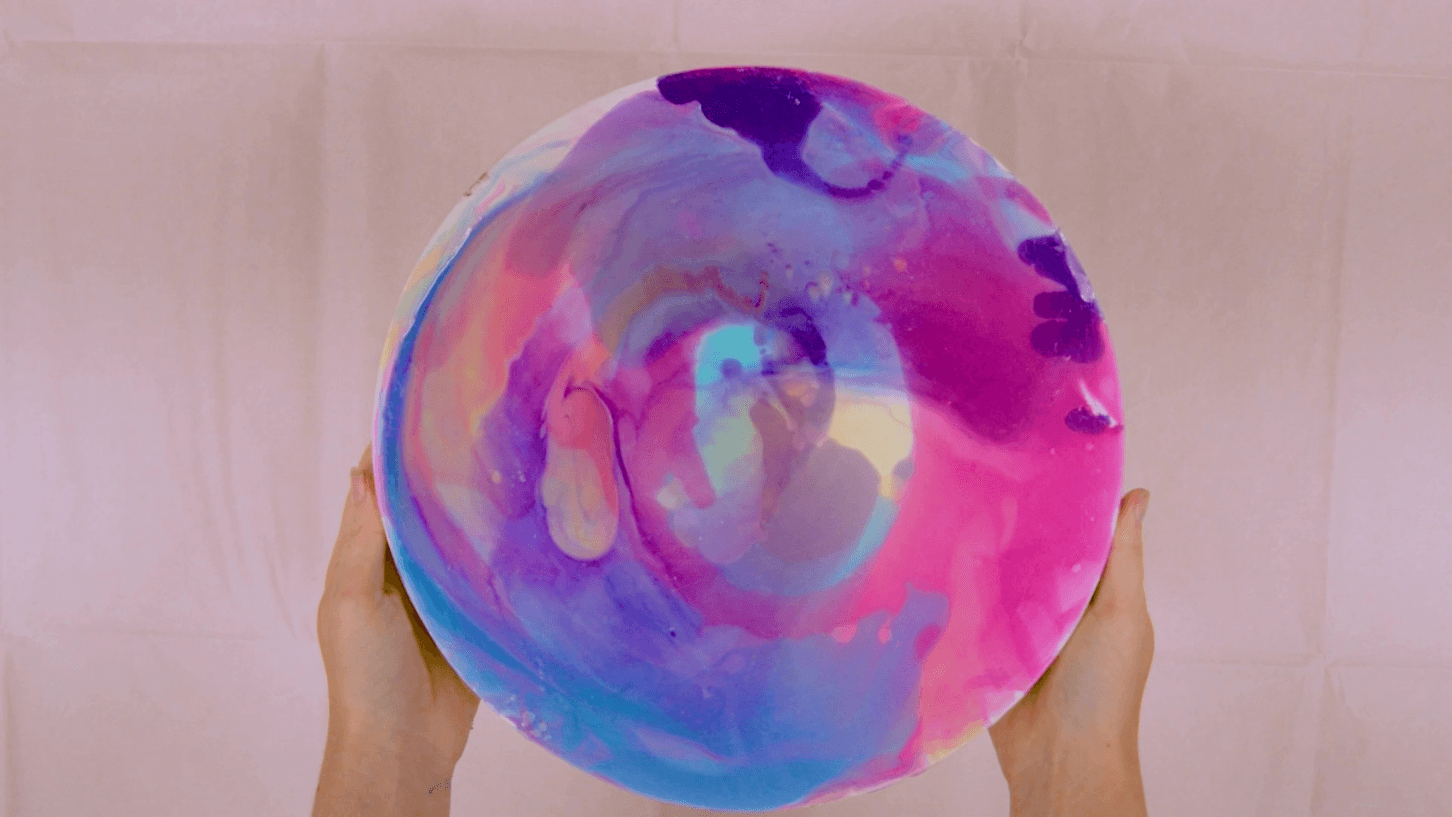
Besides the above techniques, here are some handy tips you can use to get the most out of your fluid art:
Create cells - creating cells in fluid art looks amazing, and is pretty easy to do as well! Sometimes cells are created naturally when your acrylic paint and fluid medium mix, but most of the time you need something that these things don't like to mix with - enter silicone oil! Pure silicone oil (and we mean 100% pure) is perfect for use with fluid art, as it has no scent and contains no organic ingredients. There is no hard and fast rule to how much silicone oil you need to use, but start with a few drops per colour cup and work from there.
Larger cells will take shape on their own, but if you want lots of smaller ones you will need to run a blowtorch lightly over your work to get them to form.
Make it shiny - fluid art is known for its shiny, glossy finish. Luckily, if you are using a medium like Liquitex in your art, it will dry with this finish naturally! If you are using a medium without this gloss or with water, you can mix in special gloss mediums or use a gloss varnish over the top once it has dried. A layer of clear resin over the top of dry art will also create a shiny coat.
Do I need to varnish my art? - mixed with the proper mediums, fluid art will dry to a hard and shiny finish. But if you are worried about your liquid art being scratched or damaged, or if you will be displaying your art somewhere it will be affected by UV rays, then a protective coat on top is probably a good idea. Appropriate varnishes can come in liquid and spray forms, and both will require multiple light layers, rather than one thick one. While it may seem like a fair bit of extra effort to varnish your flow art painting, the peace of mind that you'll have afterwards is worth it!
Gold accents - while using golden-coloured fluid paint is an option, adding gold leaf or gold acrylic paint to your dried painting is an ornate way to really highlight your liquid art. You can use PVA to adhere a little gold leaf to your fluid art - it looks especially pretty along the natural divides created by the paint colours. You can also use a small brush to line the colour borders with bright gold paint. For either of these options, make sure your fluid art is completely dry before applying.
Cover the sides - for a more uniform look, make sure to let your liquid paint flow over the sides of your canvas in an even layer of cover. While it will lead to some mess, the professional finish will look stunning once it dries.
Common Mistakes & How to Avoid Them
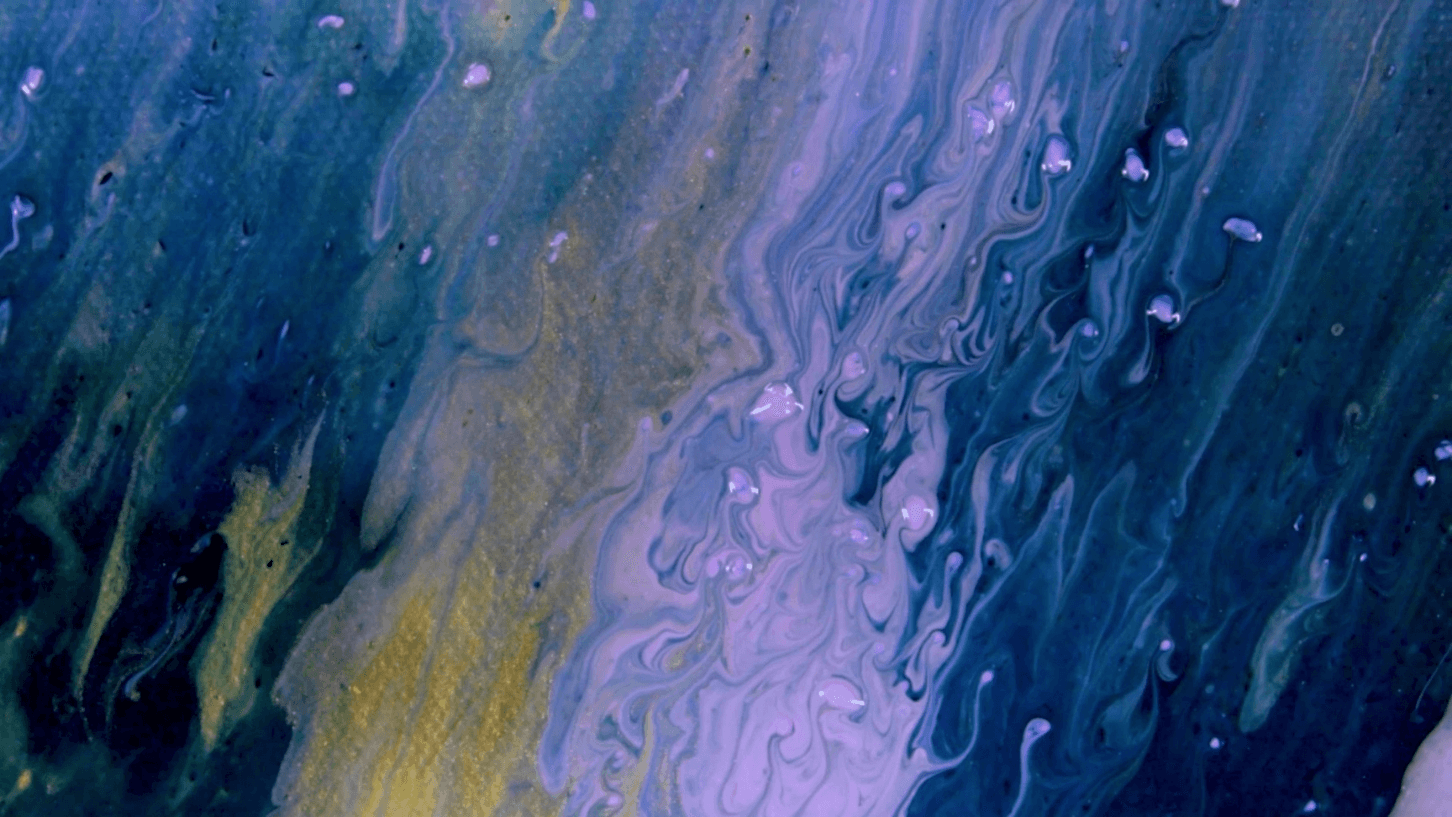
While acrylic pouring art is pretty easy as far as painting types go, there are a few pitfalls you should try to avoid:
Muddy colours - you've heard us mention 'muddy colours' a few times now, and that's because they can ruin your acrylic pouring art piece! One way to avoid this is to make sure you aren't layering 'heavy' colours (metallics and metal-based pigments like cobalt and cadmium) over lighter-density colours. The heavy colour will drop through the light ones and mix them together, creating an unwelcome blend.
Colour theory is also important - avoid blending colours that will always result in an unsightly brown-grey mess .
Bubbles - when mixing your paints, air can become trapped in the fluid and won't become visible until it later rises to the surface in an unsightly bump. Or it may pop and leave a crater instead! Definitely not something you want on your silky, glossy fluid art.
To prevent bubbles, mix your acrylic and medium very slowly - a good way to do it if you have time is to mix them the night before, then let them rest overnight. If you have poured your paint and then notice bubbles, it's not too late! Rather than popping them all individually, try a light spray of rubbing alcohol over the surface. Make sure it comes out in a fine mist, rather than sizeable droplets.
Too thin or too thick - mixed your paints, tried to pour and noticed your consistency is all wrong? No worries, it's an easy fix! For paint that is too thick, add a little flow medium until it gets to that lovely honey-like consistency. If your mixture is too thin, just add some more paint until it thickens up again.
Cracking when drying - you've done all your hard work, set your fluid art aside to dry and come back to realise it's cracking! There's not much to be done to fix a crack besides filling it with paint, so the best treatment here is prevention.
Acrylic flow paint that is too thin or too thick will crack, so make sure your paint is applied in an even layer across your canvas. Too much water or alcohol mixed into your acrylic can also cause cracks, so keep these additives to a minimum. Finally, if your paint pour art is drying in conditions that are too cold or too humid, cracks will form as the layers of paint dry at different speeds
Saggy canvas - a canvas that sags in the middle will cause your paints to pool unevenly and make it hard to achieve the effects you want. To prevent this, make sure you are using a high-quality canvas that has been stretched properly. You can tighten it even further using canvas keys, or use a wooden backing to reinforce the back of your canvas. If neither of these is available to you, try to support the back of your canvas with a large, flat object underneath it like a book or shoebox.
Get Creative & Fluid with Your Art
Now you know everything you need to get started on your fluid art journey. Have fun finding your favourite colour combinations and creating mind-boggling works of paint pouring art!
Need a little inspo? Check out some of our project guides to get you going, and make sure to show us what you make - we can't wait to see what you create!


