 | ||
| Your browser is not supported. | ||
|
Please browse our site using any of the following options:
| ||
How To Make A Quilt From Start To Finish

Have you ever wondered how to make a quilt from scratch? Quilt designer and sewing tutor Monica Poole from Pattern Poole is here to show you everything you need to know about making a quilt from start to finish! Whether you're a beginner or more experienced at quilting, you'll love this step by step series on creating a beautiful quilt that you'll cherish for years to come. We have three videos going through the steps you need to follow, with in-depth explanations and walk-throughs showing you exactly what needs to be done to create a gorgeous string quilt.
About String Quilting And Quilting As You Go
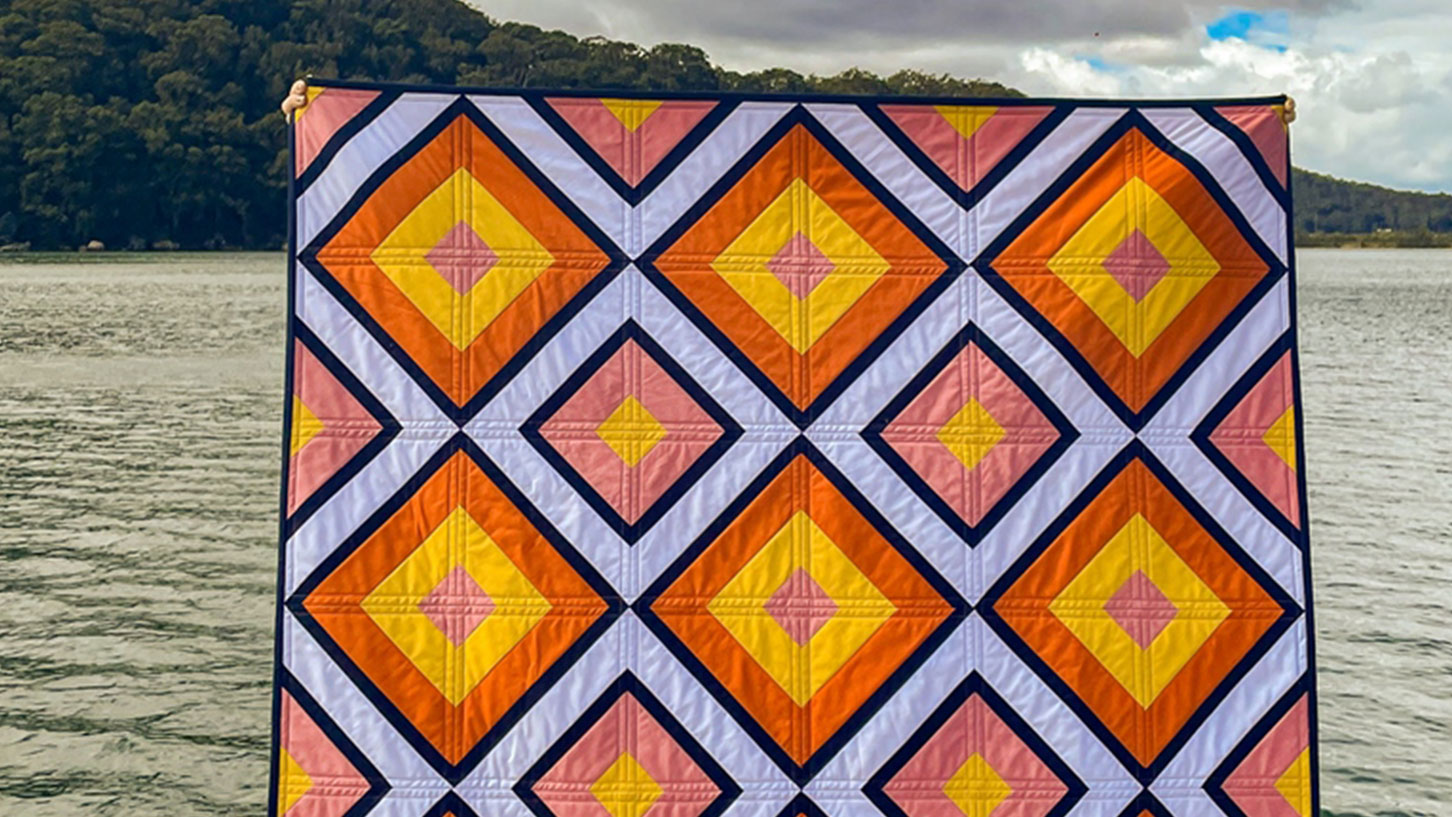
This is a quilt-as-you-go (QAYG) design, constructed with Monica Poole's Easy Cover Strip Method. It is suitable for both the beginner and the advanced quilter.
String quilts have a rich history and date back to the 18th century. They were made from scrap fabrics and used strips of all sizes and colours. String quilts knew no bounds and were not about perfection, where every single seam was aligned - they were about the stunning geometric patterns that were created by the kaleidoscopic array of strips or strings. This quilt is made from organic quilters cotton in light and dark fabric, plus three medium-tone fabrics such as pink, yellow and orange. This striking colour combination gives the string quilt a modern, eye-catching edge. The backing fabric is a Jocelyn Proust printed cotton that ties in beautifully with the fabrics of the quilt top.
Step 1 - Cut Out And Make A Basic Stitch And Flip Block
This video goes through what you'll need to create this beautiful quilt, plus how to measure and cut all your materials, including the batting.
Step 2 - Join Your Blocks & Rows Together Into A Quilt
This video will show you how to join your blocks together using Monica's Easy Cover Strip method, as well as how to join the rows together to form a complete quilt - plus lots of other quilting tips along the way!
Step 3 - Bind Your Quilt and Finish
The final video! Now you can bind your quilt using a fully machine-sewn binding. This binding finishes approximately 1/2" wide on the front but 1" wide on the back to tie in with the width of the cover strips.
It's like a regular quilt binding but has four differences:
- It's cut wider.
- It's sewn with a 3/8" seam allowance.
- It folds over to the back, past the stitching line to a width of 1".
- And it is machine-sewn down on the front of the quilt, making a quilting line that is sewn slightly less than 1/2" away from the quilt edge.
This binding ties in perfectly with 'quilt as you go' quilts that have the cover strip on the back, but you could also use it on other quilts where that extra row of stitching around the edge ties in with the quilt design.
Enjoy Quilting With Quality Quilting Supplies From Spotlight
Now that you know how to make a simple quilt, grab your supplies from our online quilting supplies collection, or from the quilting section at your nearest Spotlight store. Some essentials you may need include quilting tools and quilting accessories such as thread, quilting pins, safety pins, a needle, a quilting cutter, quilting mats, quilting ruler and batting or wadding. Plus find easy to use pre-cut quilting fabric for your convenience at Spotlight.
For more info on quilting, read our blogs on choosing the right quilting tools, choosing the right quilting fabric and using the long arm machine at select Spotlight stores. And for more fun quilting patterns, check out our FREE quilting projects page for heaps of inspiration!


