 | ||
| Your browser is not supported. | ||
|
Please browse our site using any of the following options:
| ||
How To Make Your Own DIY Party Backdrop

Parties are simply easier to organise when there's a theme attached. It makes the table settings, decorations and even the food much more seamless to manage when there's a theme or colour scheme to follow. One great way of communicating the theme to party guests is with an amazing photo backdrop that forms the centrepiece of your party.
Interested in learning how to make a backdrop for your next event? Here we've outlined some handy tips on how to make an extremely insta-worthy backdrop using washi tape - modify these steps to bring your own backdrop design to life!
Quick Links
- Why Do I Need A DIY Party Backdrop?
- Tips For Preparing To Style A DIY Party Backdrop Using Washi Tape
- What You Need For Your Backdrop DIY Design
- Create a Ferris Wheel Themed DIY Party Backdrop
- How To Get That Perfect DIY Photo Backdrop Shot
- More Party Supplies For Your Event
Why Do I Need A DIY Party Backdrop?
Creating your own DIY photo backdrop makes getting the perfect shot so much easier. Showcasing your carefully-planned events on social media is super fun, and a great way to record memories of the exciting times you've had. Backdrop designs can range from the quick and simple to eye-catching complex, and there are plenty of options to suit the theme of your party no matter how much time and effort you want to put in!
A backdrop can also play an important part in showcasing your theme, as its size and often bright colour will make it a major part of your room setup. If it suits your theme, you can even provide props and accessories for your guests to use in their photos!
Tips For Preparing To Style A DIY Party Backdrop Using Washi Tape
- Take your time to carefully plan out your design. Do a Google image search for simple pictures of your chosen theme (in our case a Ferris wheel) and this will give you ideas for creating a relatively straightforward design that you can recreate using washi tape. Instagram and Pinterest are great for inspiration too! You can take ideas from a few different images and then sketch the final design based on what you thought would work well using washi tape - but keep in mind that it's not easy to create curves with tape.
- Use a tape measure and spirit level to get your design as even and symmetrical as possible. Pre-cutting the pieces of washi tape will save some time and ensure you cut pieces the correct length.
- Remember that washi tape is easy to remove and reposition! So, if something doesn't look right, even after using your measuring tape and spirit level, don't be afraid to remove and re-position pieces until you're happy.
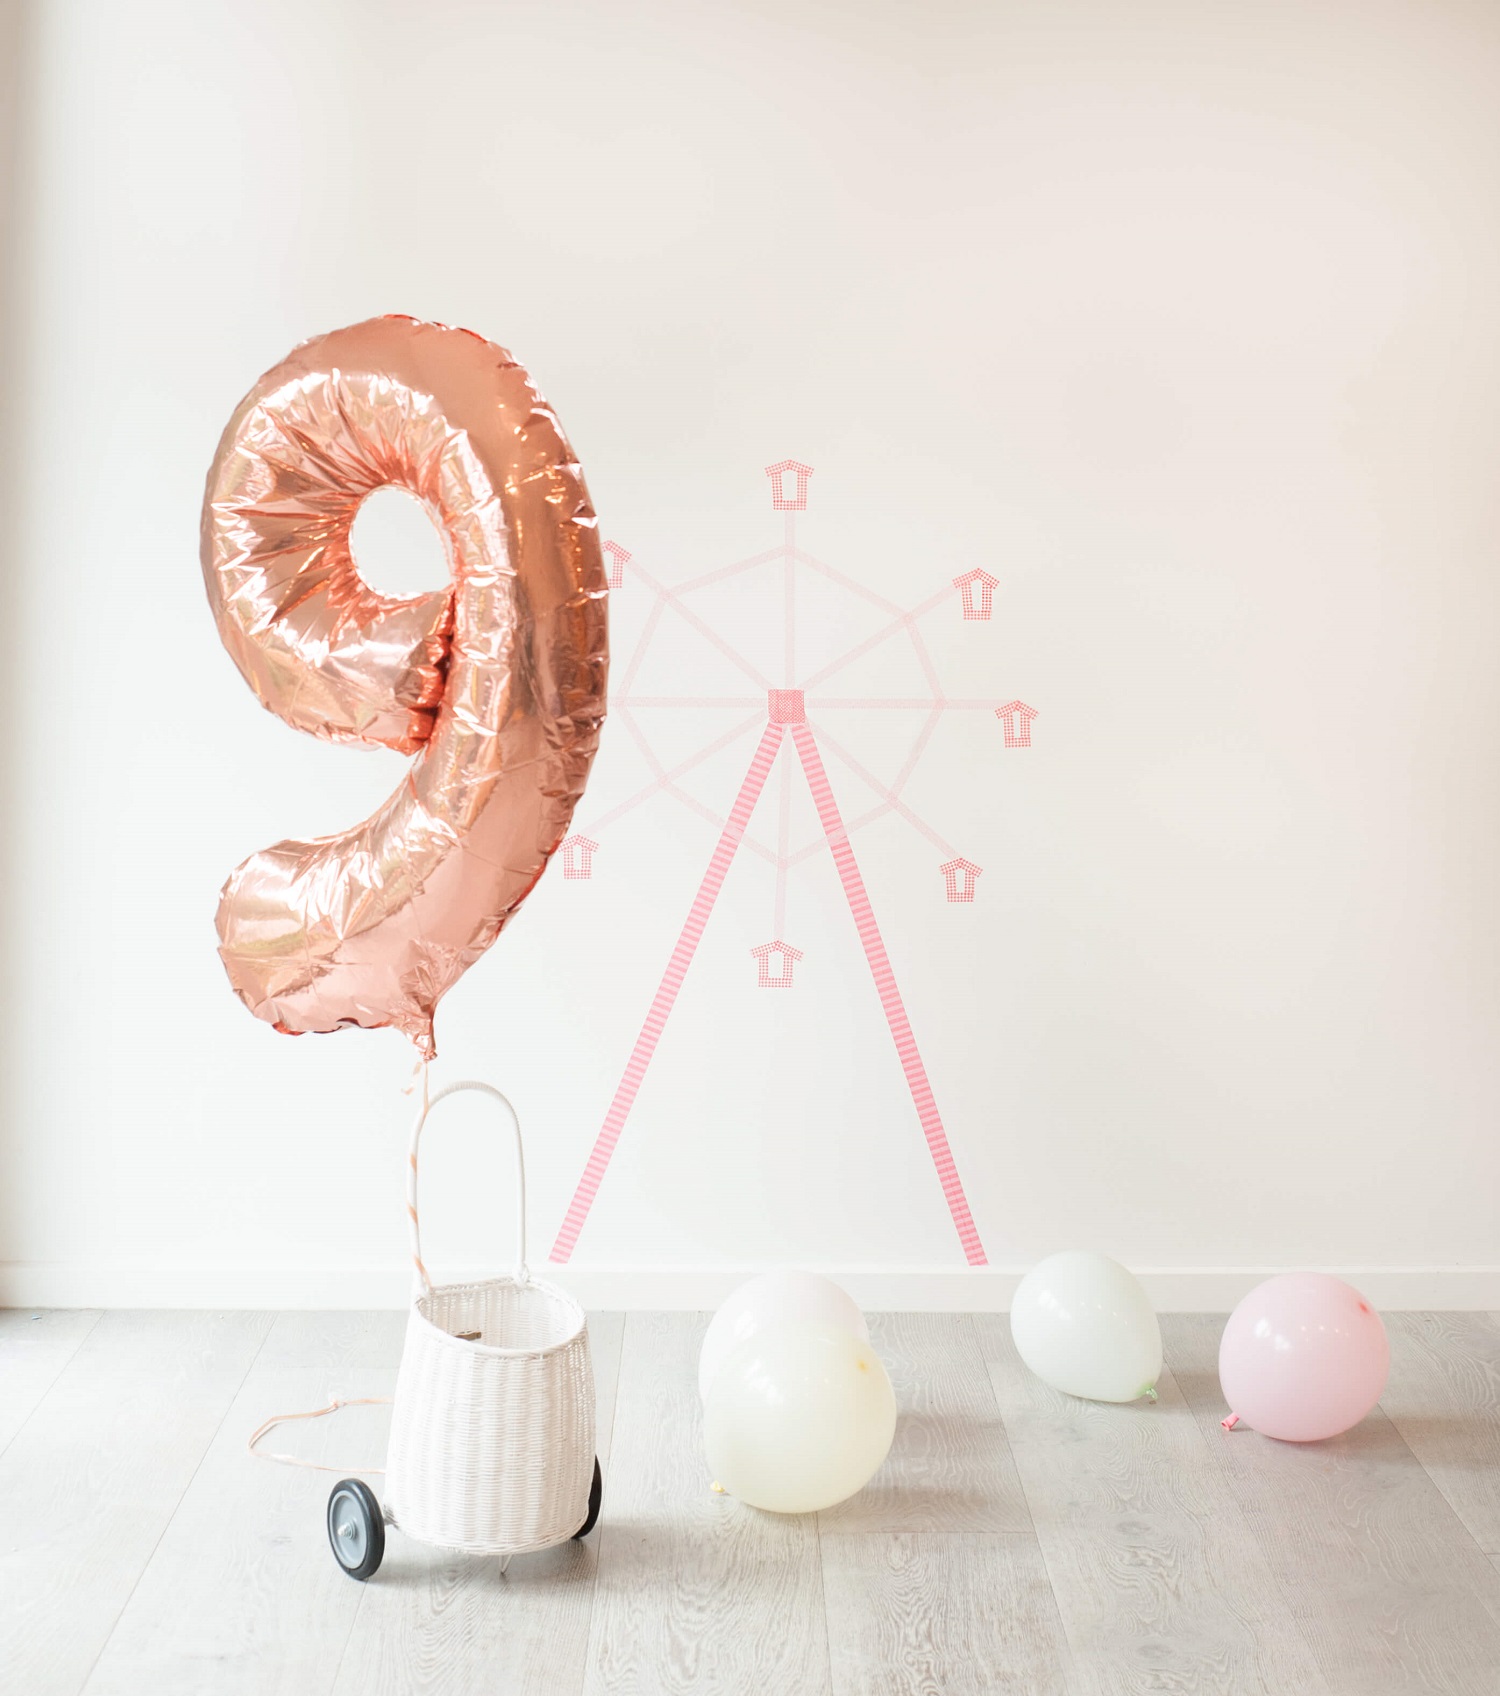
Take your time to carefully plan out your design.
Make an insta-worthy backdrop using washi tape.
What You Need For Your Backdrop DIY Design
- Pencil and paper to sketch out the design
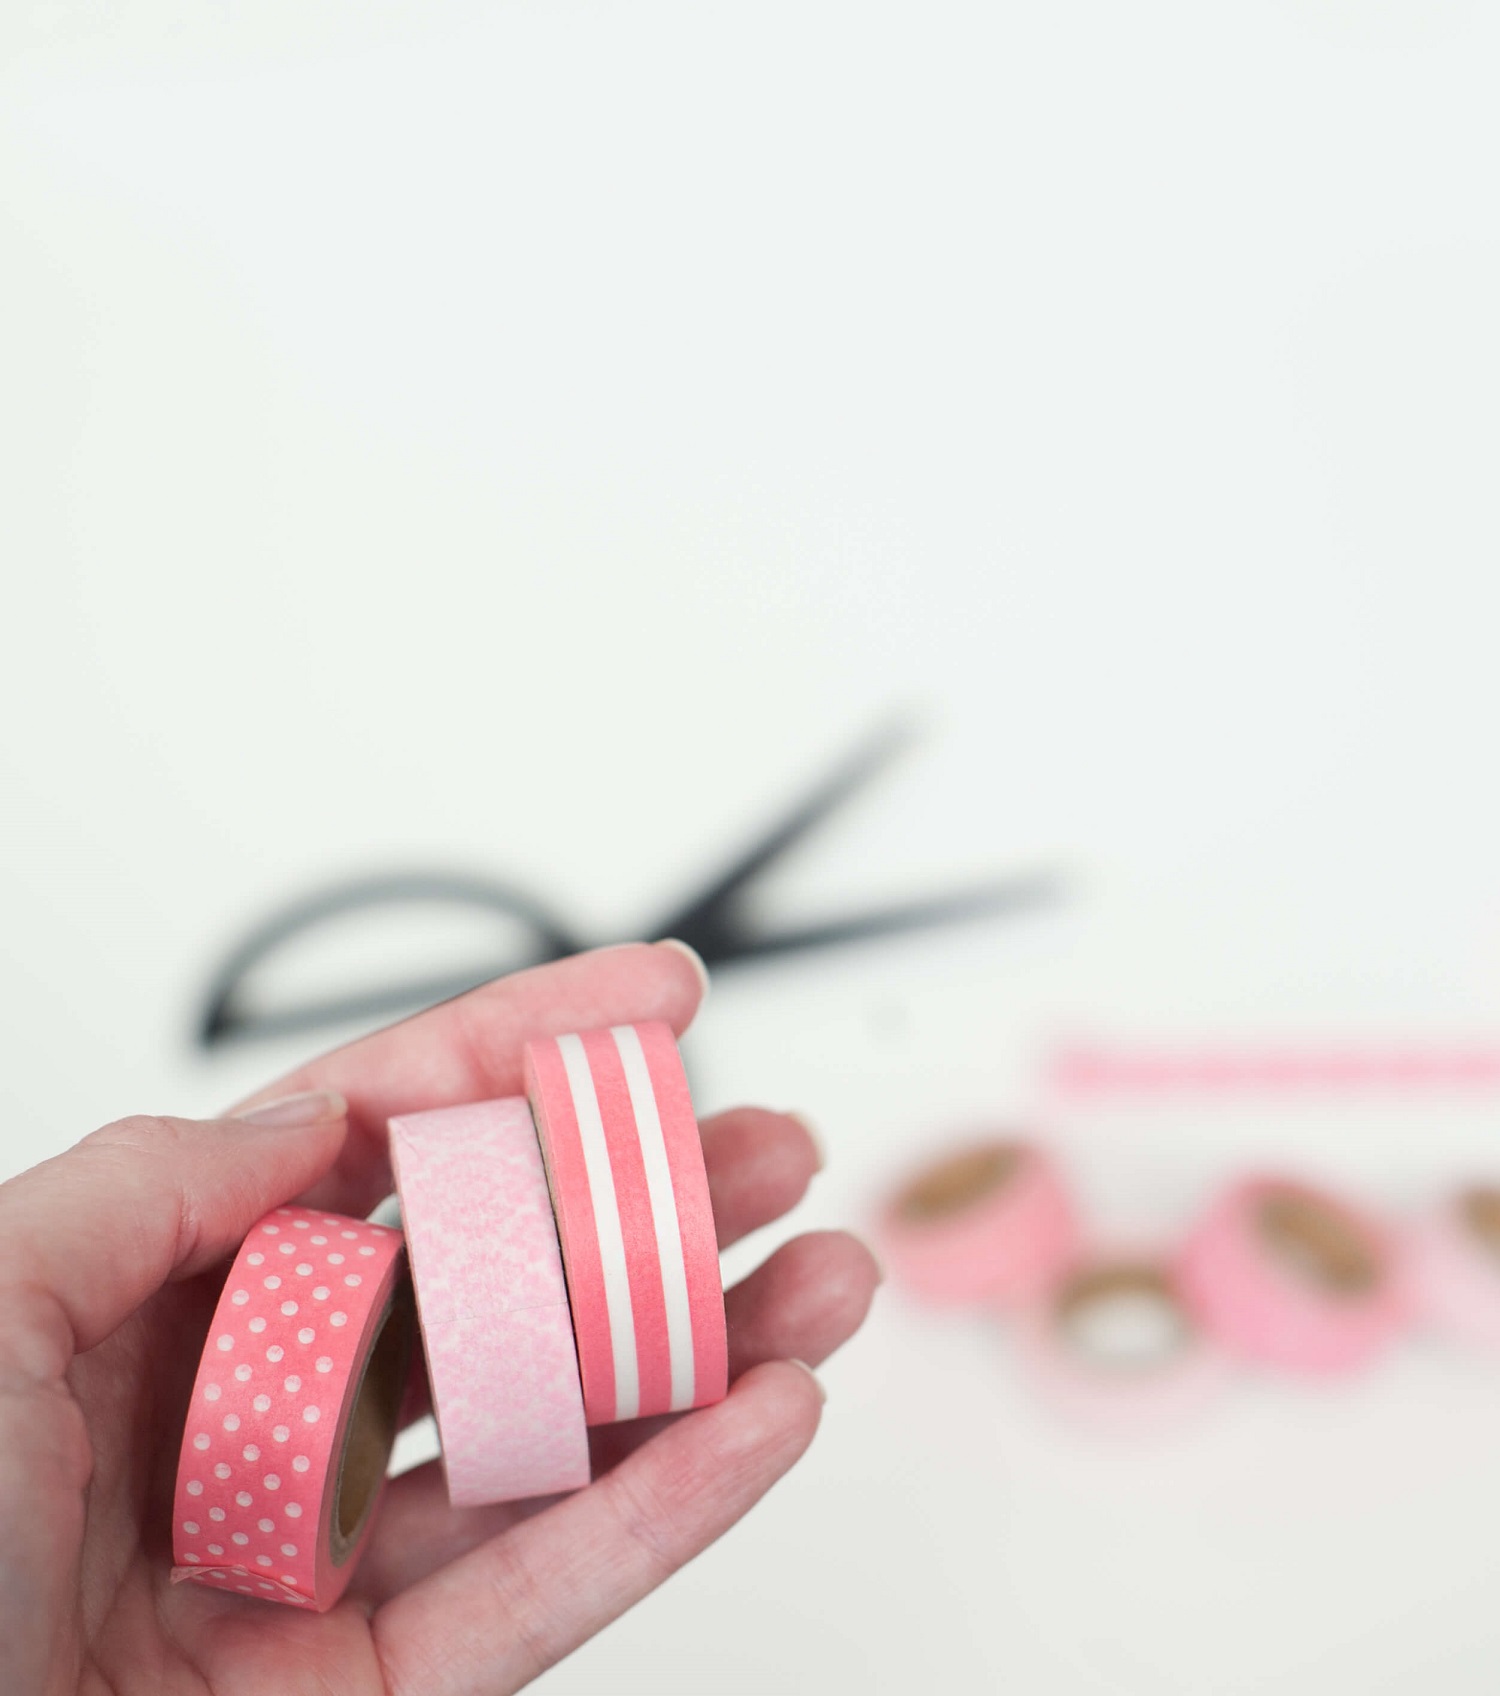
- Washi tape in a variety of patterns - we bought the Crafter's Choice Washi Tape Value Tube in pink, so that we had lots of different pattern tapes all within the same colour palette.
- Craft scissors
- Measuring tape
- Spirit level
Create a Ferris Wheel Themed DIY Party Backdrop
Follow these steps to learn how to make a backdrop for any party!
- Plan your design, getting inspiration from Google images, Instagram or Pinterest. In this case, we've chosen a Ferris wheel. Keep in mind that a simple geometric design, with no curved lines, will be easier to create with washi tape.
- Decide on the size of your mural, and then work out the measurements for each section and note them on your sketch. Then pre-cut all the pieces of washi tape to ensure they're the correct size. You can lightly stick the pieces on the wall next to where you are working.
- Start assembling your design. Start with the legs of the Ferris wheel, then move on to the vertical and horizontal arms, followed by the diagonal arms, and finally the carriages. Use a spirit level to try to space the arms as evenly and symmetrically as possible. Don't stress if it's not perfect - a few quirks and imperfections give your creations character!
- Finally, stand back and look at the Ferris wheel or whatever design you've made, and decide whether anything needs to be moved or adjusted. Washi tape is so easy to work with in this respect, as it peels off easily and re-sticks easily too.
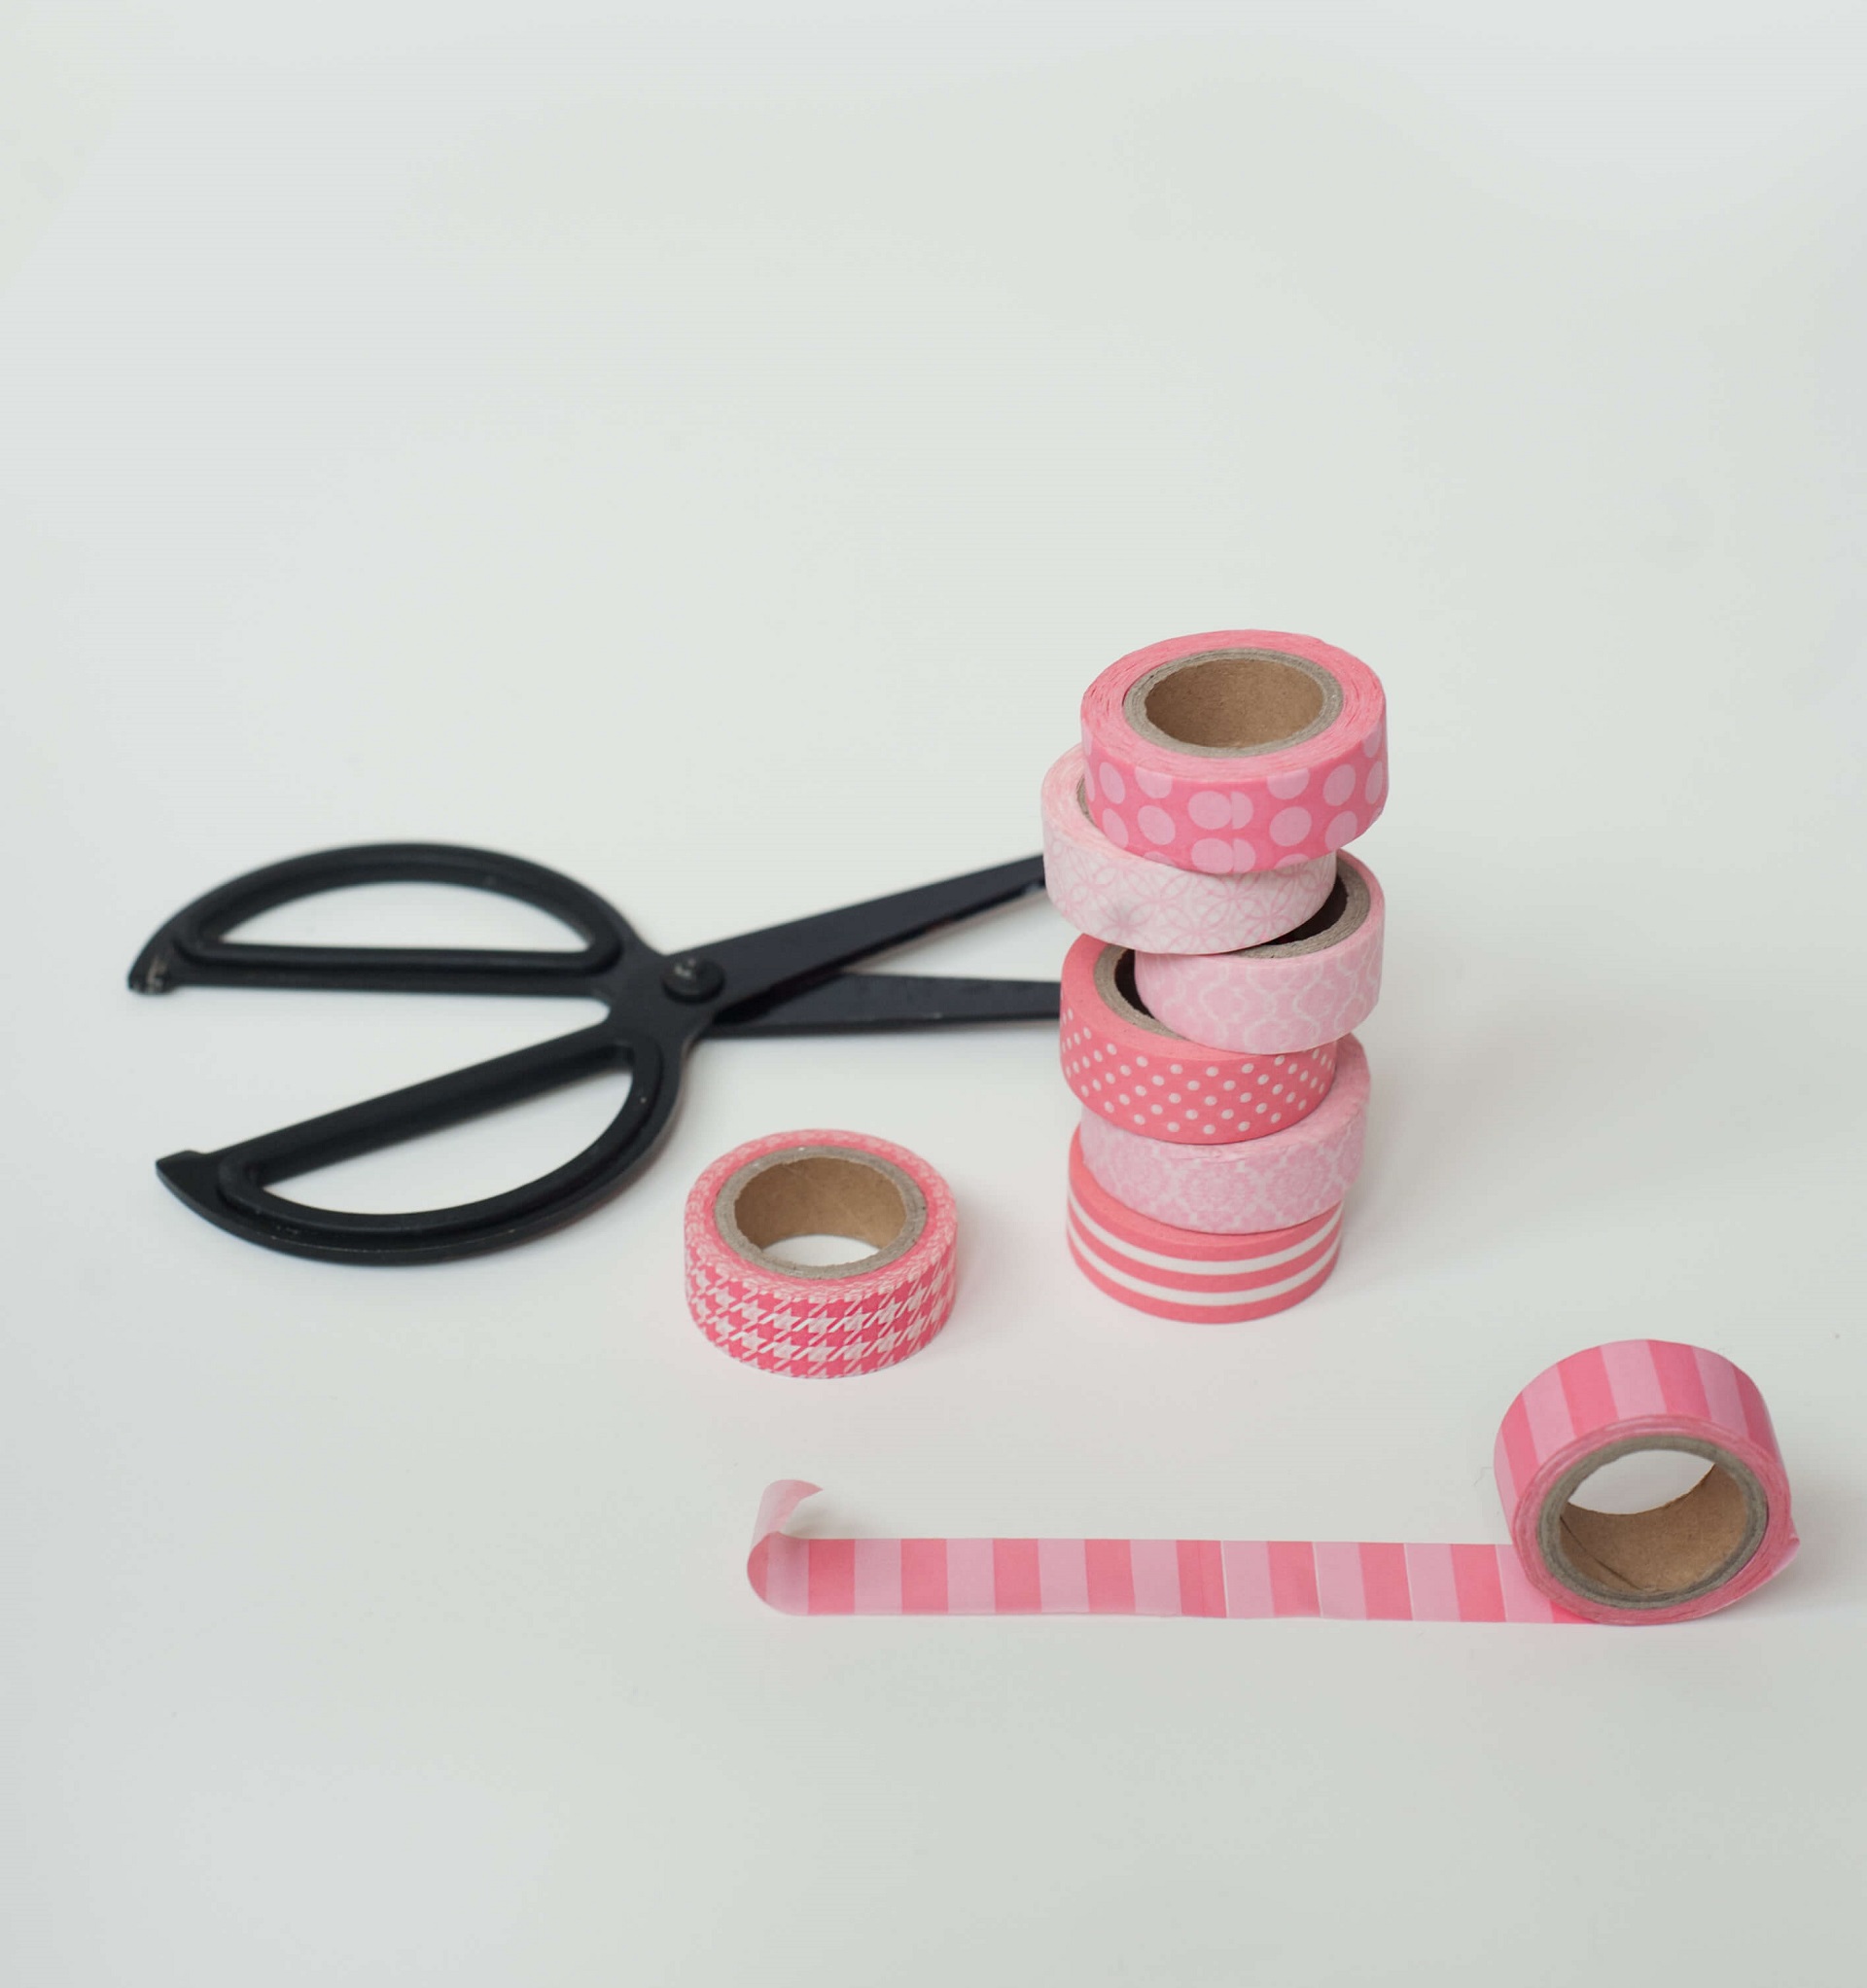
Gather the right materials to create your mural.
How To Get That Perfect DIY Photo Backdrop Shot
Now that you've created your backdrop, you're going to want to capture it in all its glory. There might not be any such thing as the 'perfect' Instagram shot, but here are some tips for getting an image you'll love:
- Tidy up the space of any clutter, and then have a peek through your camera and check that you're happy with everything you can see in the frame. To give your image depth and interest, think about positioning items and props at differing distances from the camera.
- Natural light is always best, so be sure to take your photos at the right time of day. You can also try to position your DIY photo backdrop near a window or skylight, in order to let in as much natural light as possible. If using natural light isn't possible, stick to cool white lights around your photo wall, as warm yellow lights can alter people's skin tones and make your photo appear darker.
- If you're wanting your kids in the photo, wait to bring them over until you're 100% ready to start snapping. Then take loads of shots, using continuous mode if your camera has it, and you'll be sure to get at least one or two great captures. Make sure to capture the bloopers and action shots too!
Quick Last Minute Party Backdrops You Can Buy and Hang
If you're having a last minute party and may not have the time to plan and prepare a backdrop, don't worry. You can create a party backdrop fast with ready to use products including:
- Buntings and garlands: these are great for setting the scene and getting the message across.
- Metallic foil curtains: instantly transform any doorway or wall into a party-ready backdrop with metallic curtains.
- Hanging paper lanterns and fans: add colour and fun to the party backdrop with ready to hang paper fans and lanterns.
- Streamers: some streamers hung up around the room will quickly add to the party atmosphere.
- String decorations: this versatile decoration can be tacked onto your wall or hung from the doorway to create a welcoming party backdrop.
These are simple and cost effective ways to create a great party backdrop that is fuss free!
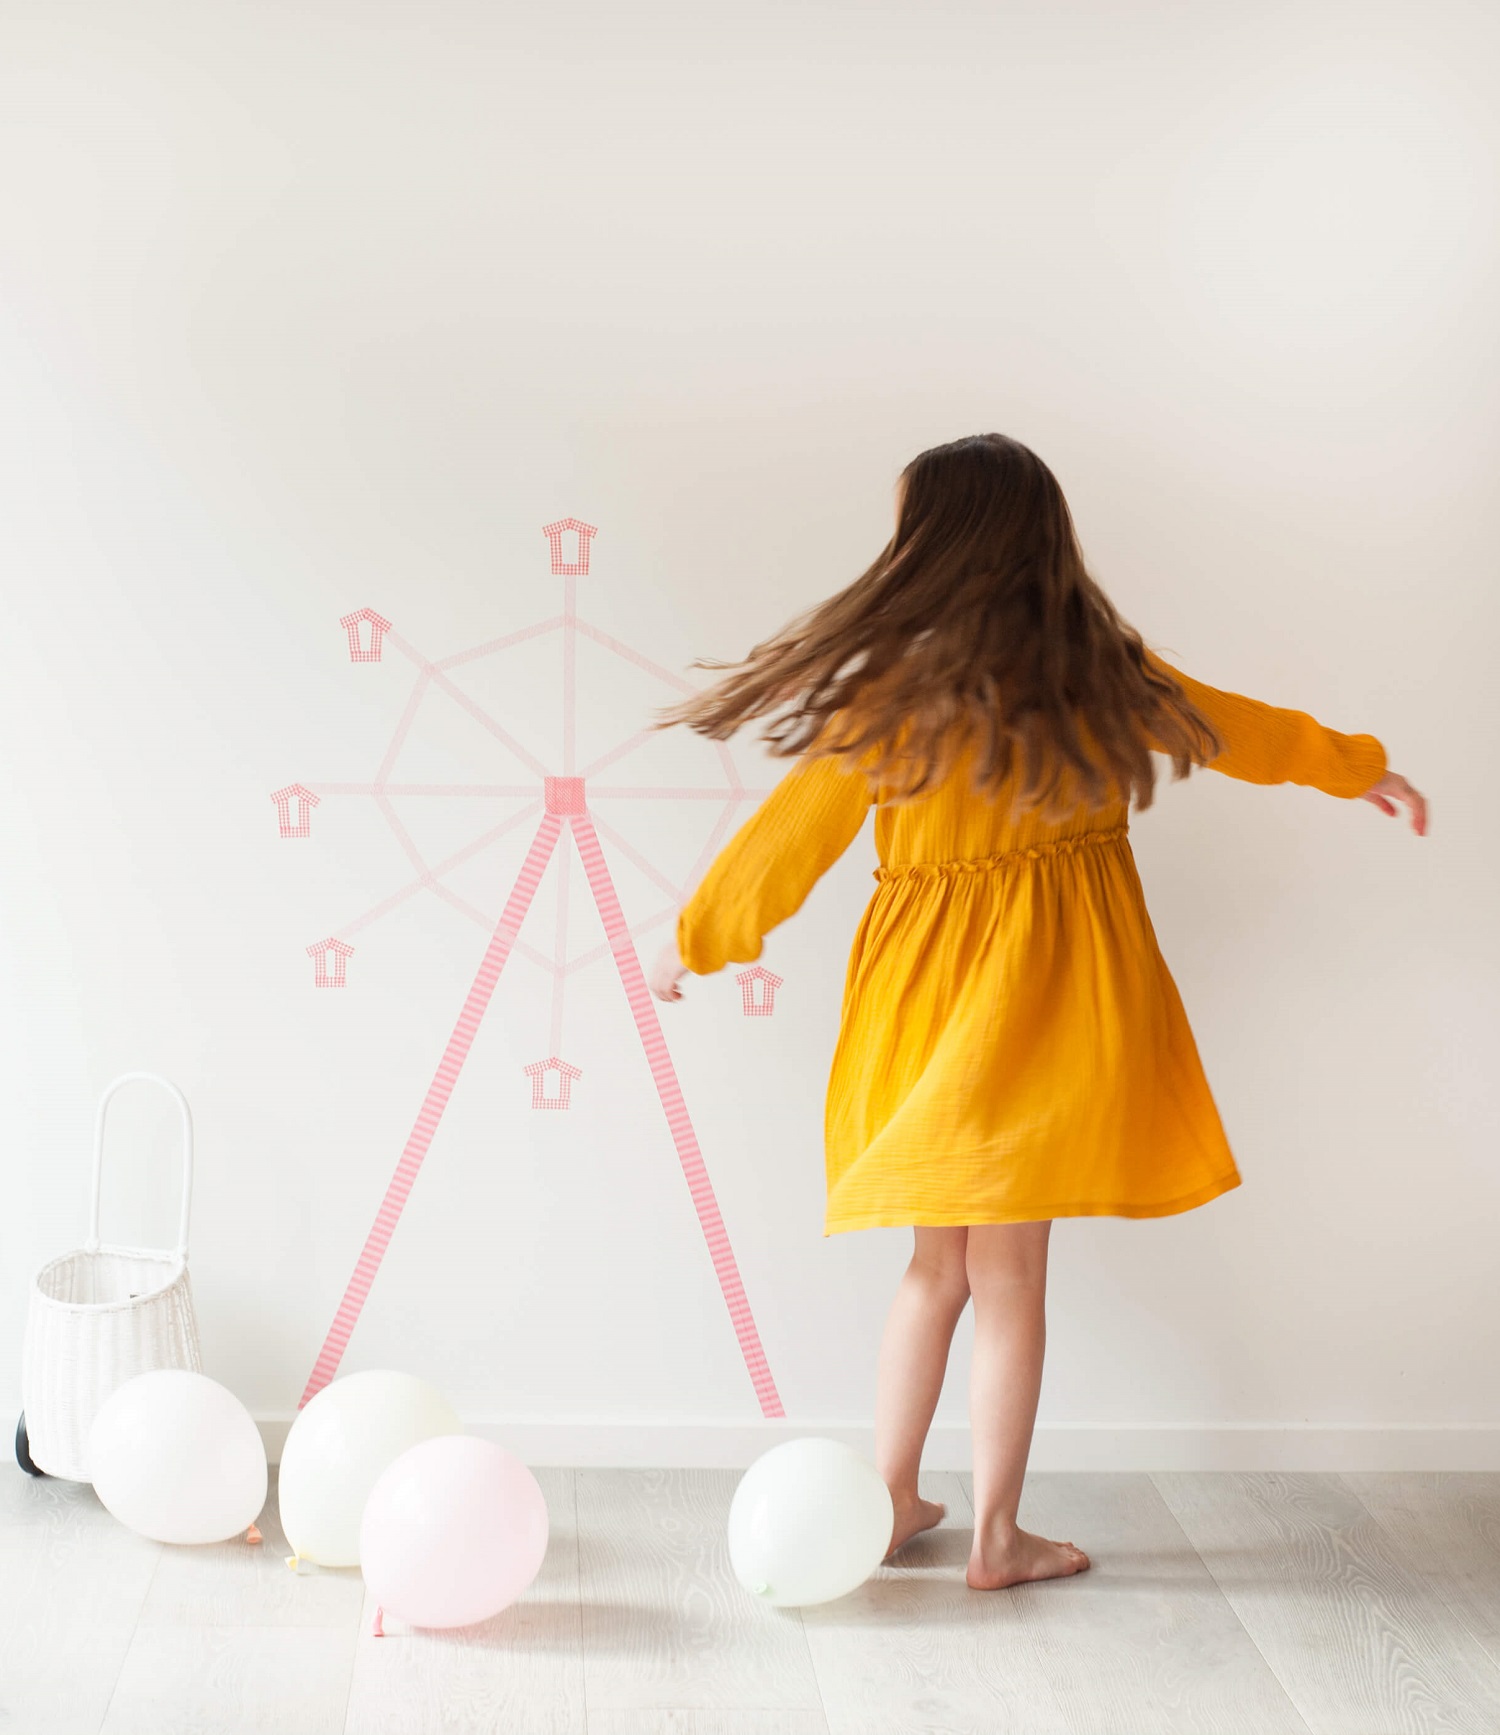
Getting that perfect shot for Instagram.
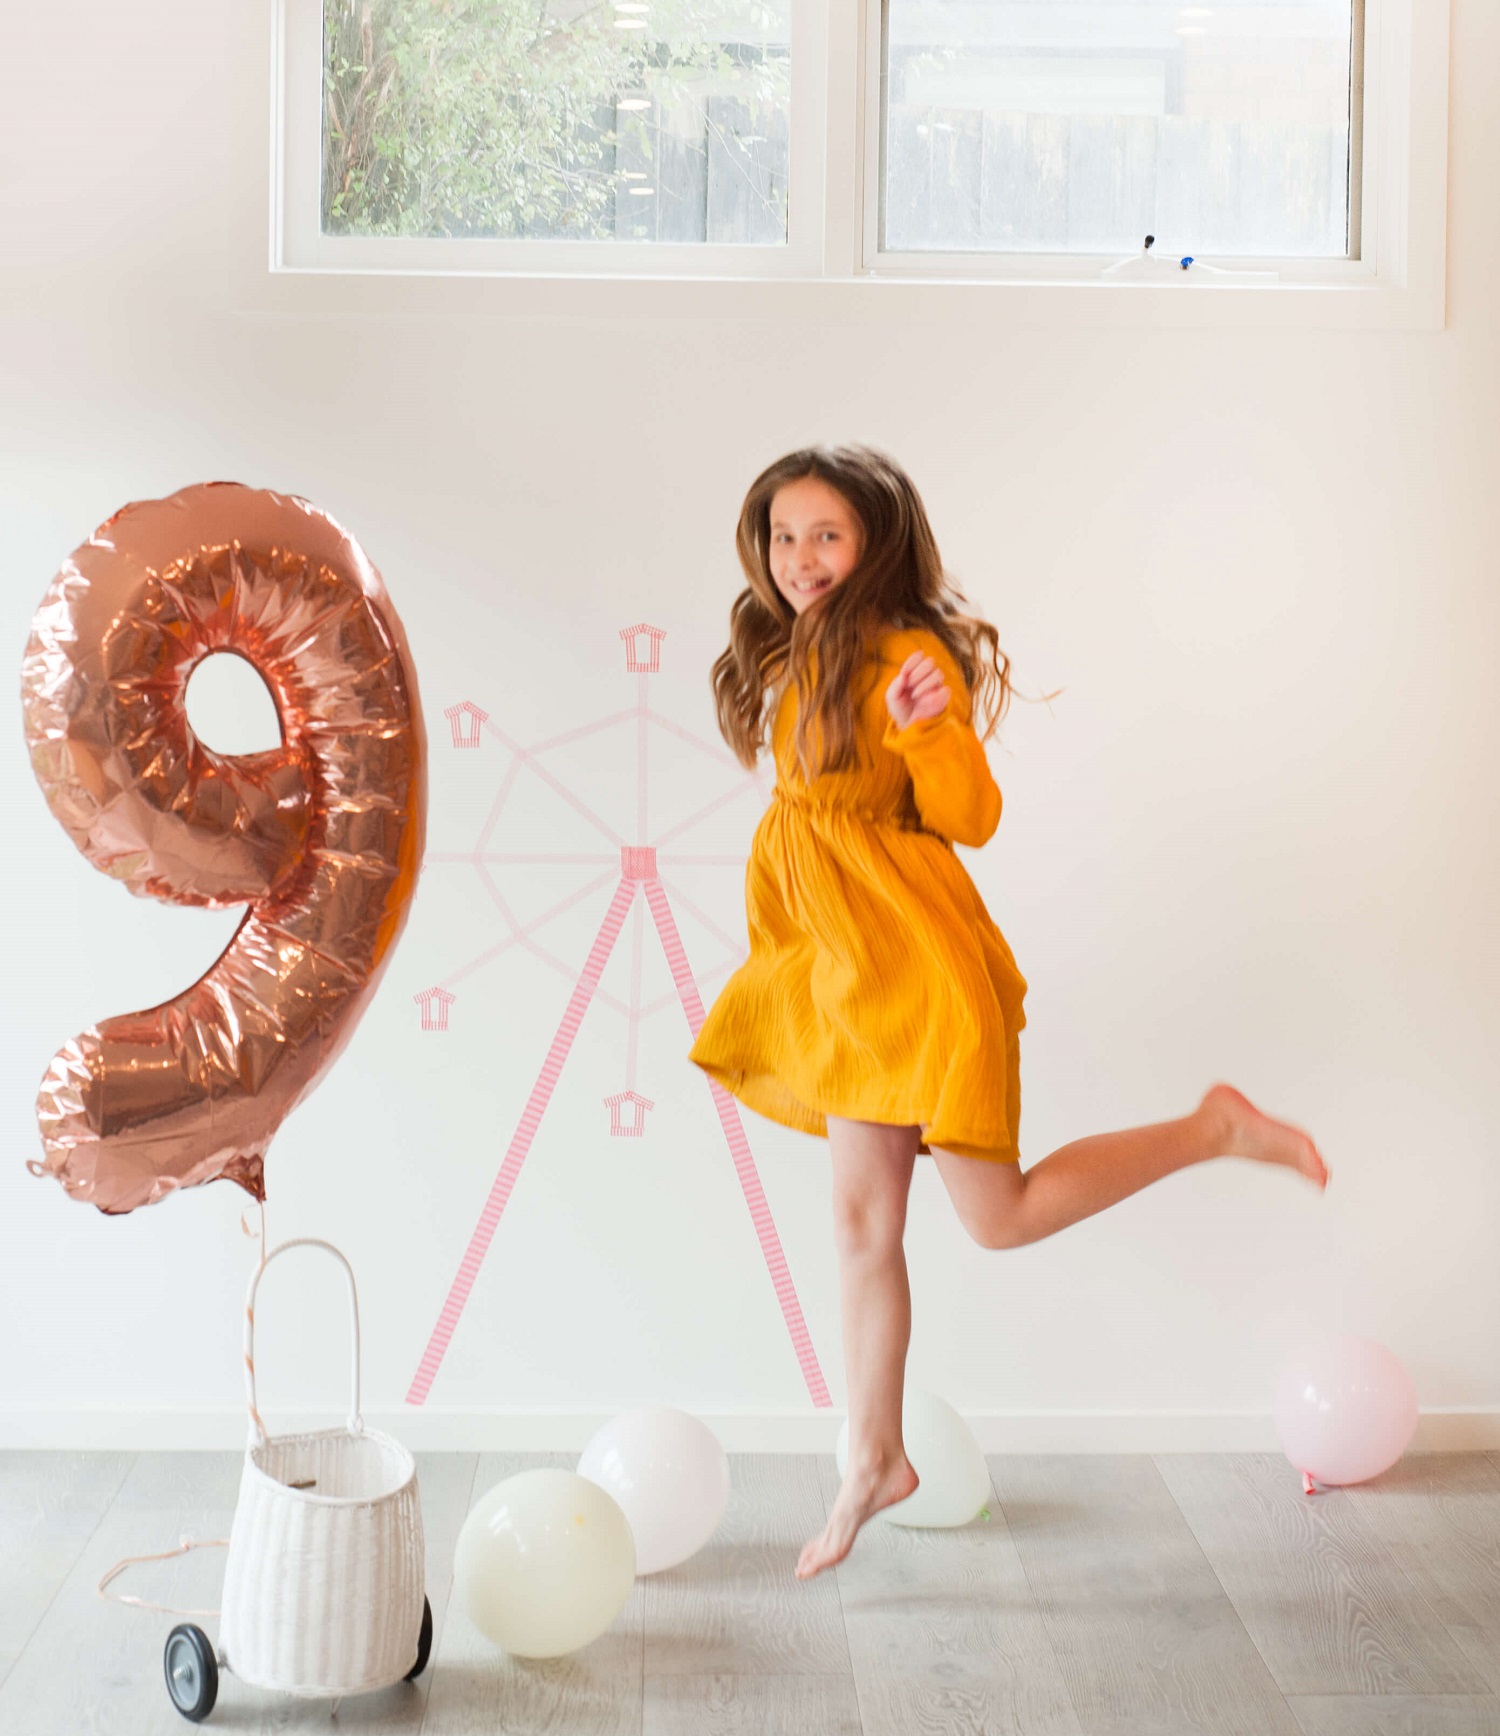
Take loads of shots to find at least one or two great captures.
More Party Supplies For Your Event
A backdrop is just one key part of designing and styling a wonderful party environment. We've outlined some key party components that will further enhance the theme of the day.
- Balloons! And the more the merrier! Make sure they're in line with the chosen theme. For example, if you're hosting a "Wiggles Party" you'll want an array of balloons that are red, blue, yellow and purple. A "Frozen Party" could consist of blue, white and purple balloons, or you can decorate the room with foil balloons with characters matching the theme printed on them. A simple helium-inflated number is also a great choice.
- Photo wall - A photo wall adds a certain level of nostalgia to any party and gives party guests a chance to adore and reminisce with cute and funny images of times gone by. You can use Washi tape to create your photo wall as well! Another great idea is to create a scrapbook or memory book with photos!
- Baking and Cake Decorating Supplies - Let's be honest, the cake revealed at a children's birthday party is always exciting. Cakes that match the party theme always add that little extra flair to the celebrations, so look for icing colours to match your decorations. Baking your own is always a lot of fun, but if you don't have the skill, patience or time to make a custom cake, buying an ice cream cake from the supermarket is always a winner.
- Party Games and Toys - Every children's party has to have some games for the kids to enjoy. There are the classics like 'pin the tail on the donkey' and 'pass the parcel' which every child loves. Expert tip for passing the parcel - put a little chocolate treat between each layer of wrapping so every kid wins a little something along the way. A pinata that suits the party theme is always a winner, it's always worth it to see all the kids light up when the candy comes bursting out.
- Music - because no party is complete without music! Remember to make a suitable playlist that has a substantial number of songs so that you're not listening to your child's favourite Disney song over and over again.
Perfect Your DIY Party Backdrop With Spotlight!
Now that you know how to make a backdrop, bring your own design to life with the amazing craft and party supplies from Spotlight. No matter your party theme or occasion, shop for amazing costumes, party decorations, party tableware and more to make your celebration special. Explore our other great party ideas and articles such as how to throw a Hawaiian theme party at home, how to host the perfect 90s party and more great ideas. You can find everything you need online or at your nearest Spotlight store, and for extra ideas and inspiration, check out our celebrate blog today!


